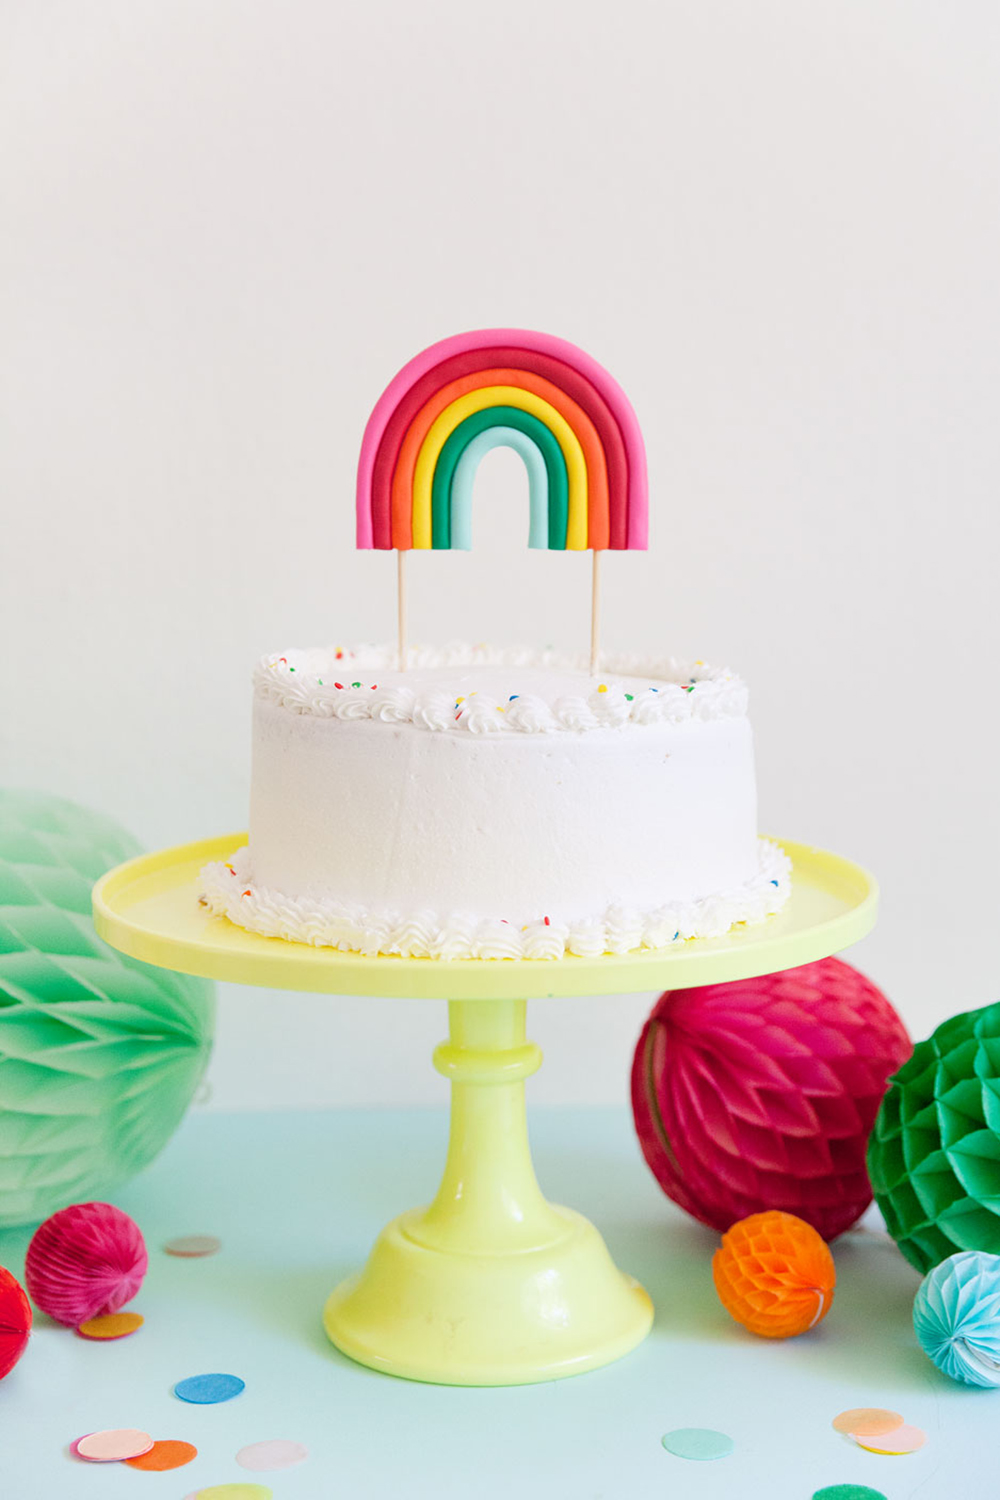
 This year I am all into rainbows!!! They are the happiest! And this DIY rainbow cake topper is maybe my favorite DIY ever. It is soooooo incredibly easy and probably the cutest cake topper to EVER exist….ever ha! Throwing a rainbow themed party is on my list next. I can’t get enough.
Find all the simple steps to make these cute rainbows below.
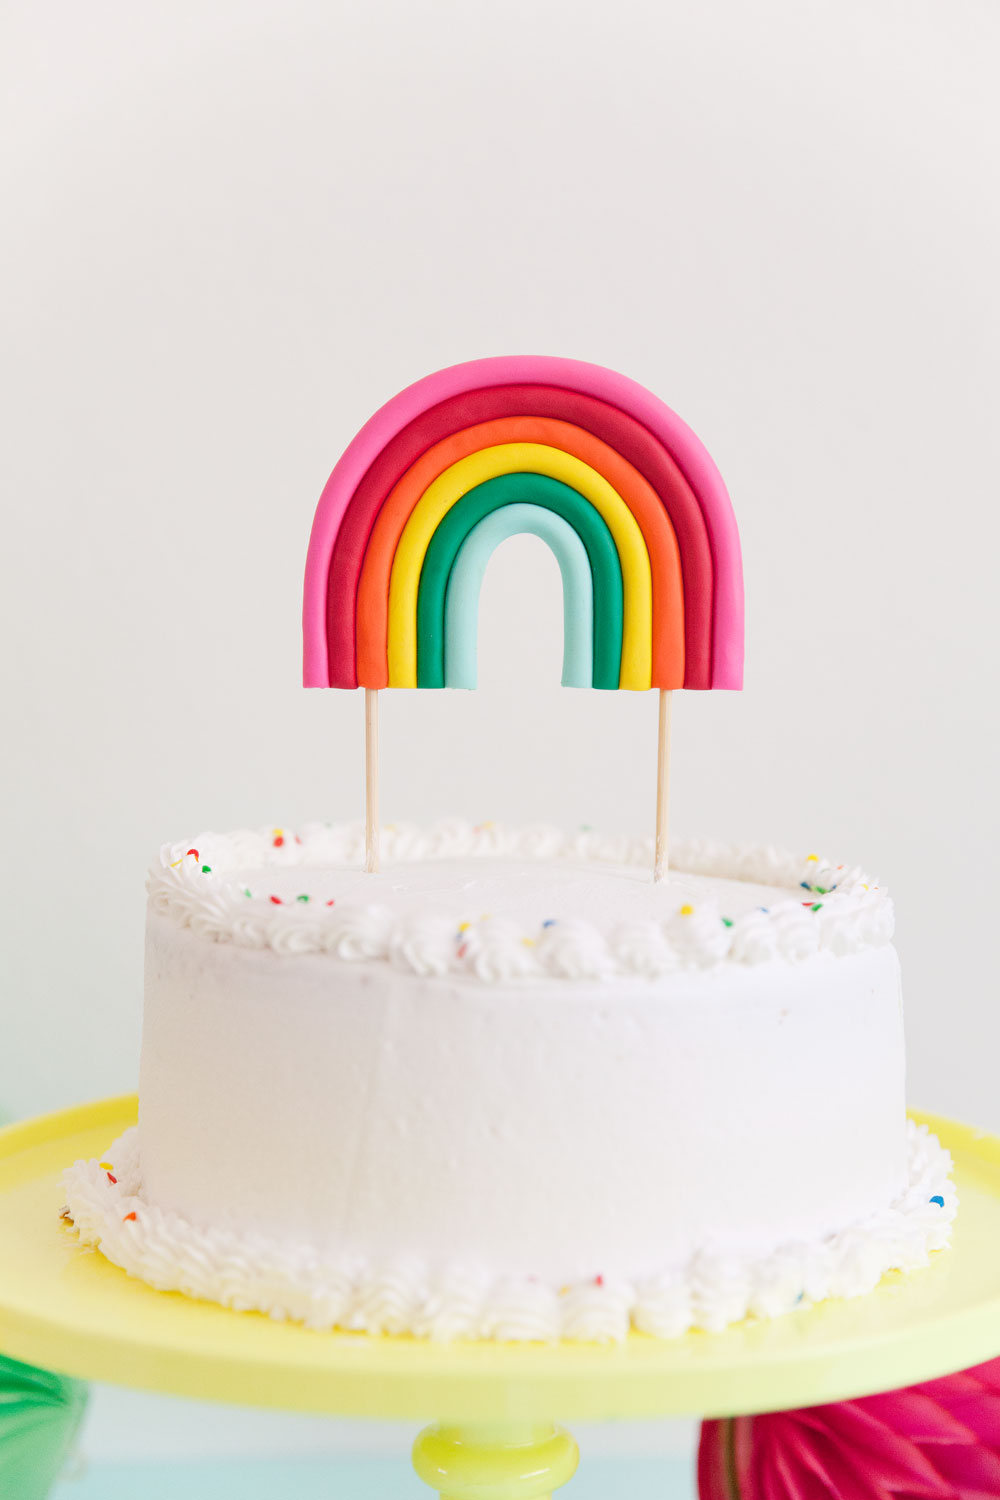
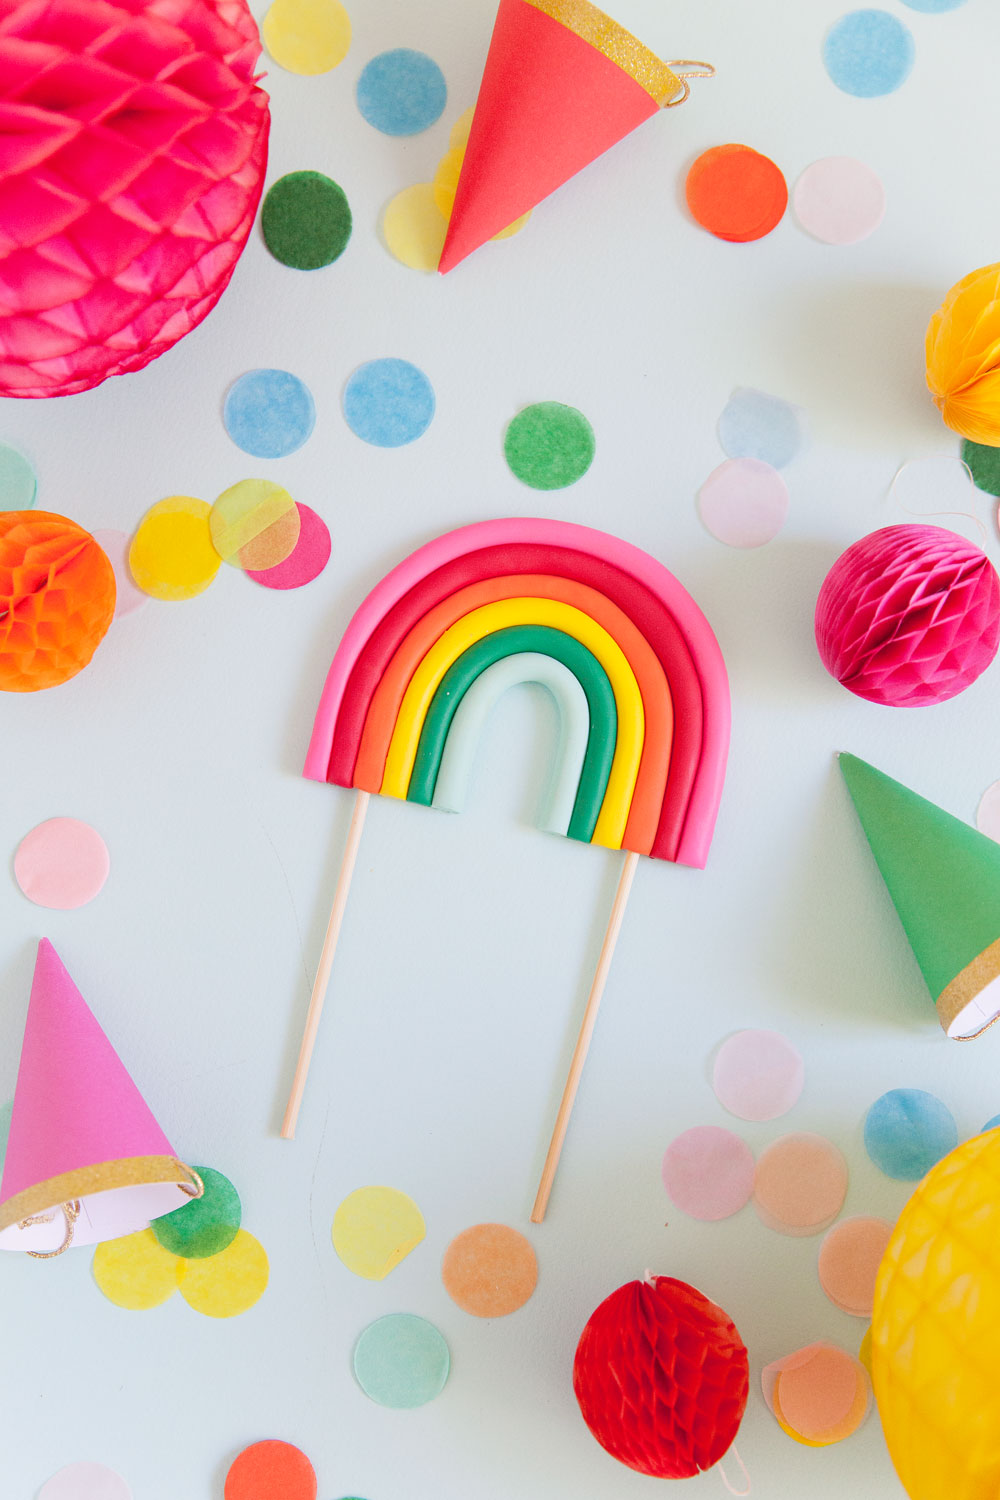
SUPPLIES
–Sculpey Clay in rainbow colors
–Parchment Paper
-Knife
–Wood Skewers
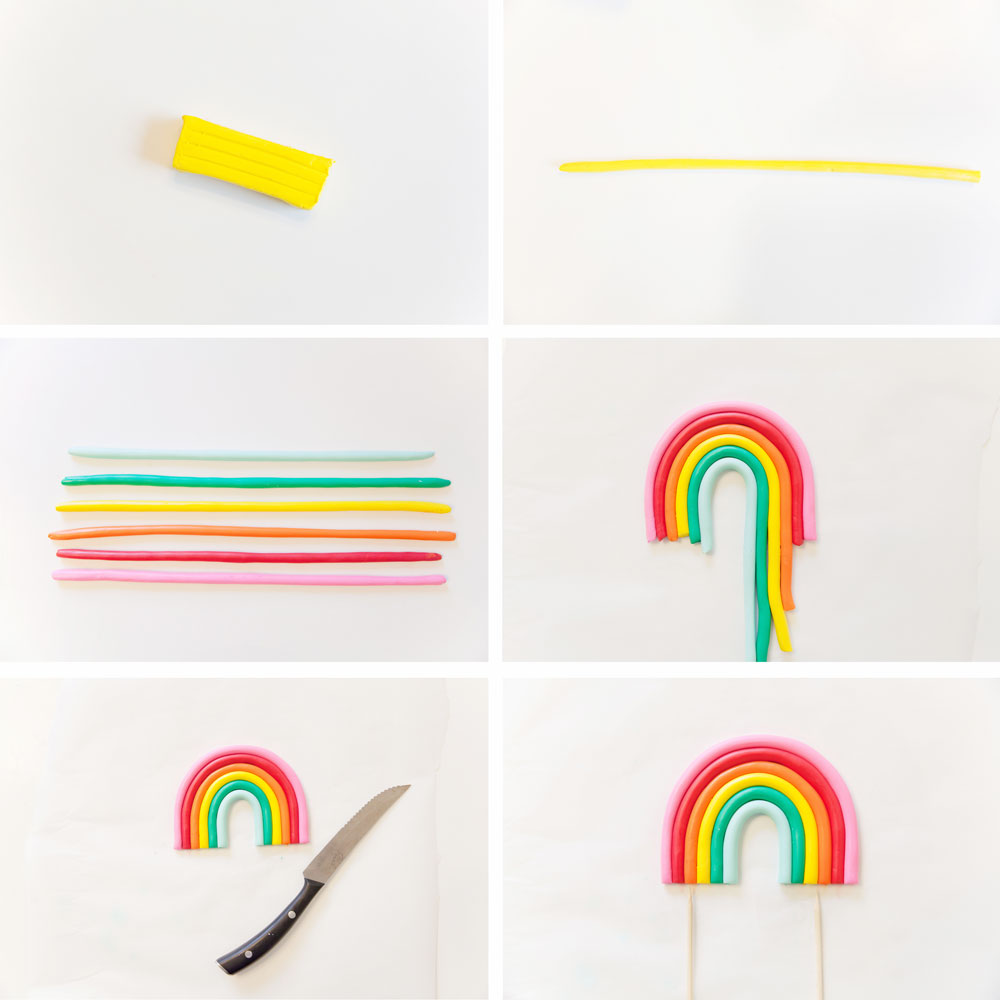
-Cut a chunk of your sculpey clay and roll out into a long thin roll.
-Do this with all the colors.
-Take your parchment paper and lay it out. This makes it easier to transport it to a baking sheet without messing it up.
-Lay out the top layer of your rainbow in a curved shape.
-Then take each other color and start to create your rainbow, laying each color inside of the next.
-You will have a lot of extra clay but you can cut that off after.
-Once your rainbow is created then you need to cut off the excess with a knife.
-Take your wood skewers and poke holes into the rainbow. I did mine in both the orange stripes.
-Then bake! Follow the baking instructions on your sculpey package. (don’t bake the skewers)
-Then take a little glue (or not) and poke in your skewers once your rainbow has hardened and cooled.
-Cut them down to size and stick them in your cake!
Easy right??!!
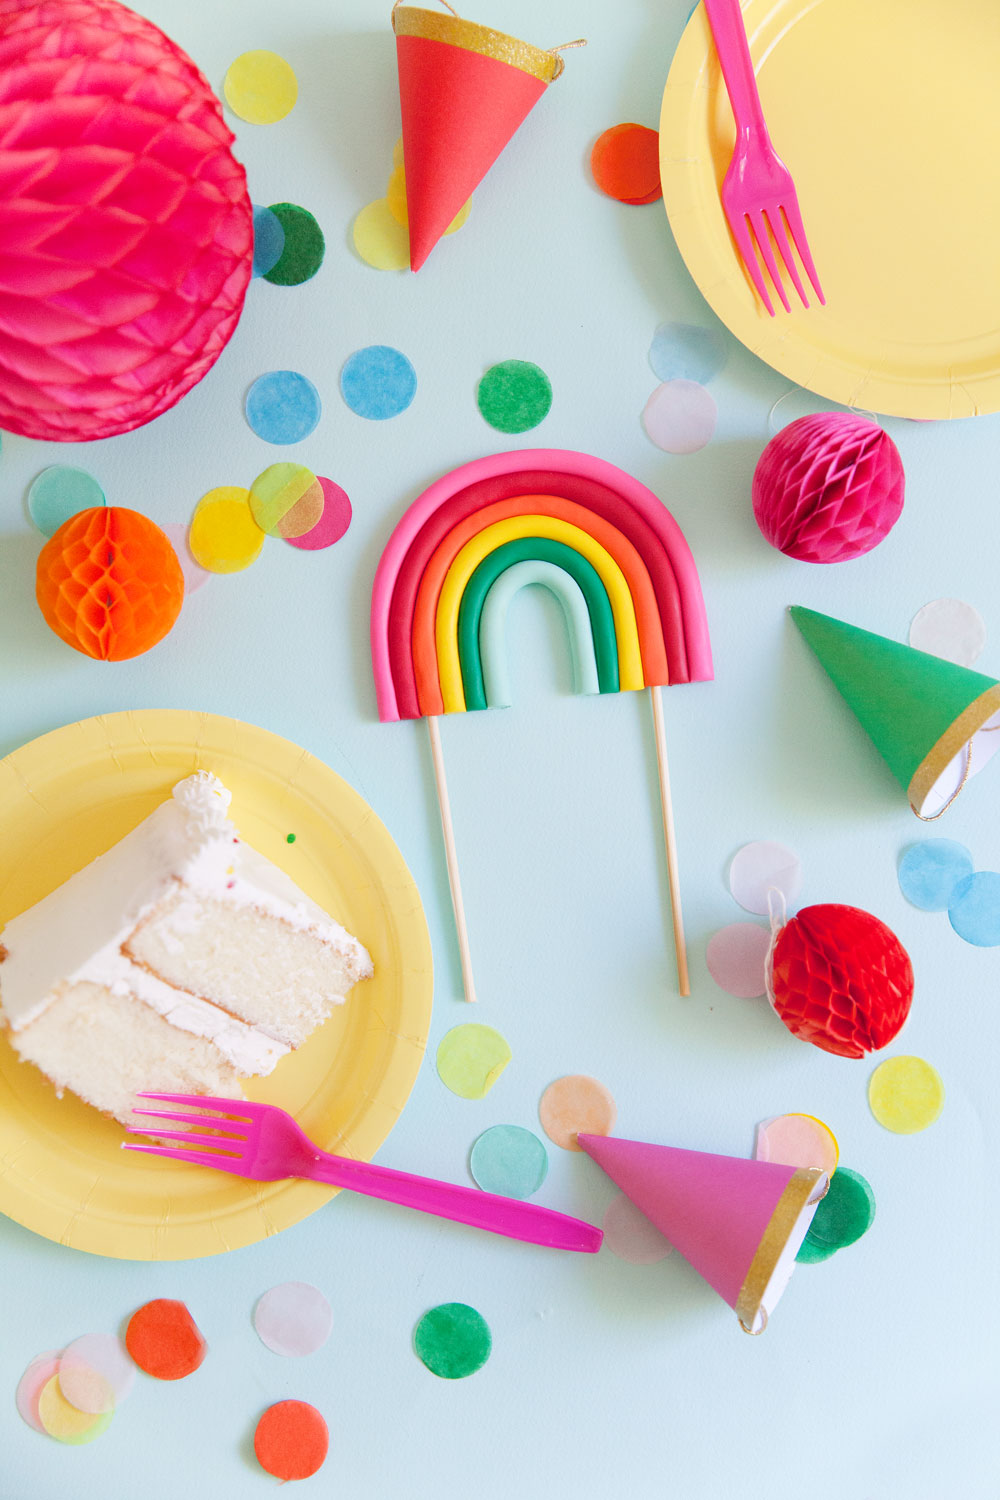
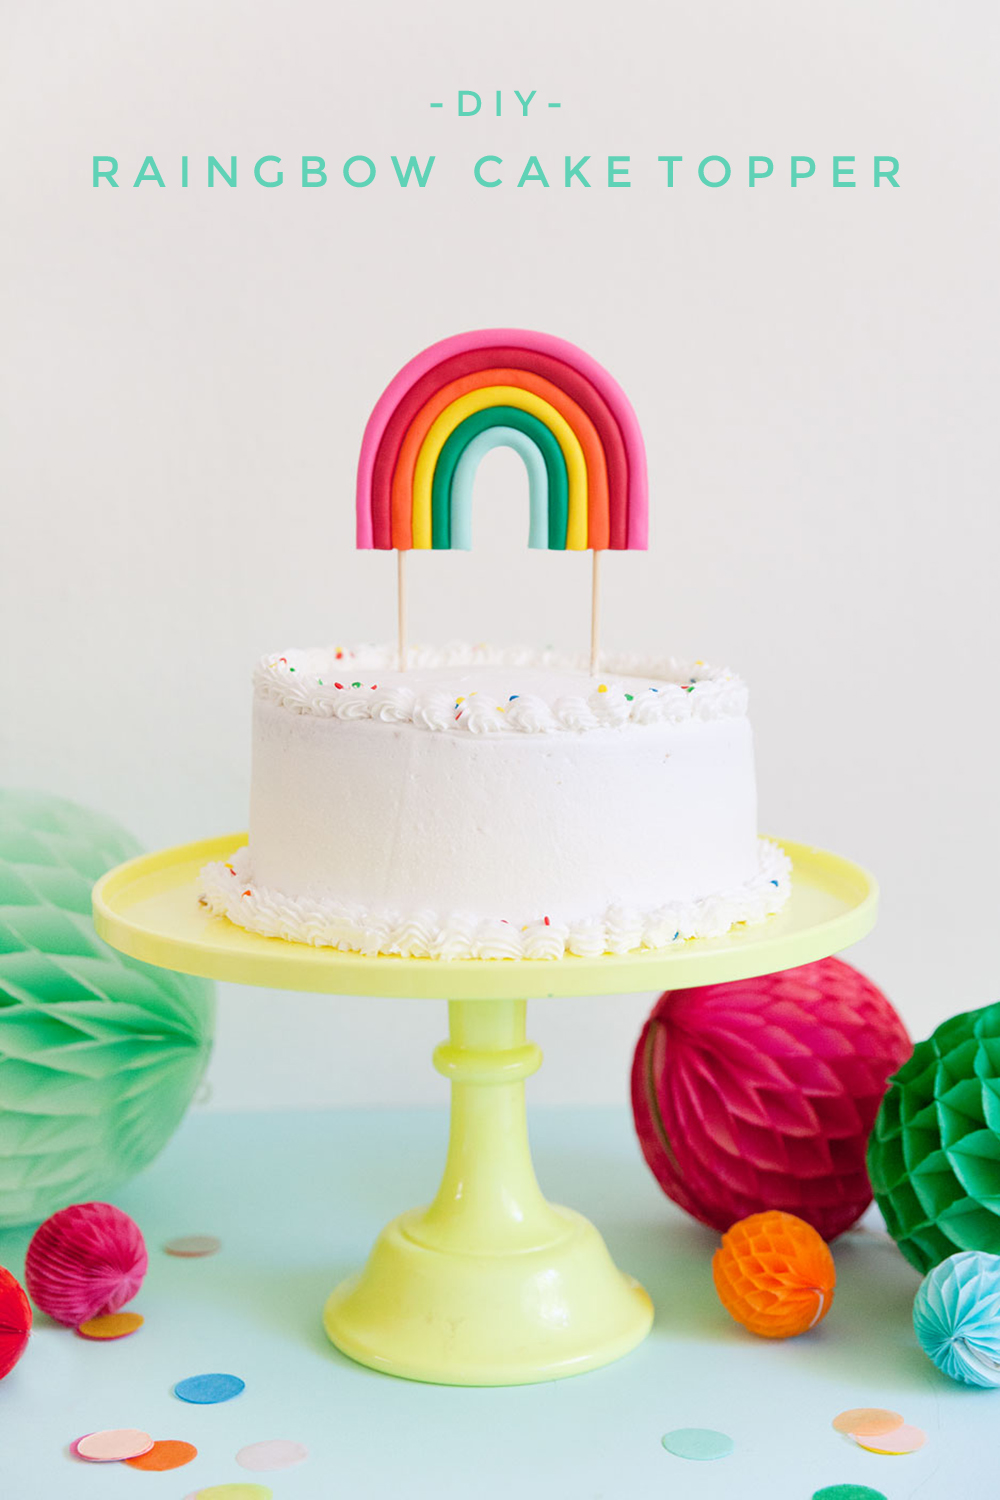
I love this one so much it just MIGHT beat out this one I made a few years ago….although I do love them both!
Check out more cake topper ideas here!


This is super cute, what a cool idea!
https://www.makeandmess.com/