

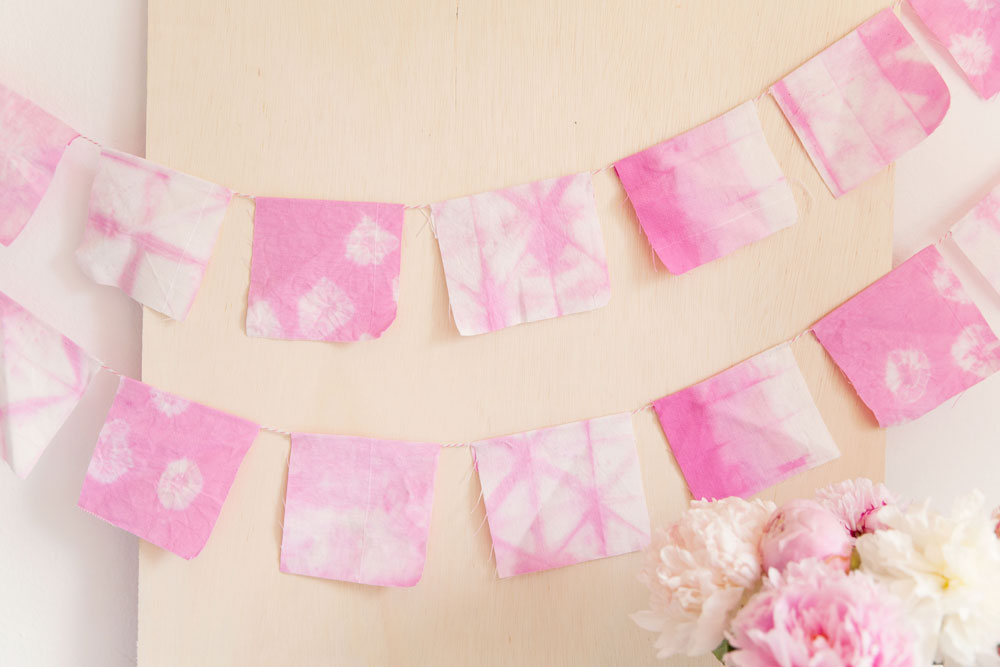
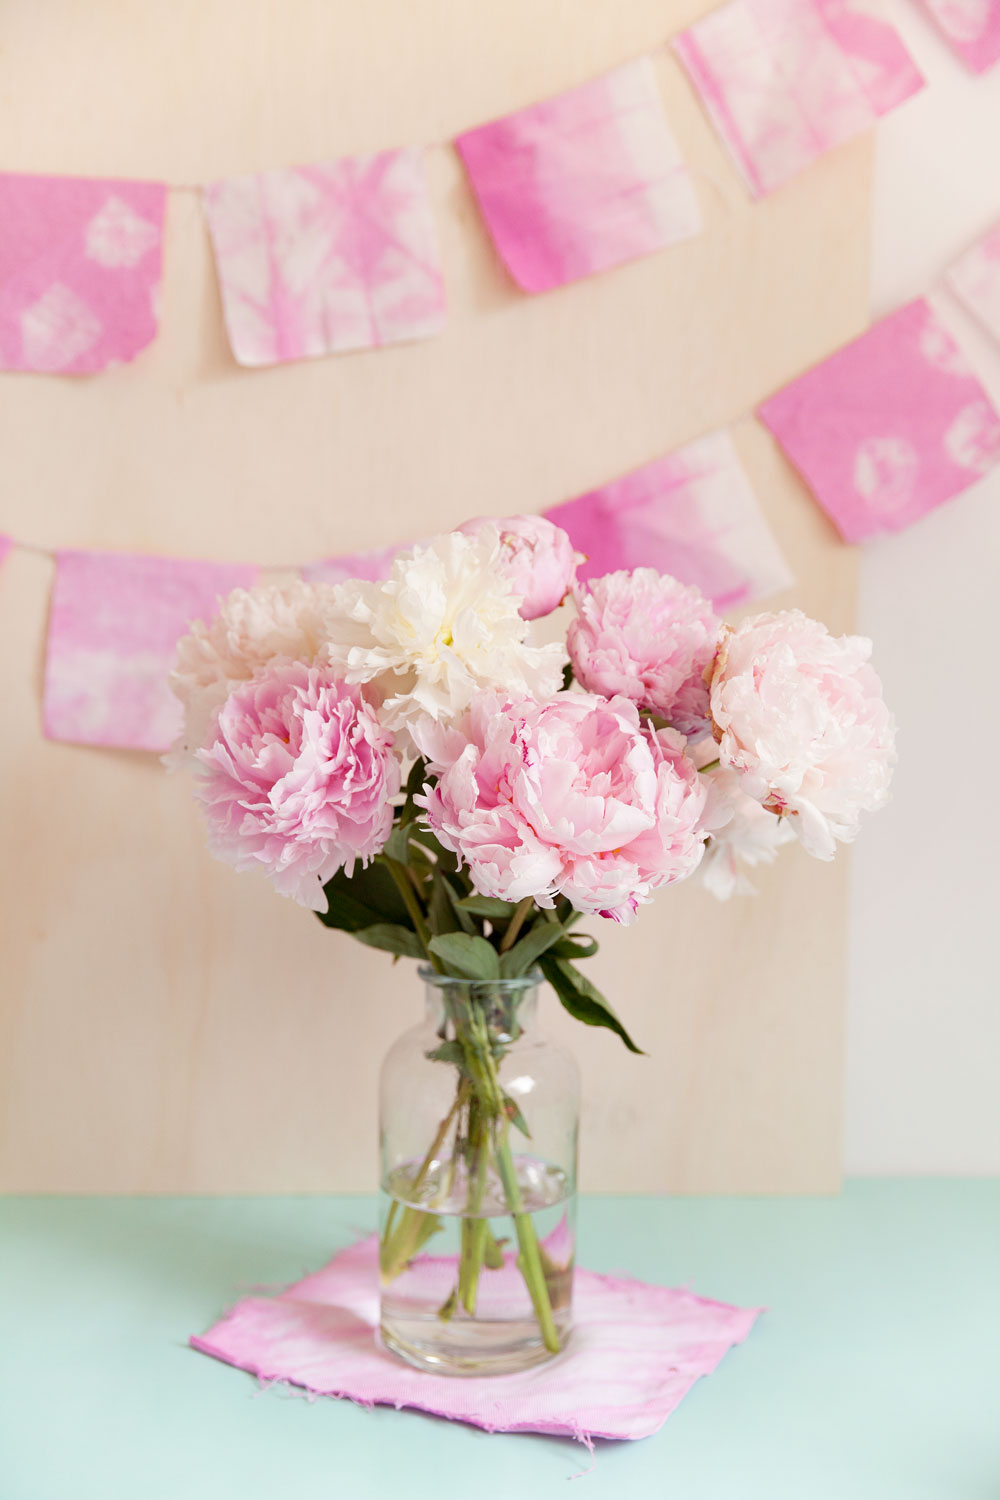
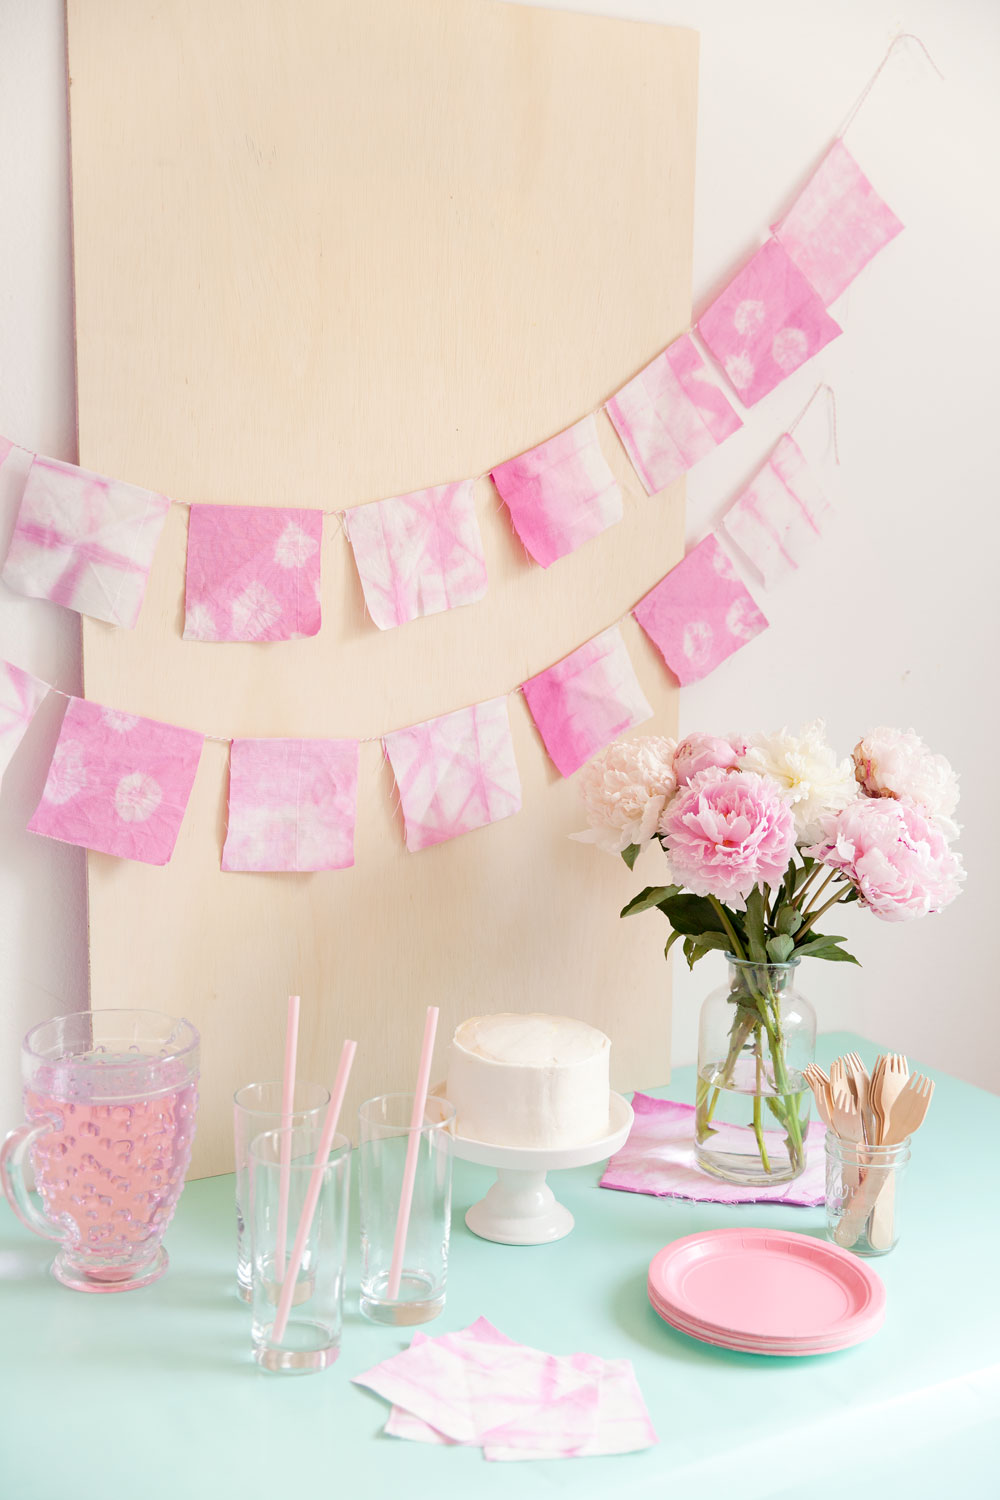
Can you believe this is the FIRST shibori thing I have EVER made?? I know, I know as a DIYer I should be semi ashamed and since these were all the rage the past few years I am way behind the times. But mine is pink AND a banner so that is cool right?? I just love banners/garlands so much! Like this one, or this one, or THIS one (my very favorite)! So it was only a matter of time before a shibori banner was thrown into the mix. It’s perfect for a bridal shower, baby shower, birthday or just a fun girls weekend (basically for ANY party). Find all the details below and make one of your own.
SUPPLIES FOR DYEING
-White Cotton fabric
–Pink Rit Dye
–Clamps (you are going to want small ones)
–Small Rubber bands (I used tiny ones to make the rings)
-small pieces of wood (I used thick cardboard although I had to keep replacing it because it would get soaked)
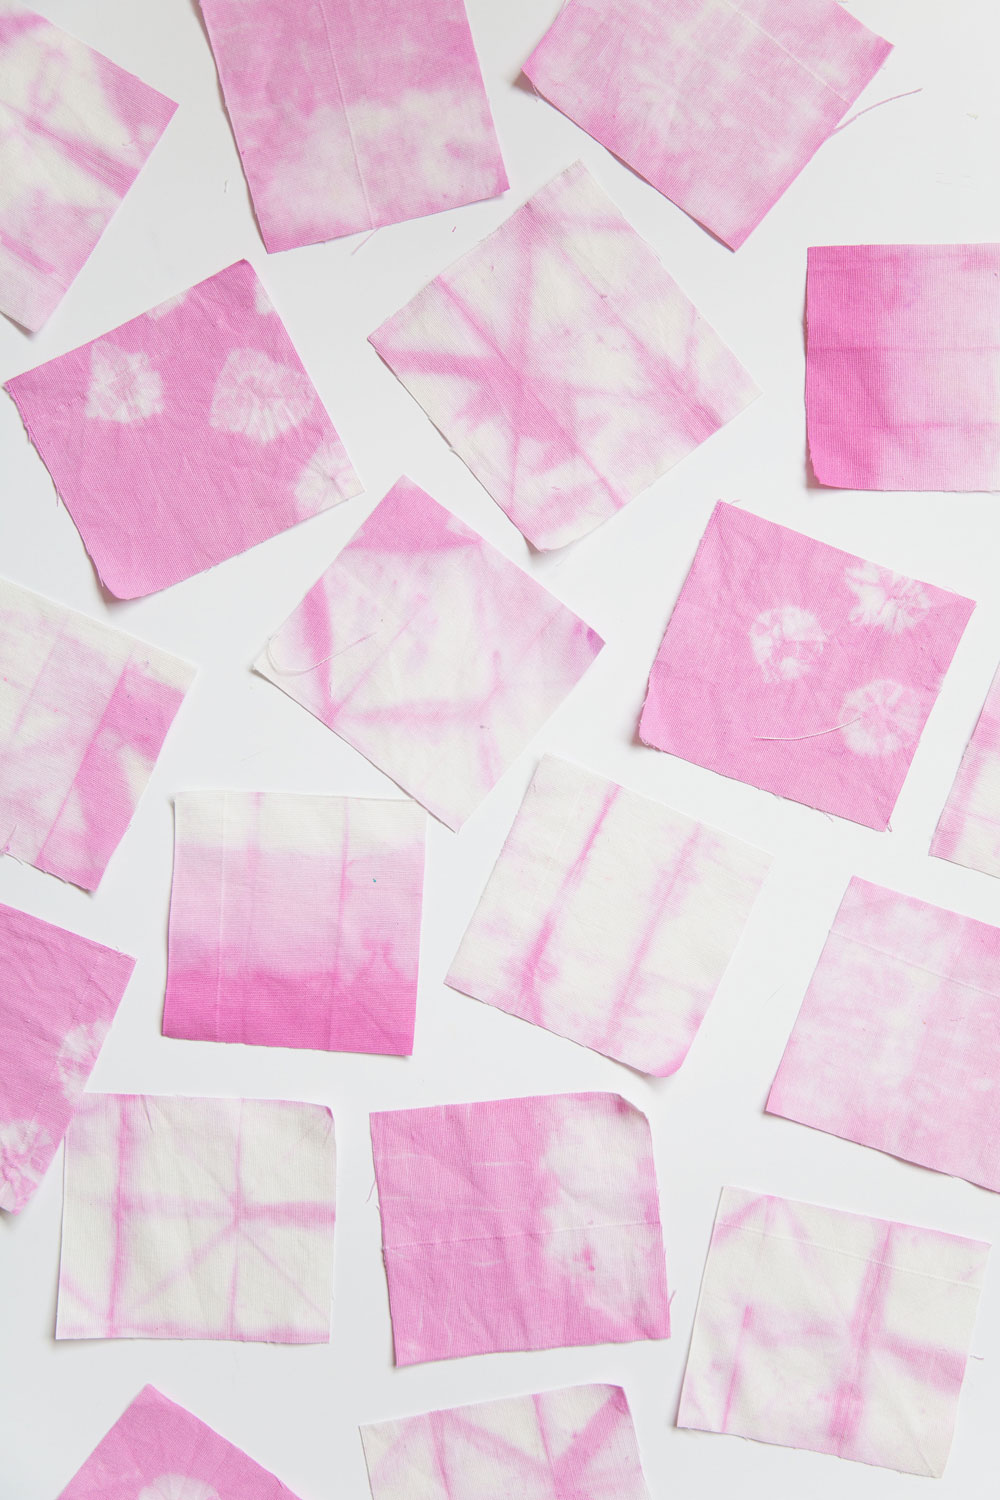
The dyeing process is actually so fun and creative! I learned my shibori dyeing tips from this book. Seriously if you are interested in any kind of tie-dye this book is UNREAL awesome! And I’m not talking the bright crazy tie-dye but amazing and gorgeous designs. There are also lots of tutorials and videos online.
The garland pieces are small so I needed smaller supplies so that the pattern would show up on each piece.
I wanted the pink to be soft so I didn’t leave them in the dye for very long.
SUPPLIES FOR BANNER
–Rotary cutter
(or you can free hand cut with fabric scissors)
–Rotary Mat
–Bakers Twine
–Acrylic Ruler
–Hot glue Gun
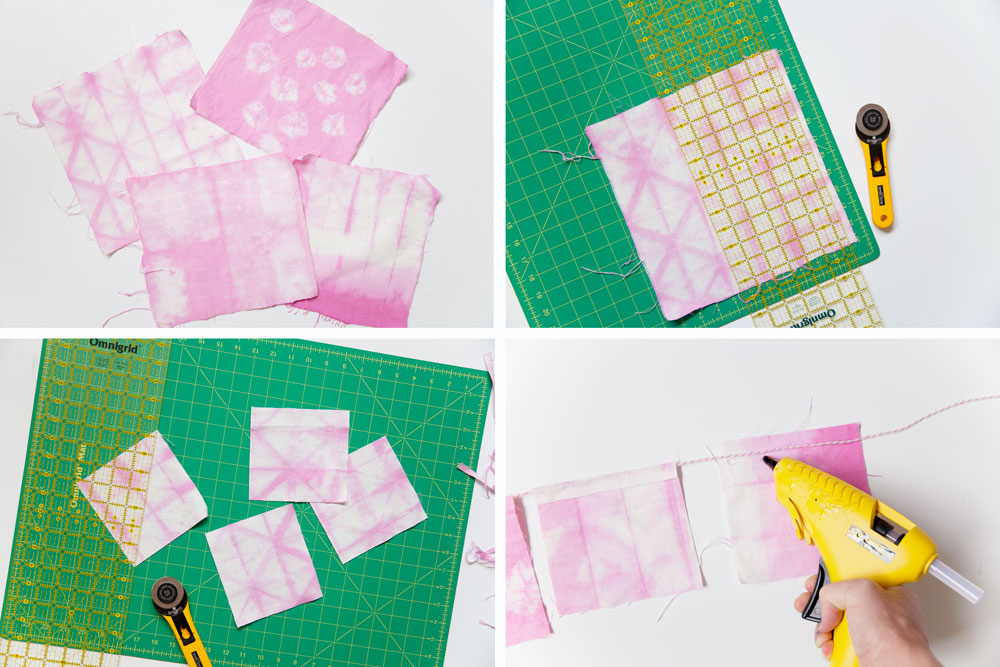
1. Take your dyed pieces (mine were about 12×12) and cut them down into smaller pieces. I cut each of my pieces into 4 parts.
2. I used a rotary cutter so that I could get a clean accurate cut with each piece.
3. Once you have all your pieces cut down to size you are ready to turn it into a banner.
4. Lay out the pieces how you want them.
5. Lay them right side down and get some bakers twine.
6. Hot glue along the top of each piece and fold over onto the twine.
7. Repeat until you get the desired size.
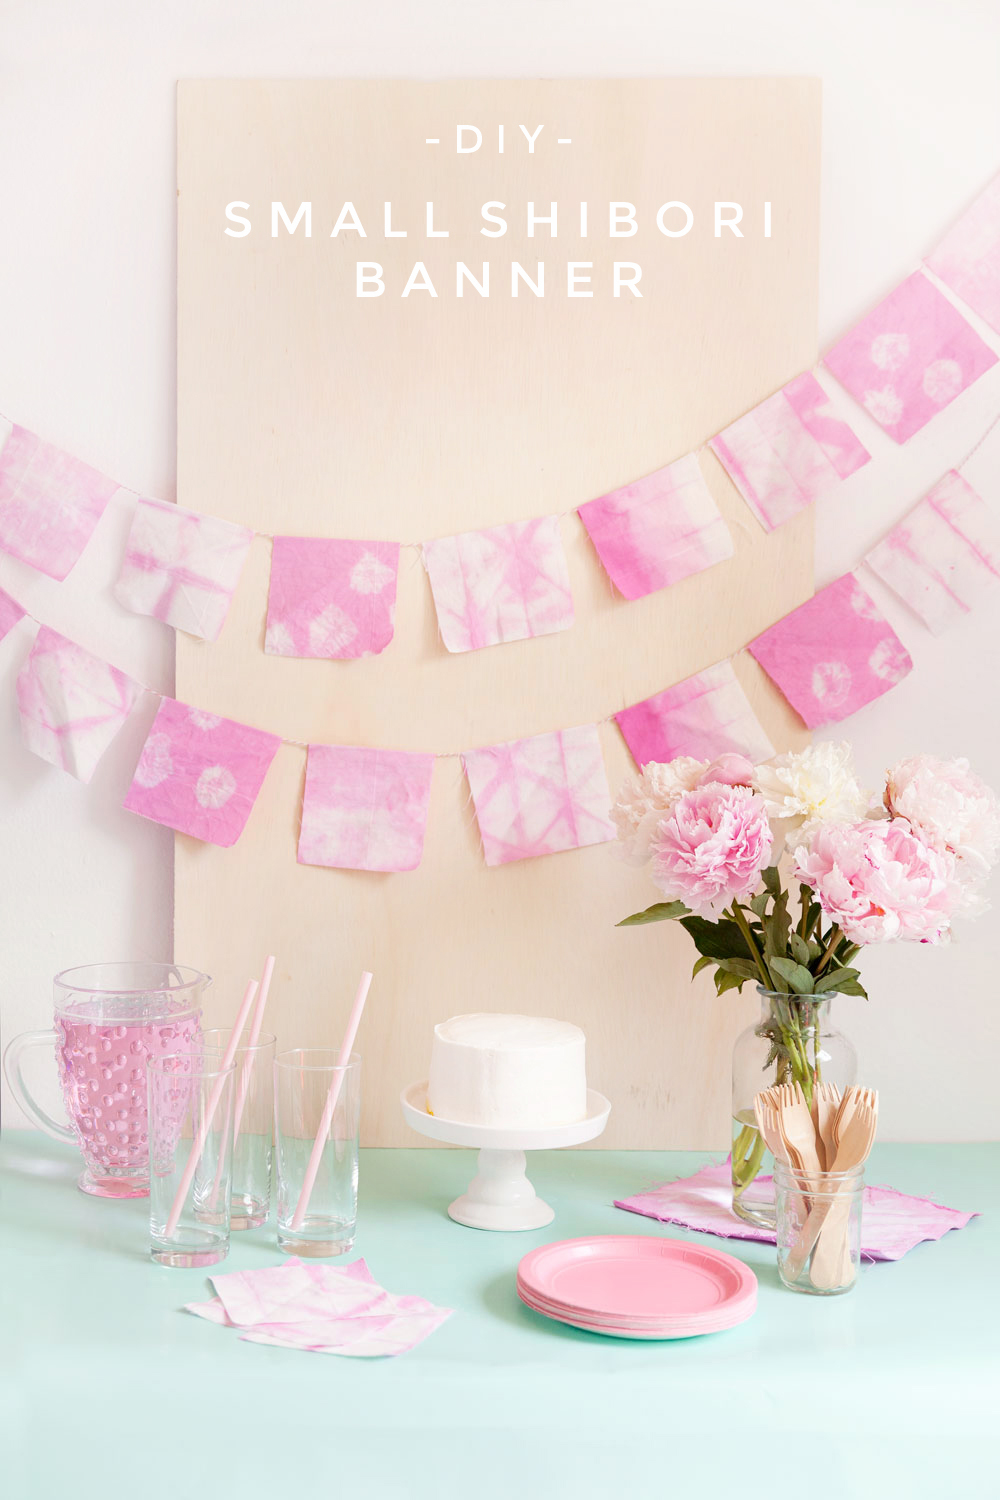 This banner folds up SO easy to store so you can have it ready at anytime!
Now go plan a party ;)
This post contains affiliate links
That looks wonderful! I love the light shade of pink!
https://www.makeandmess.com/
This banner is amazing! You did an awesome job!
Paige
http://thehappyflammily.com