
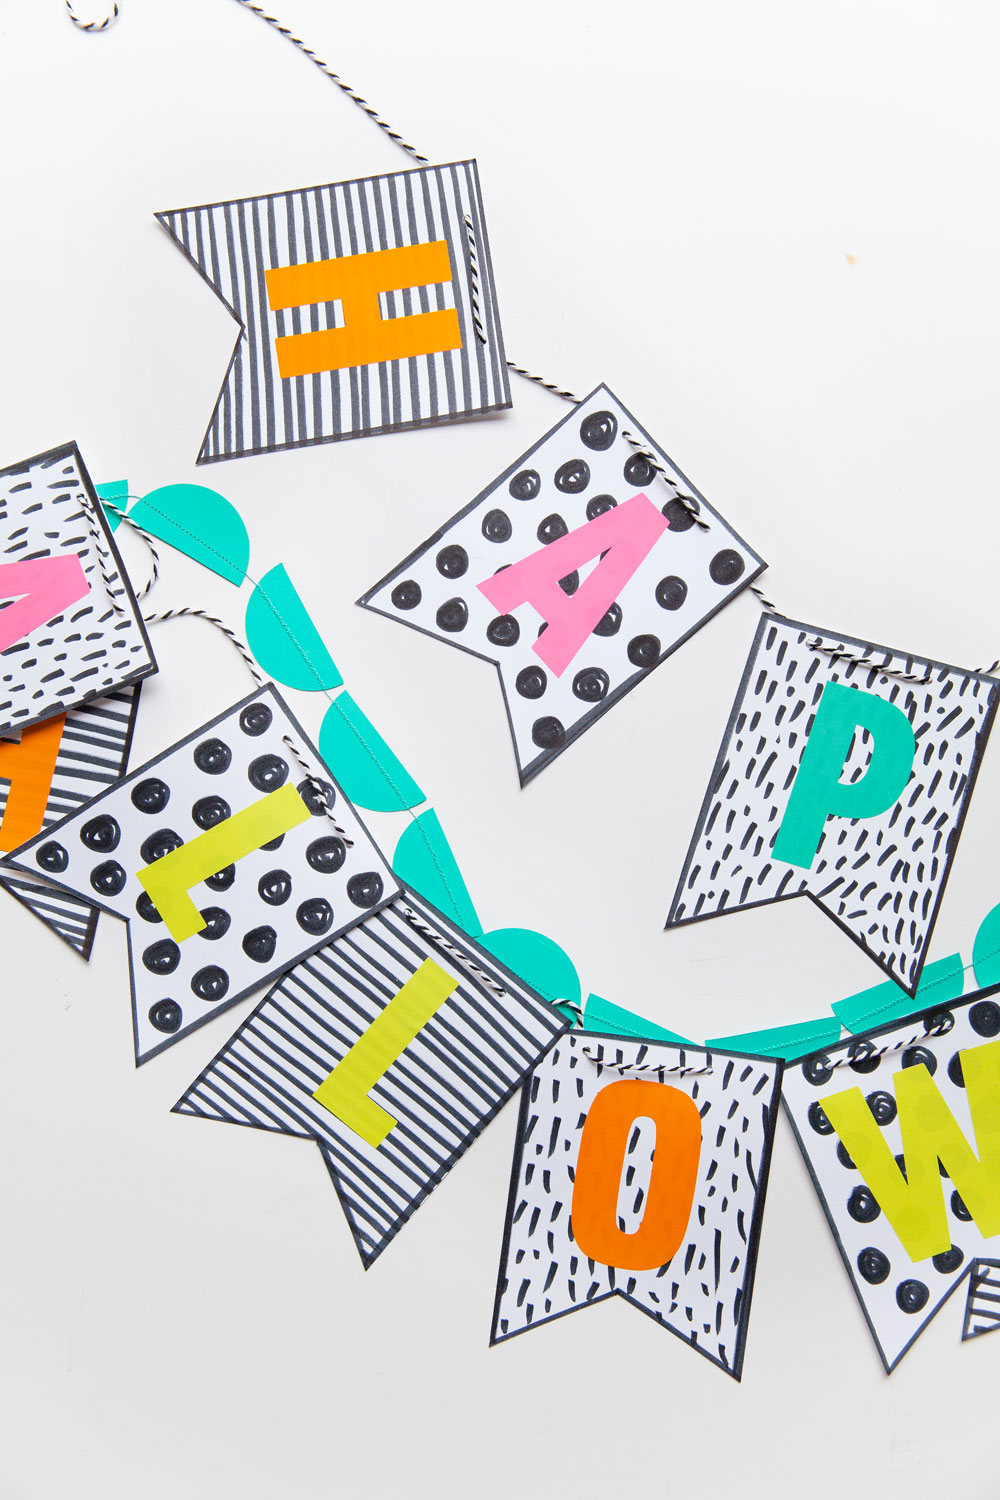
 It’s official, Halloween crafts have begun! I am pretty excited, doing Holiday crafts are some of my favorites. So I’m starting out this season with an easy DIY Halloween Banner. I found some fun letter stickers at Target in the clearance section and bought a whole bunch, cause I figured I would use them for something. This DIY is very simple and the magic is all in the pen :)
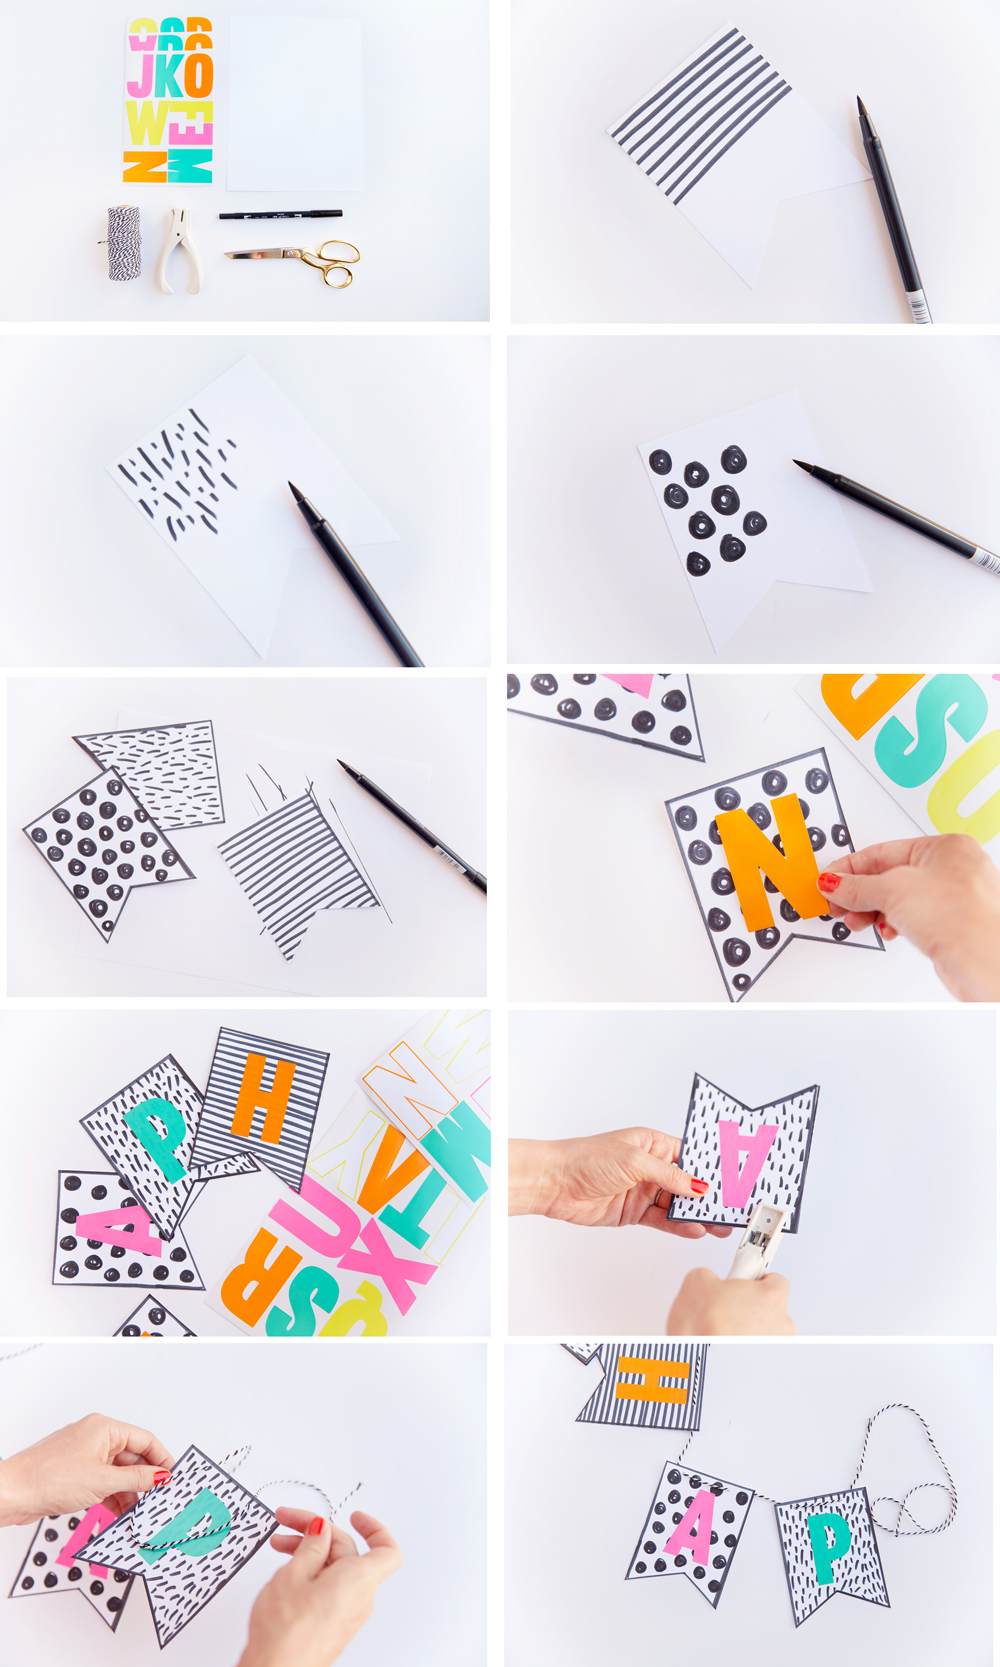
SUPPLIES:
–White Card Stock
–Black Pen (The tip of this pen is perfect for the designs. It is so simple to because the tip is like a paint brush)
-Scissors
–Bakers Twine
–Sticker Letters (I got my stickers in the clearance section at Target, But they have other letters there as well)
–Heavy Duty Paper Punch
-Cut out card stock into flag shape. Mine are about 4 1/2 inches by 3 1/2 inches. But you should cut out the shape of the flag depending on how large your sticker letters are. You can measure and cut out one and then trace a whole bunch.
-Take your pen and start to draw on your design. Stripes, dashes and circles. I liked the whole drawn look.
-Outline the flags, once you have drawn on all the designs. I just freehanded them, but you can use a ruler.
-Stick on your letters.
-Gather a stack of the flags and punch two holes at the top.
-String the flags onto the Bakers Twine.


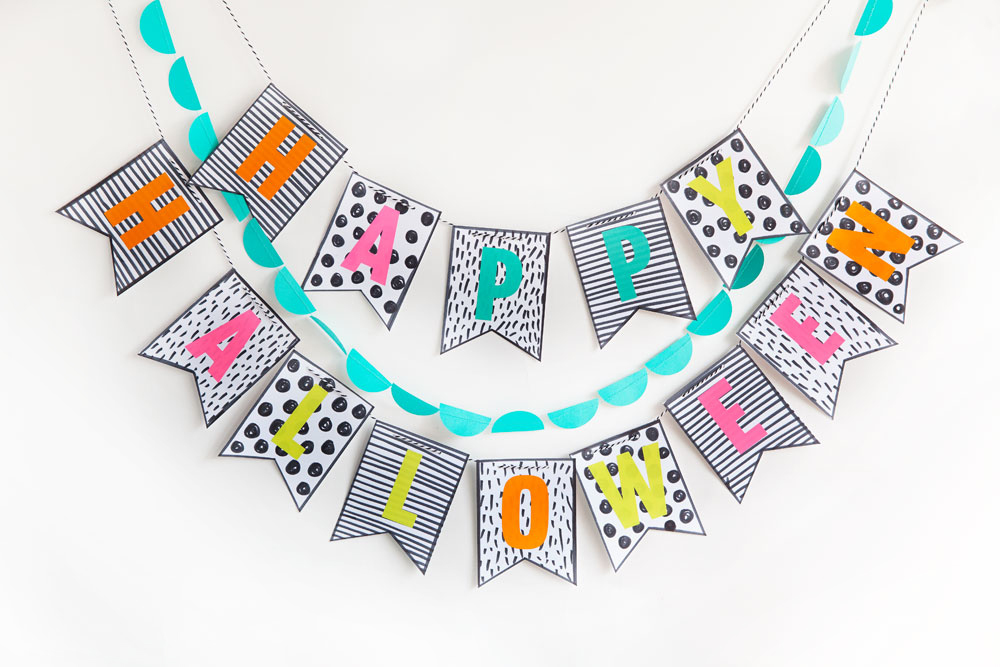
So cute! I love the pops of color on the black and white.
This is so cute! I love it, especially the black and white patterns with the colorful letters!
https://www.makeandmess.com/
Wowww, Amazing DIY items for Halloween, I will have a try this year too, thank you.
Zenaida at DevilPlus
Thanks Zenaida!! yes do it!! xoxo