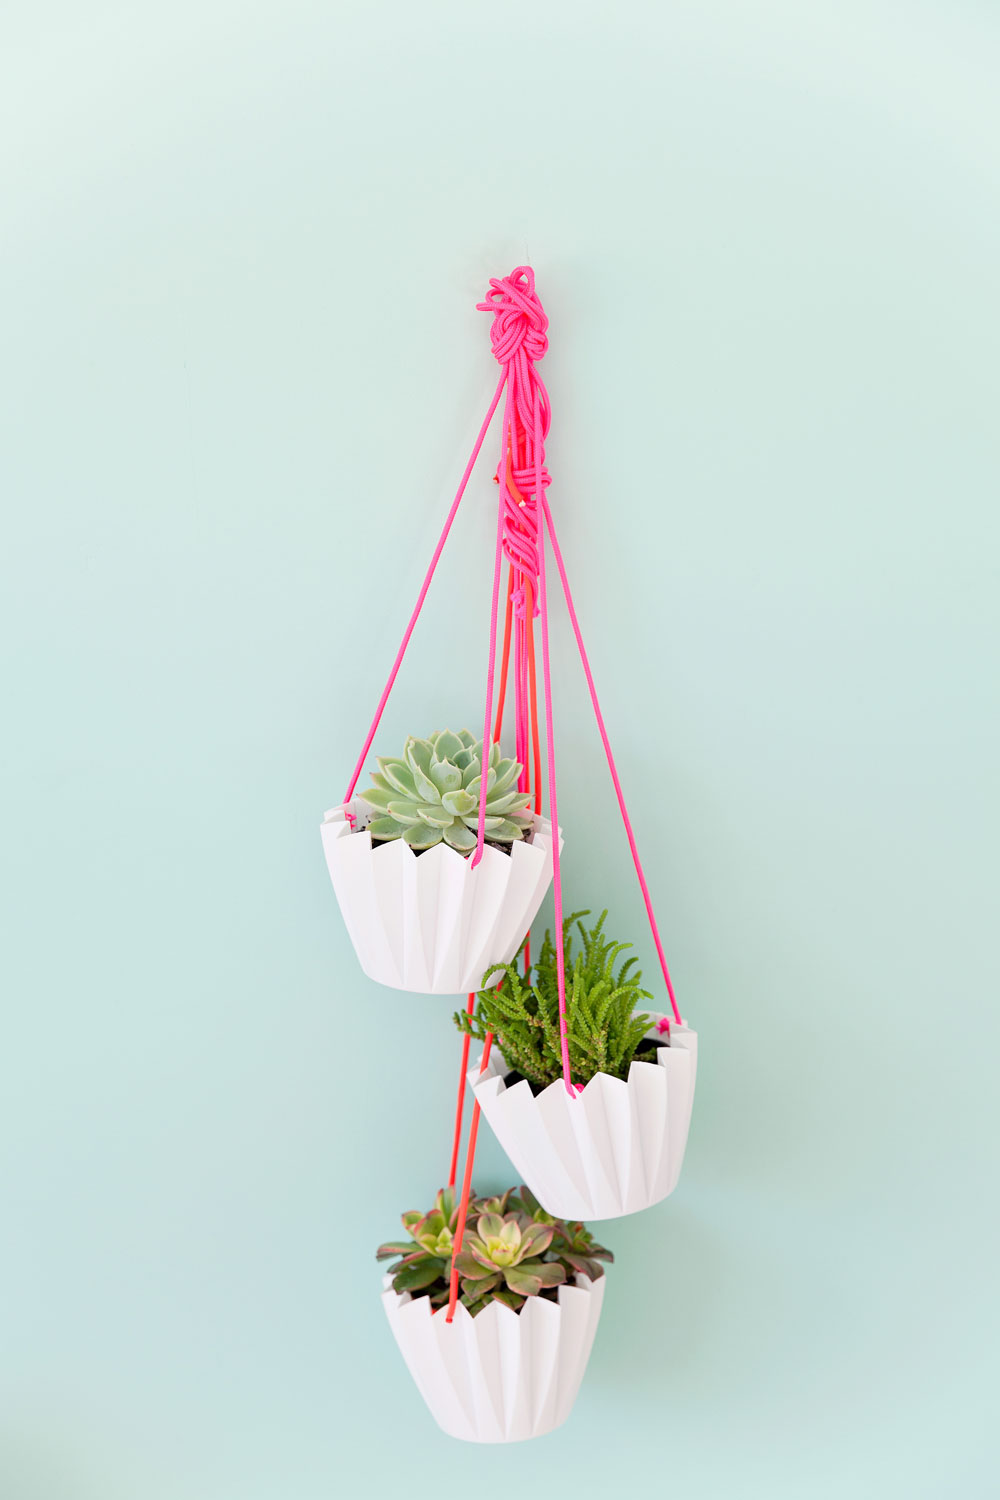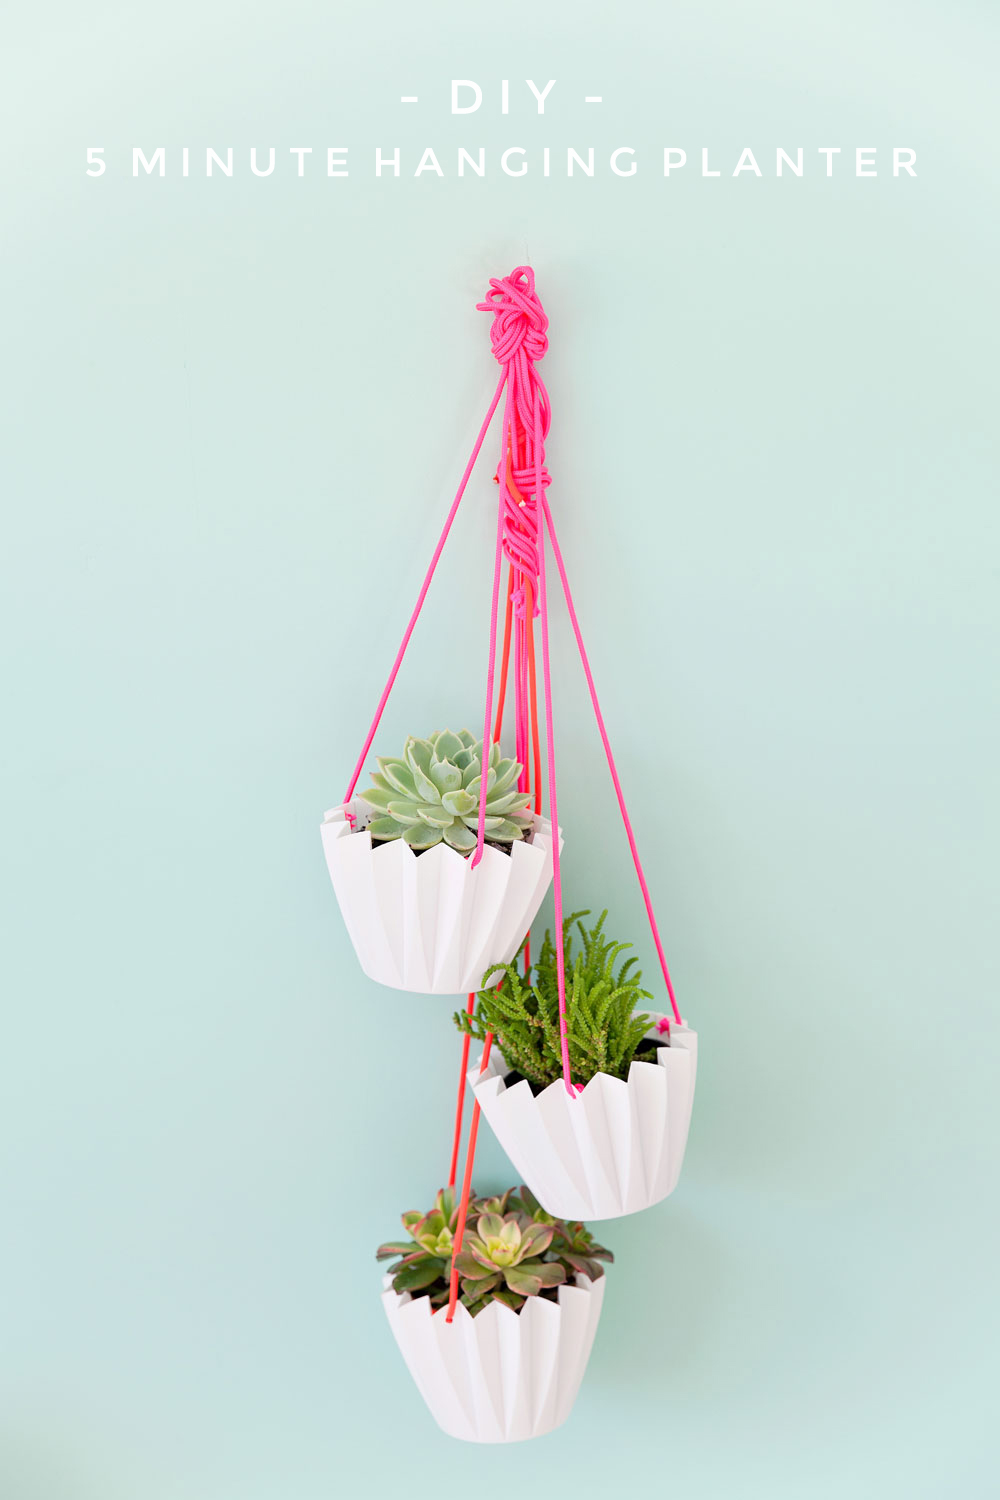
These hanging platers MIGHT be one of my very favorite DIY’s of all time. Because…it fits into three of the “best diy ever” criteria. Its cheap, soooo cute and easy to make! These planters cost less than $5 each to make and literally (not exaggerating guys) you are finished and hanging these babies up in 5 minutes flat! So whether you love to craft, or don’t have a crafting bone in your body, this DIY is for everyone. If these hanging planters don’t scream summer I don’t know what does.
Read below to find the tutorial!
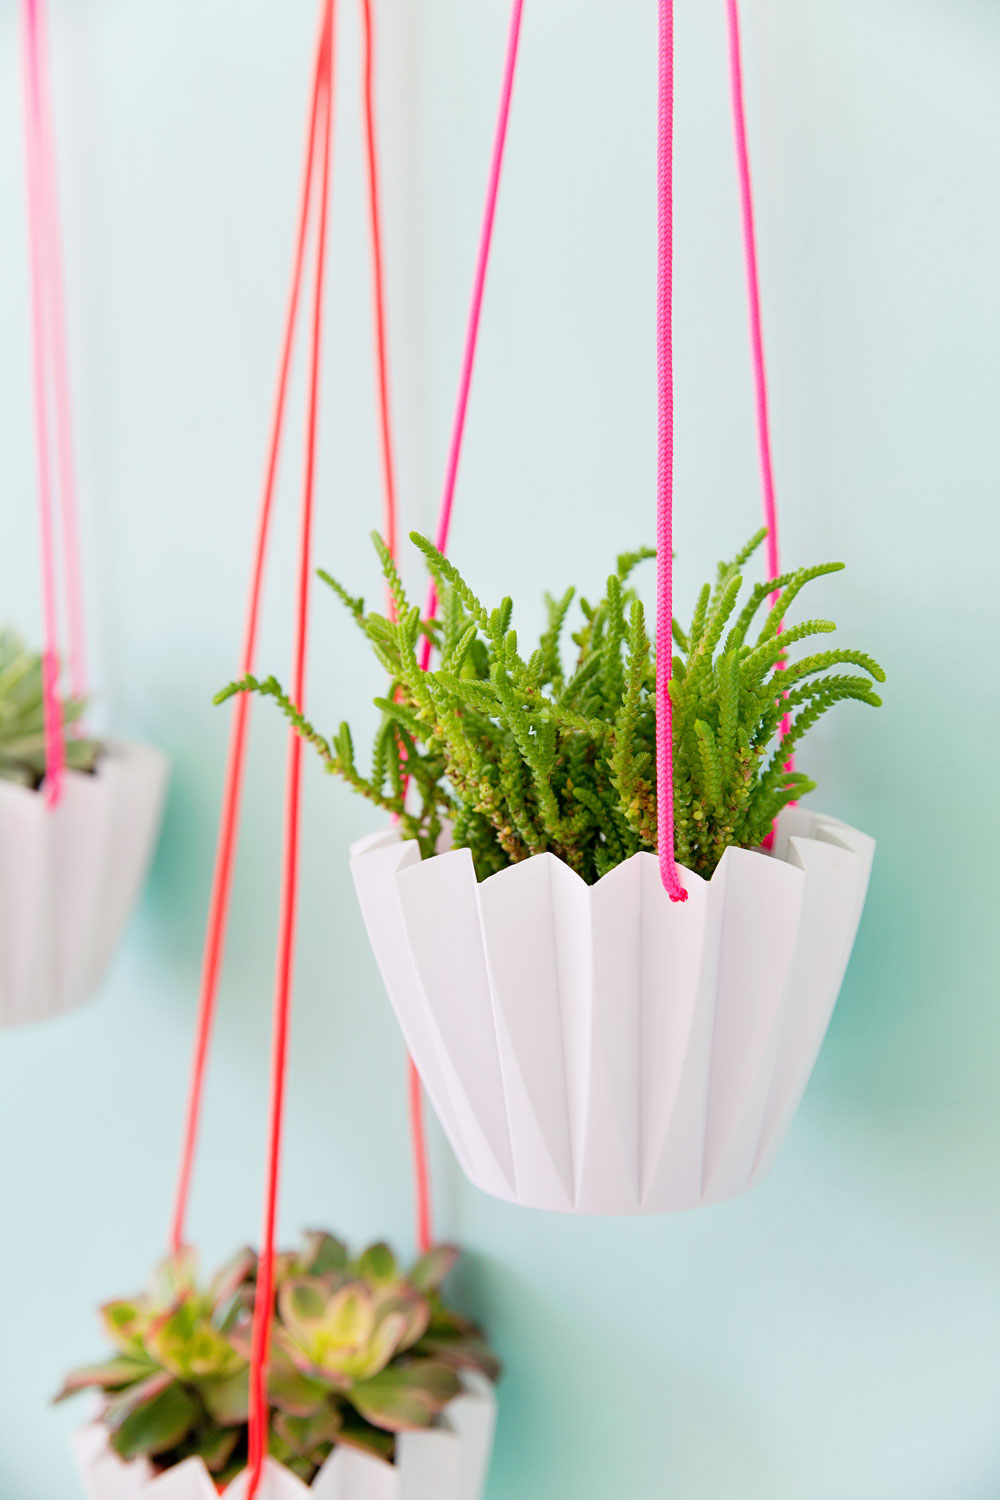
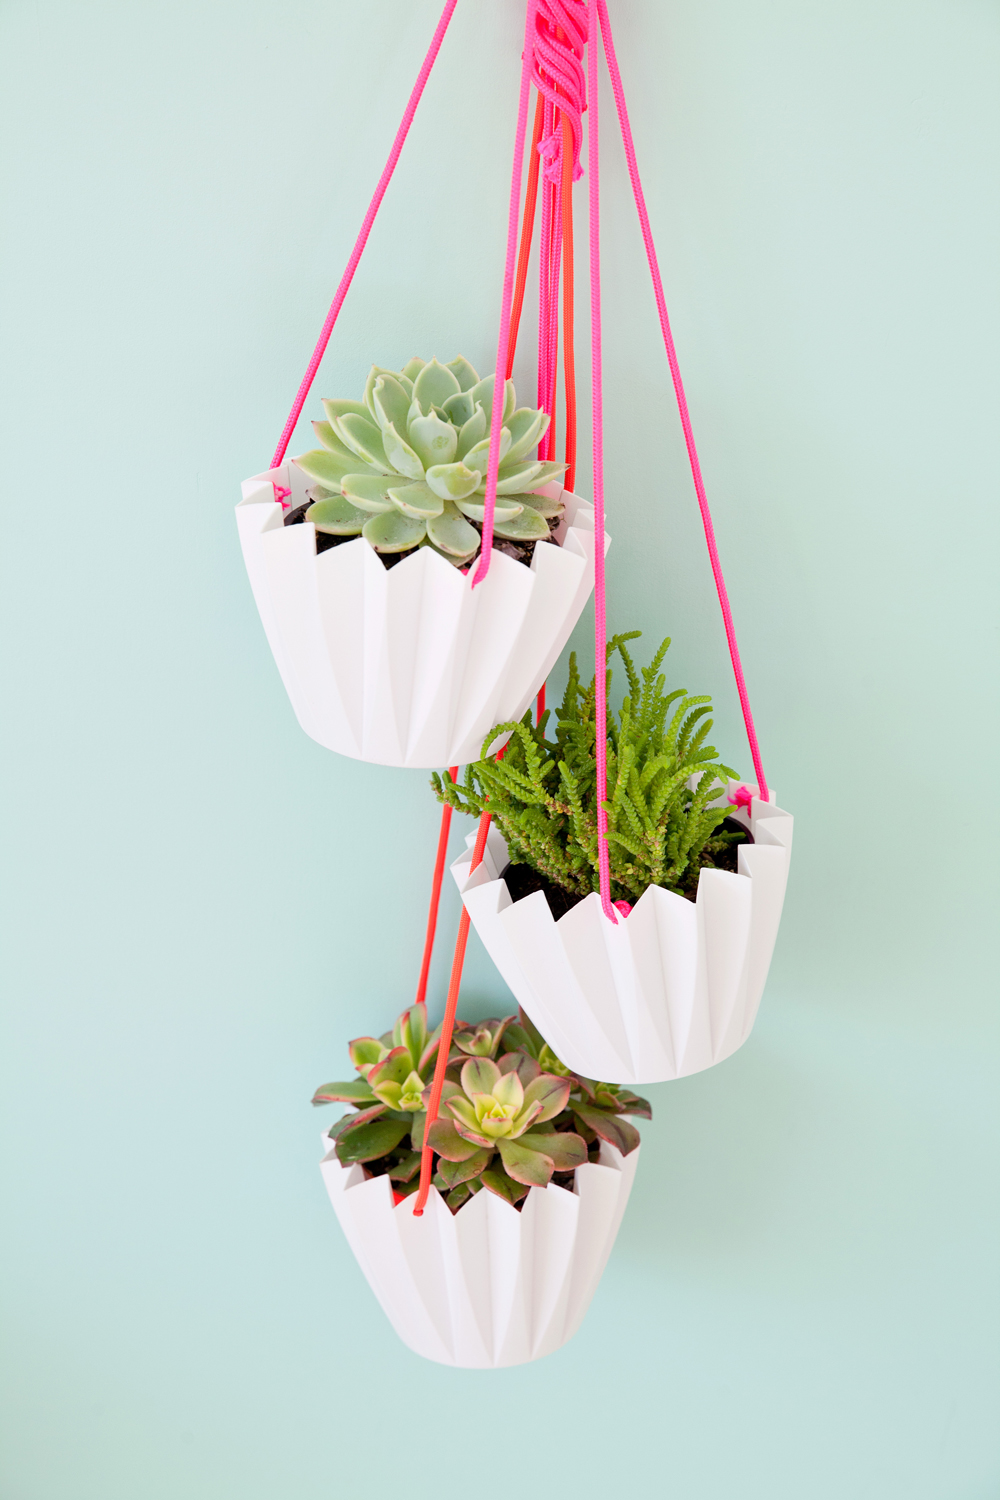

HANGING PLANTER SUPPLIES:
– White plastic pot
–Hole punch
–Parachute Cord
-First lets talk about this pot shall we…..it is AMAZING! So durable and so easy to punch with your hole punch. Be looking for MANY new DIY’s with this pot, I’m a TINY bit in love ha.
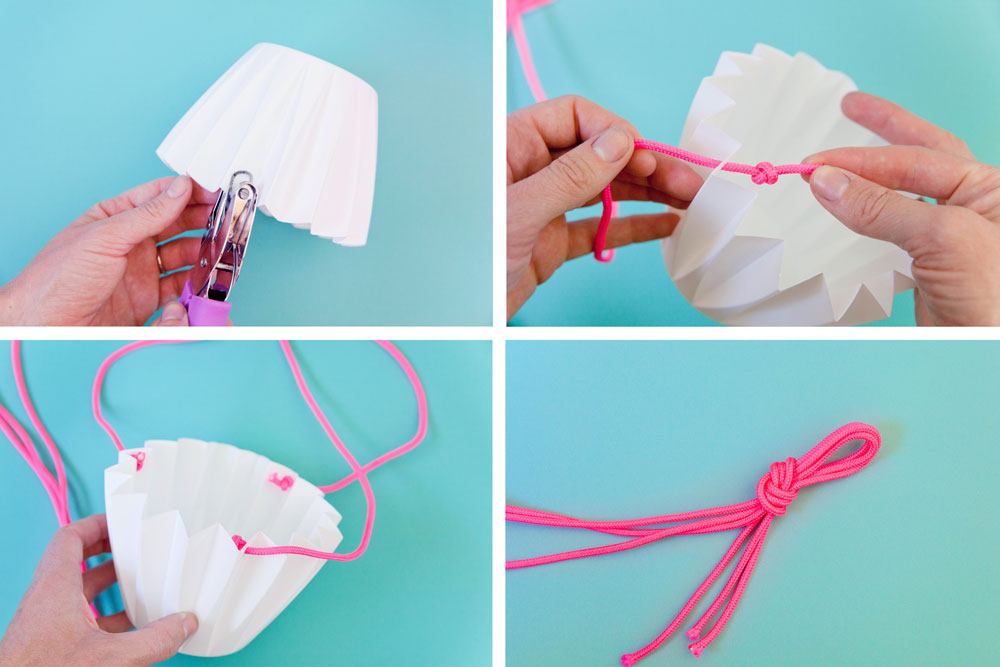
-Figure out where you want to punch your holes. I counted about 5-6 zig zags before I punched a hole so it evenly divided the planter into thirds.
-If your hole (depending on your hole punch) is too small, make a few more punches till it is the right side. I say the smaller the better and that your cord fits snug so you don’t have a big old hole showing.
-Take your parachute cord and string it through and tie a knot.
-Then cut the cord to the height that you want your plant to hang (leave a little extra so you can tie a knot at the top.
-Repeat on all sides.
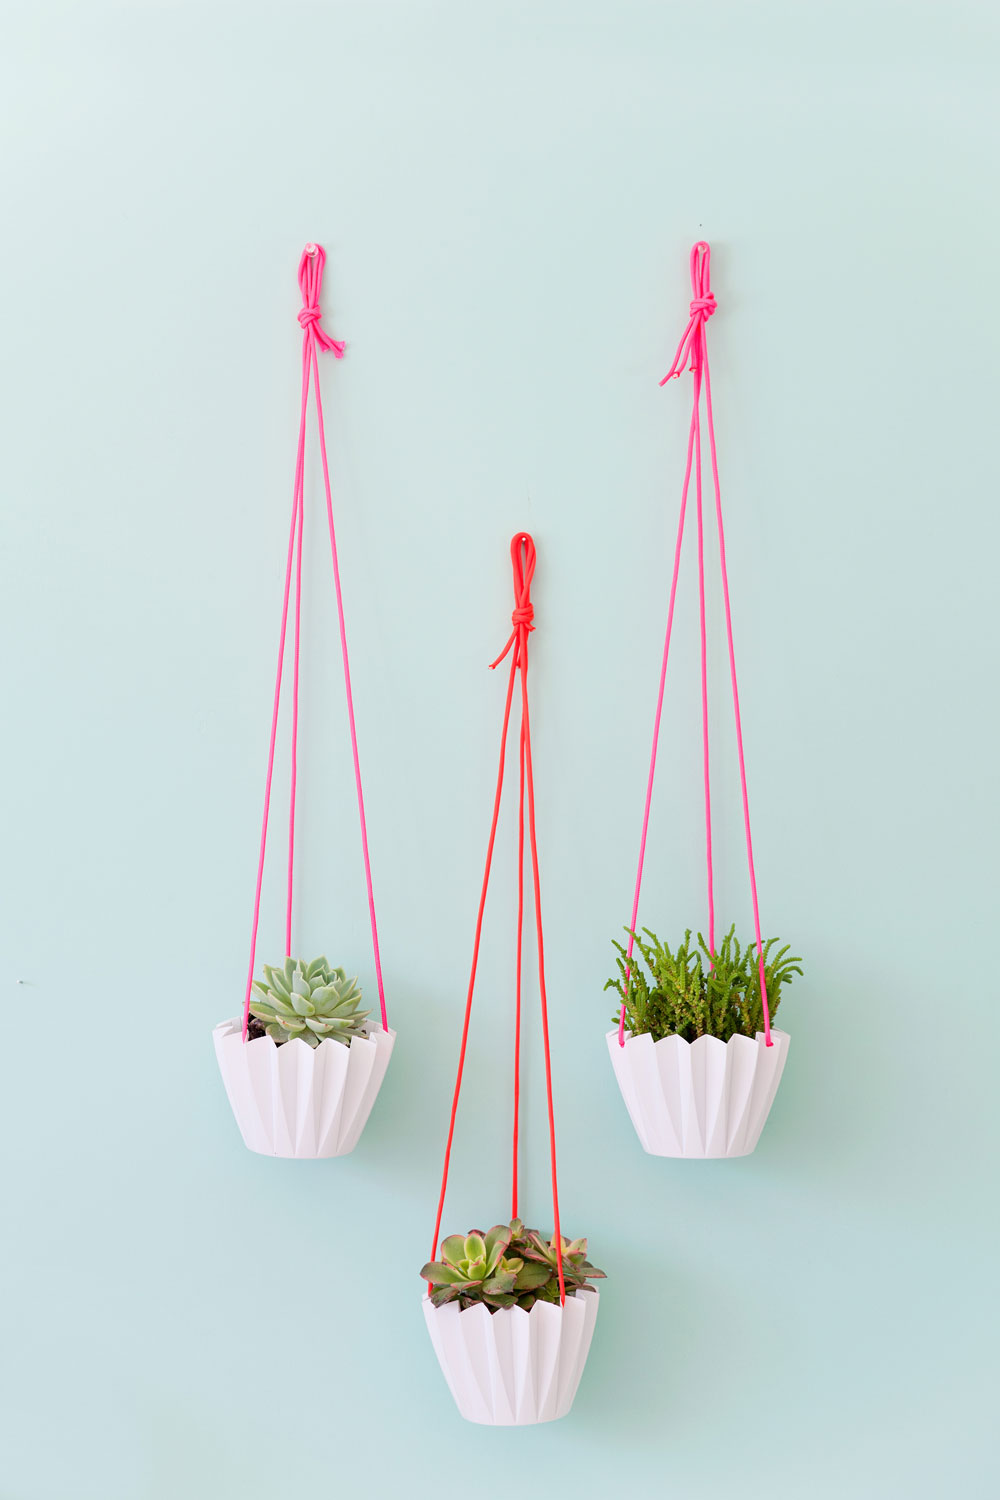
-Then take all 3 strands tie together so you have a loop at the top for hanging.
-Take a lighter and singe the ends of the cord strands so they are clean.
-I just put my potted plants straight inside, so that I can take them out for watering. But if you actually want to plant them inside you are going to want to poke or drill some small holes at the bottom for drainage.
-Then hang and enjoy you cheap , easy and incredibly adorable new hanging plants
