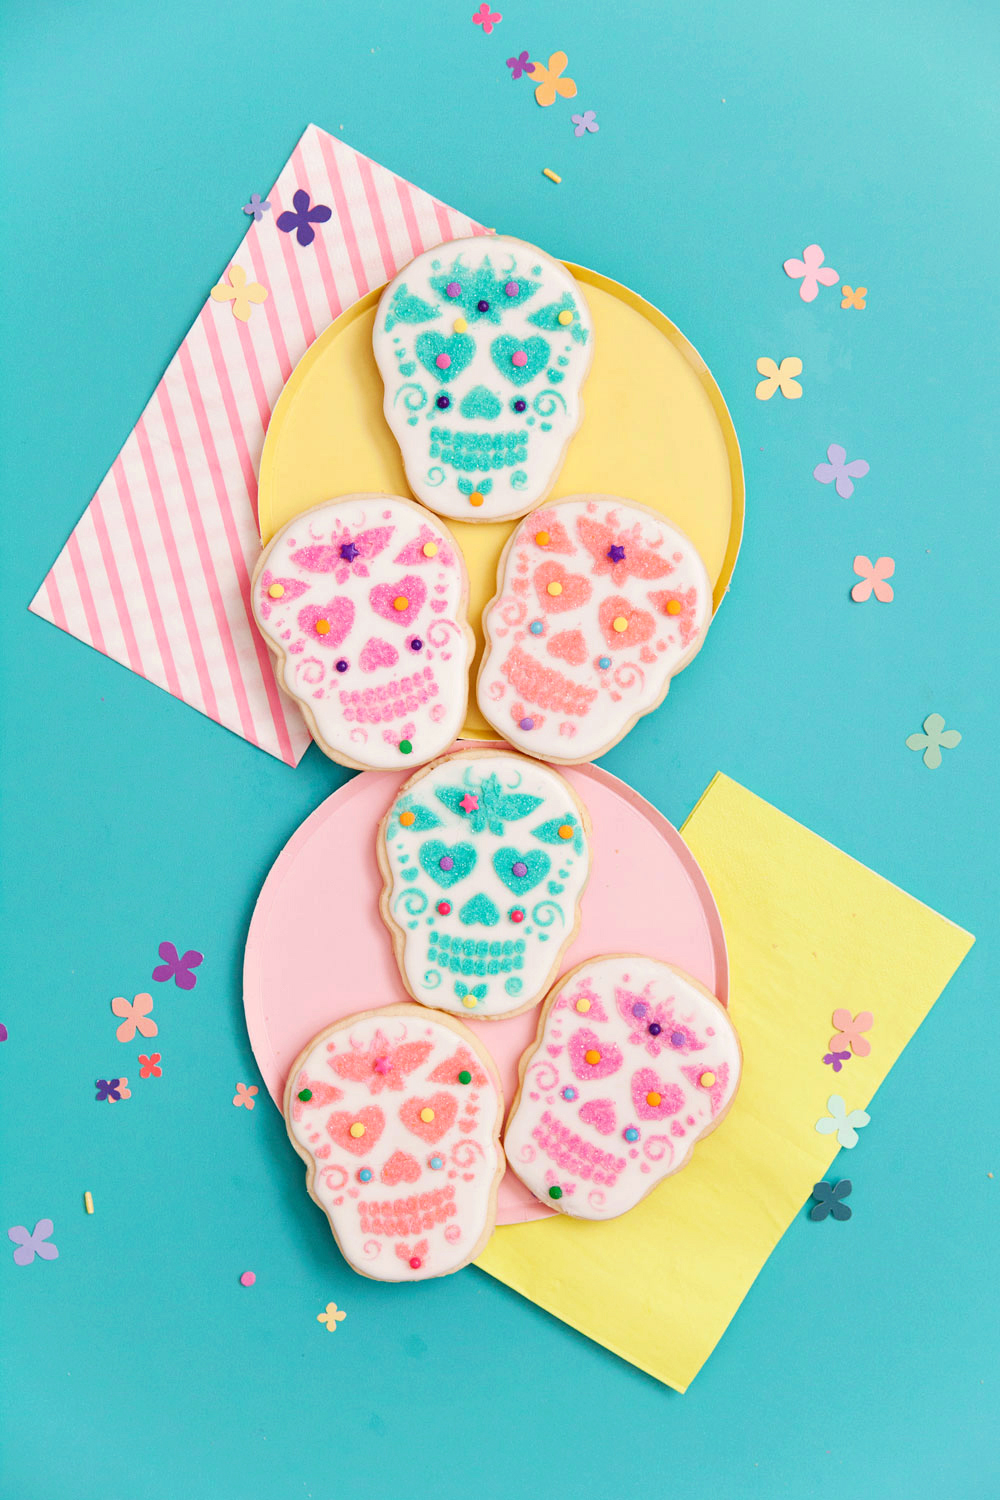
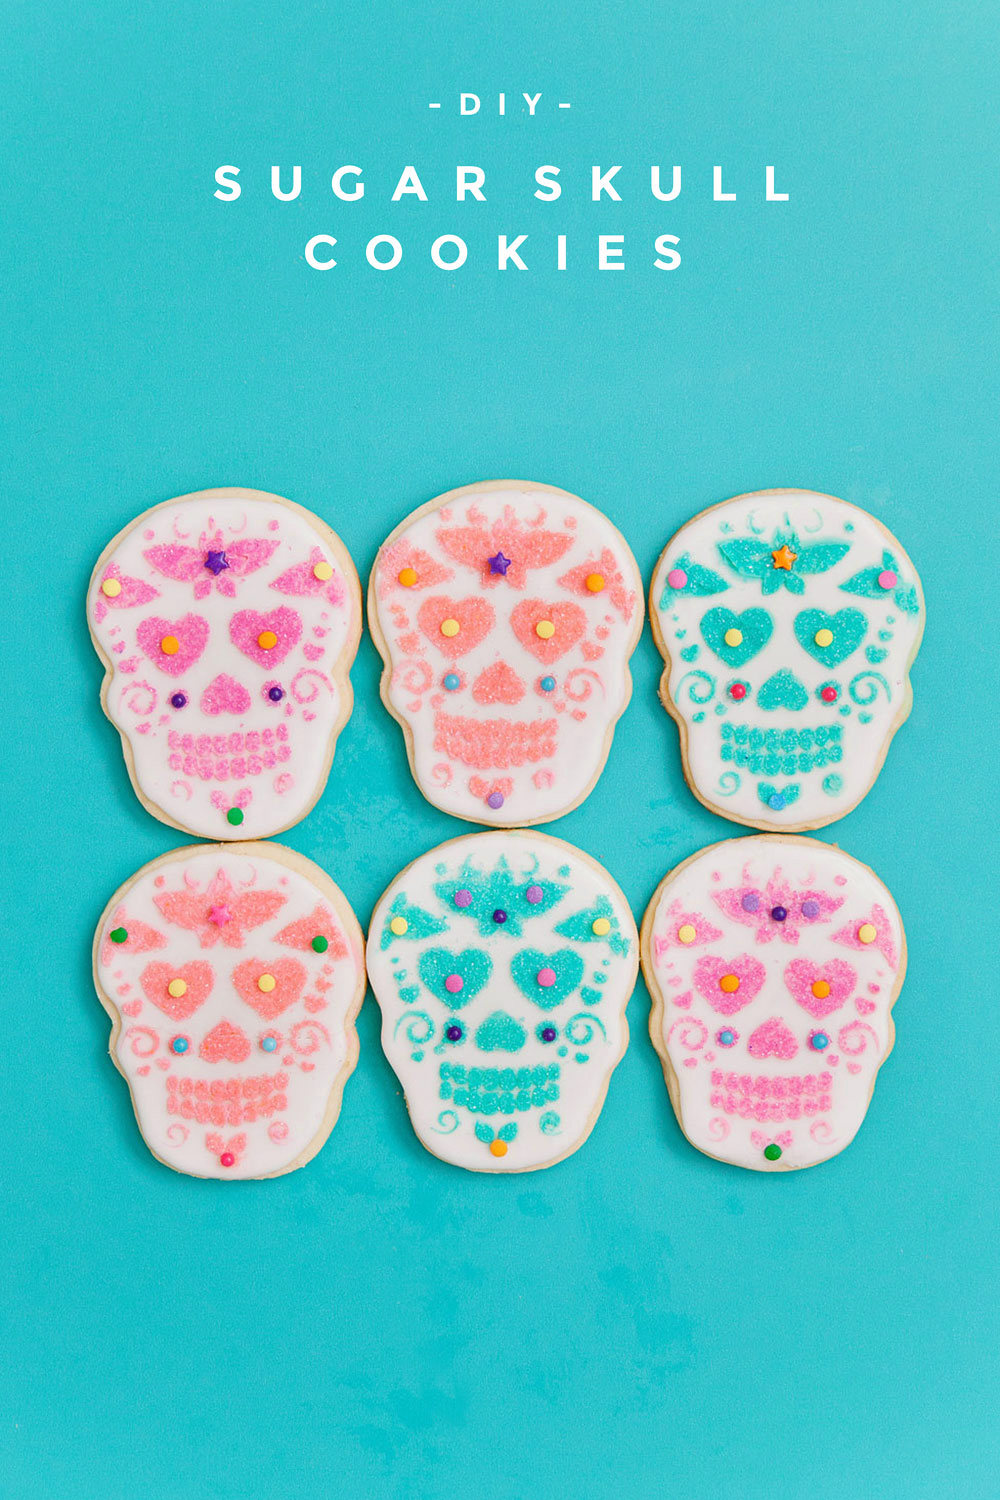
Sugar skulls have been so popular the last few years, whether with costumes or decor and I have always been so in love. Not only are they gorgeous but the history of the sugar skull and celebration of Dia de los Muertos, the day of the dead, make them even more beautiful to me. The festivities of the Day of the Dead start at midnight on the 31st October and goes through November 2nd in Mexico. Sugar skulls can be used to decorate the gravestones of the deceased. The reason they are called “sugar skulls” is because the authentic sugar skulls were made out of molded sugar, decorated with icing and will even have the deceased’s name written on them. Sugar skulls are colorful and not supposed to be scary at all, which is one reason I love them so. The day of the dead is such a beautiful and colorful celebration and I loved teaching my kids the history and culture behind Dia de los Muertos and the sugar skull while making these fun cookies. They enjoyed eating them as well ;) So onto the the DIY. I tried a new technique while making these cookies and they are so easy! ANYONE can do them. Find the tutorial for these DIY sugar skull cookies below.
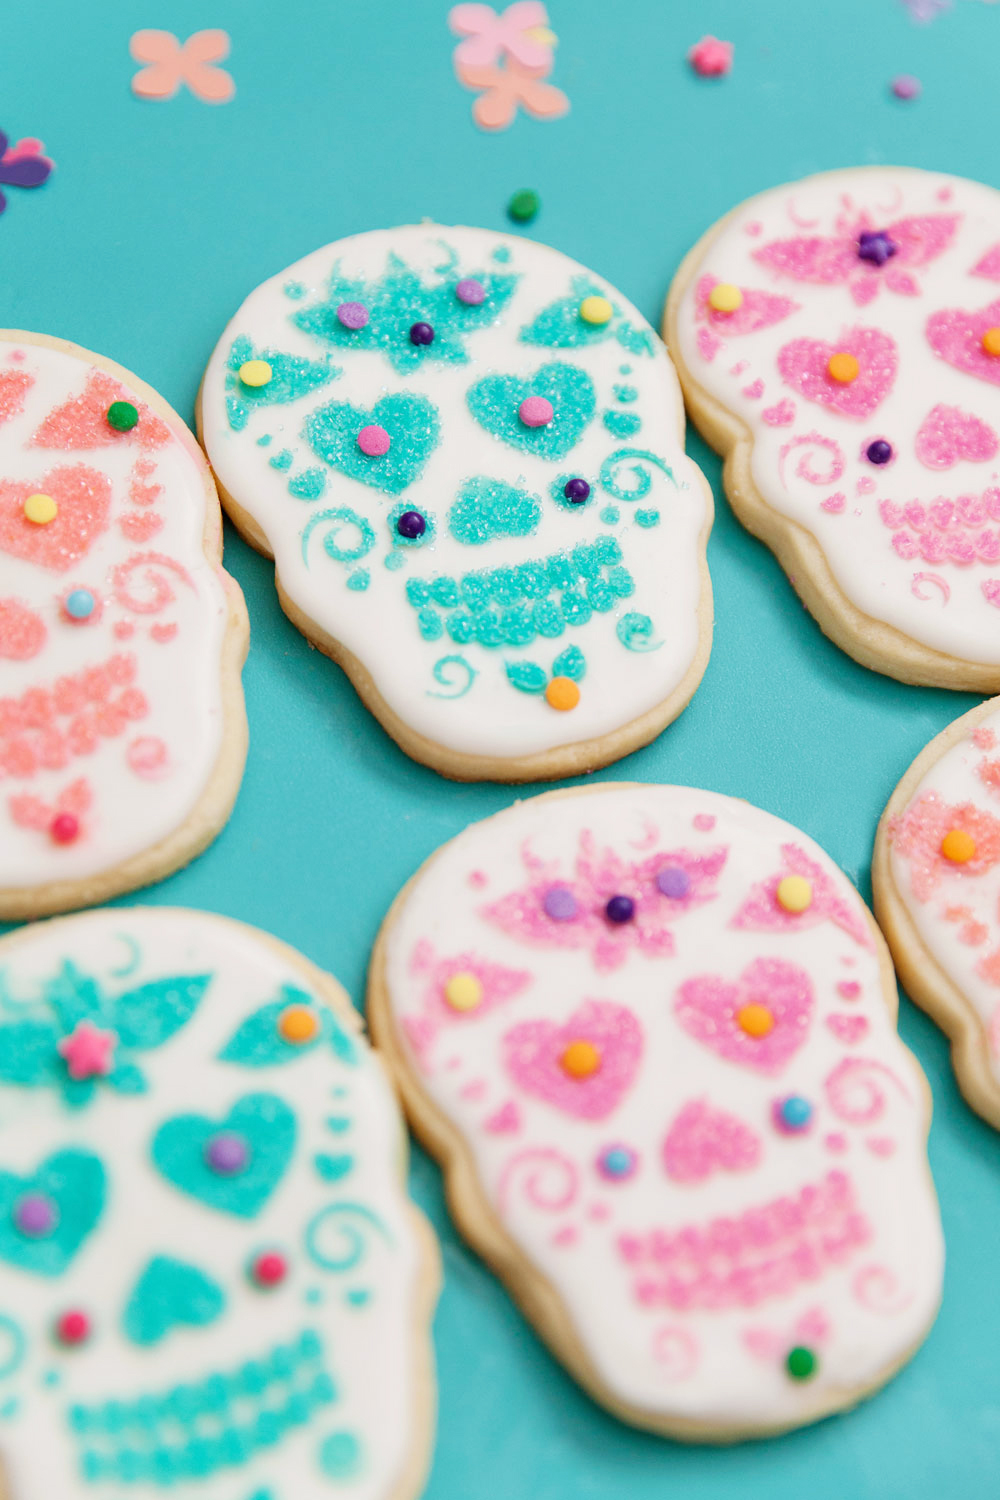
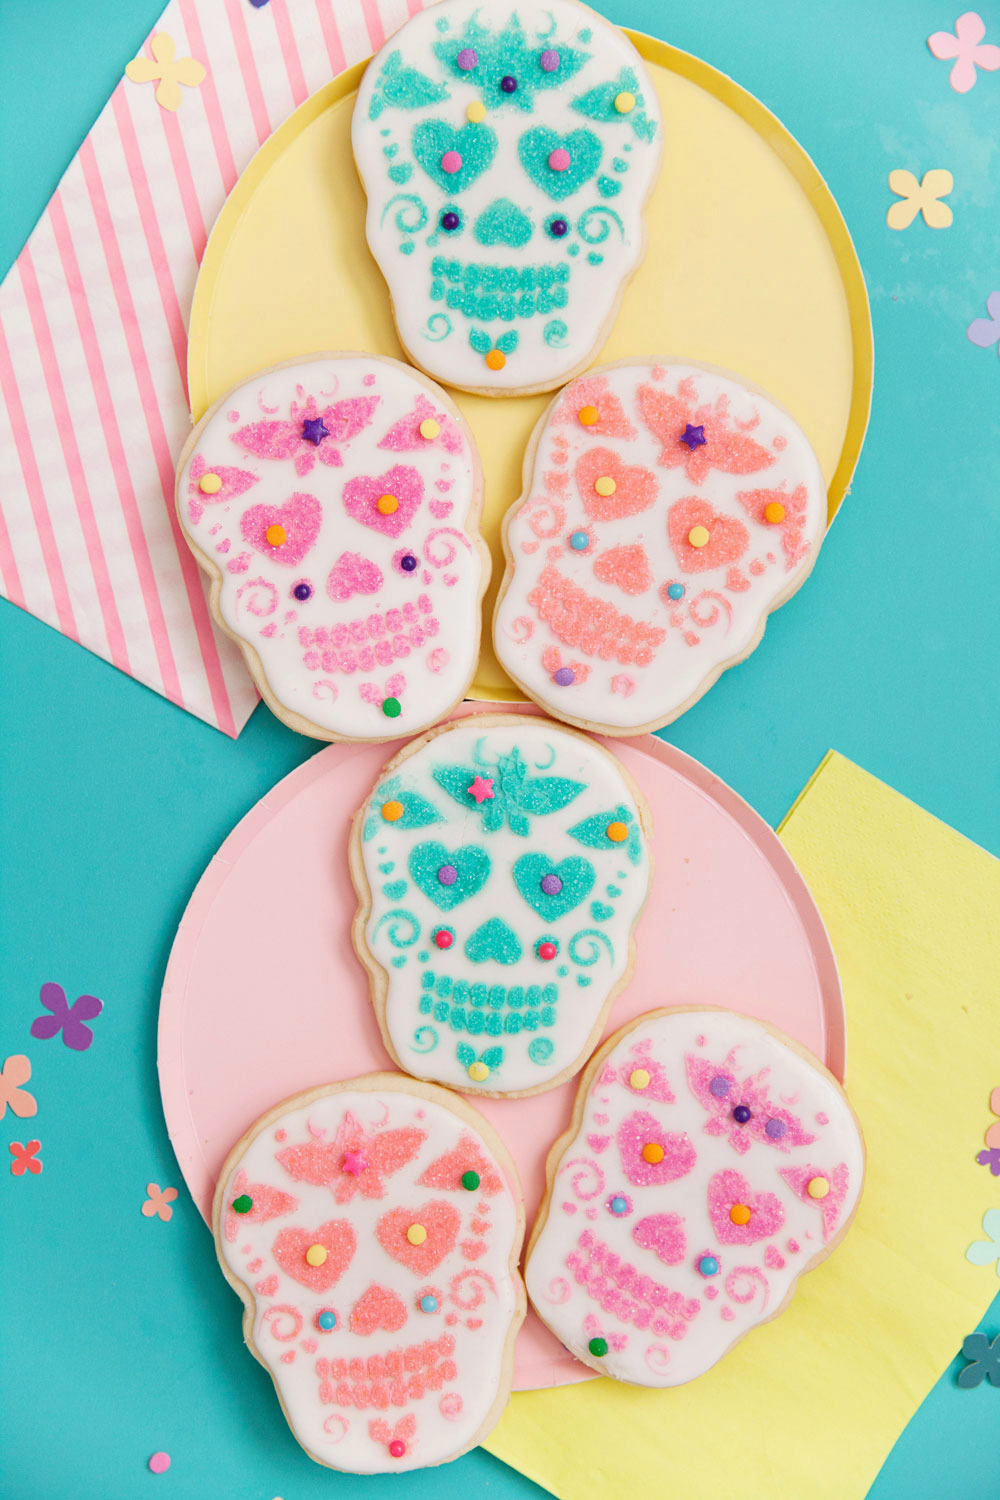
SUPPLIES
-Skull cookie cutter, I got mine from Michaels (you can find my cookie and royal frosting recipe here)
–Cricut Machine (or lots of patience and an X-acto knife ha ha)
–Plastic Sheets
–Sugar skull template download
-Butter Cream Frosting
–Food Coloring
-Knife
–Sprinkles
–Decorating Sprinkles
You guys…I am DYING over this technique! It might be my new favorite way to decorate! And the best part…NO skills required! You can be the worst cookie decorator on the planet and this technique will be easy peasy for you, no joke. So lets get started….
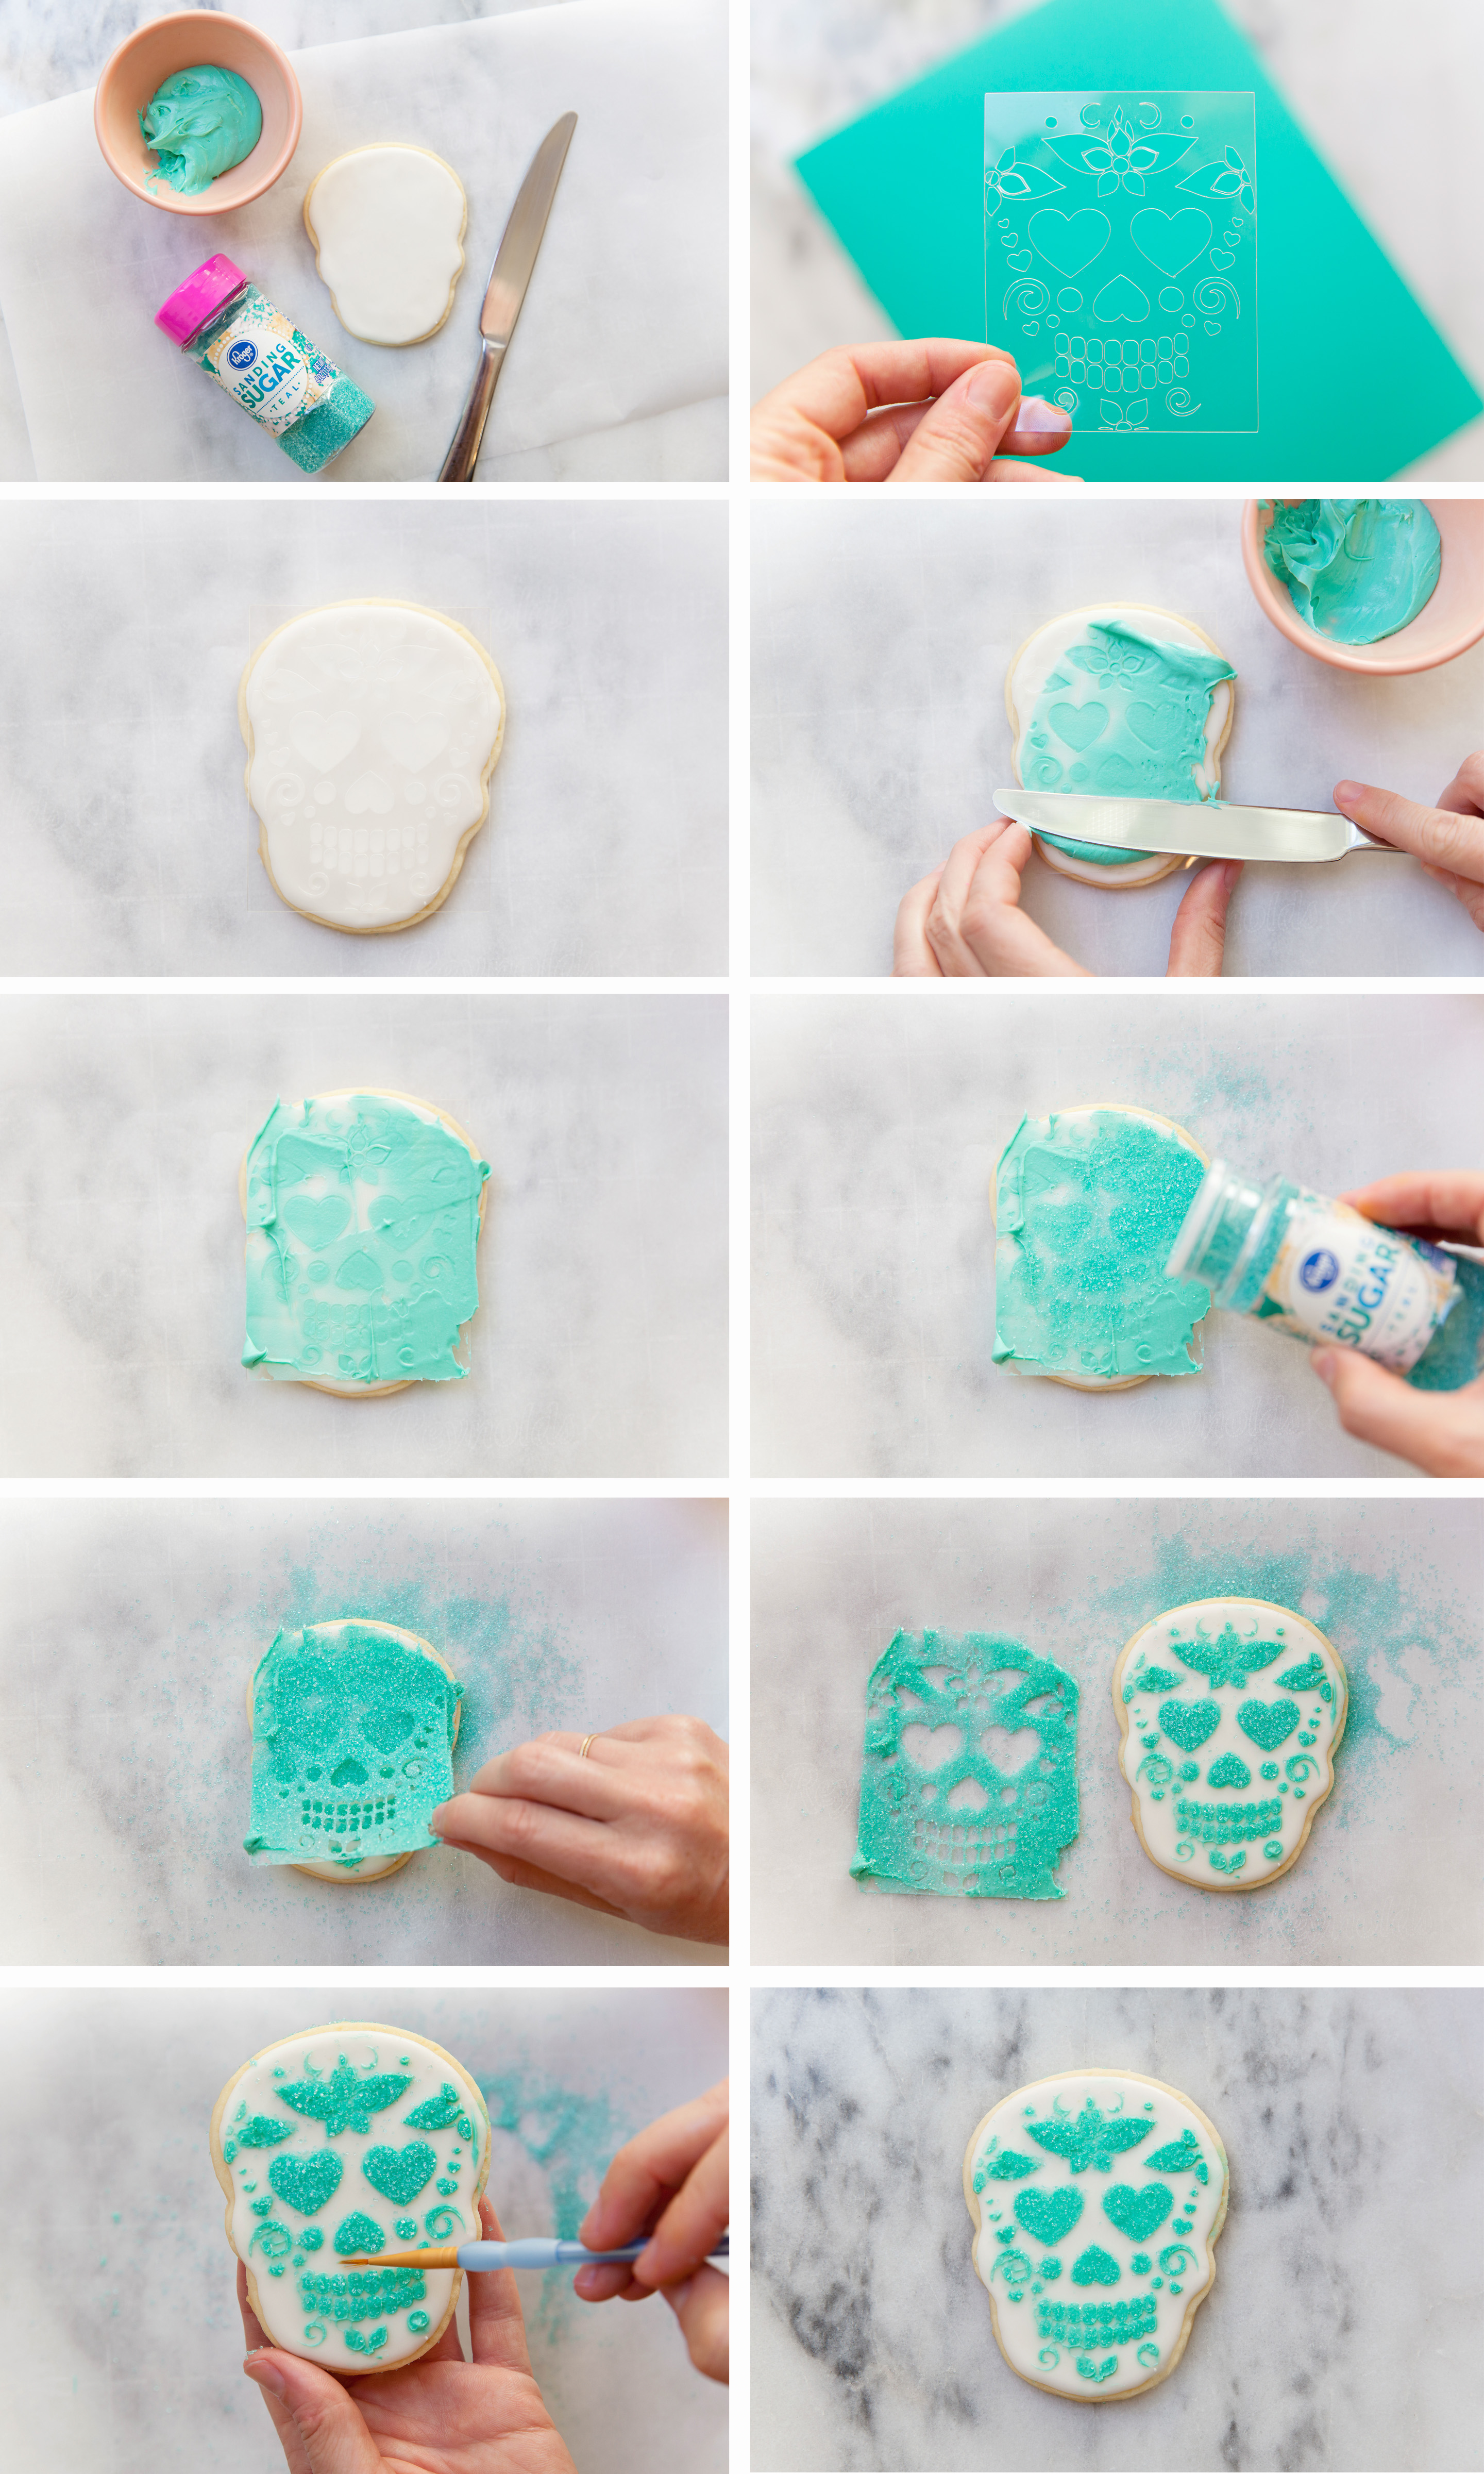
-First cut out your stencil. Now this part can be sooo simple if you have a cutting machine. You are going to want to cut out your pattern on a plastic sheet so that the frosting wipes clean. One thing I wish I had done differently is made the area around the stencil bigger so there was more room for the frosting to go without hitting the cookie.
-Mix up some buttercream frosting OR just go the store bought container route (which is what I did).
-Mix in your food coloring.
-Take your stencil and place it onto your already frosted (with royal icing) cookie.
-Lightly press down on the stencil to hold it in place.
-Next take some of your buttercream frosting with your knife (on the flat side) and start to wipe it across your stencil. Try to swipe downward.
-Once you have covered the whole stencil it’s time to sprinkle it up. You don’t have to do this step but I think it finishes it off nicely.
-Next lift up your stencil. This part you want to do smoothly and fast.
-Then voila!! Sugar Skull cookie decorating extraordinaire!
-Take your food brush (or in my case some paint brushes I only use for my cookies) and dust off or clean up any areas that got a tad messed up.
-Then decorate with other fun sprinkles to add more color to the cookie.
-Lastly rinse off your plastic sheet in water and pat dry then start again!

They look so precious and beautiful, wow! Great work!
https://www.makeandmess.com/
I love this pastel skulls. It’s lovely.