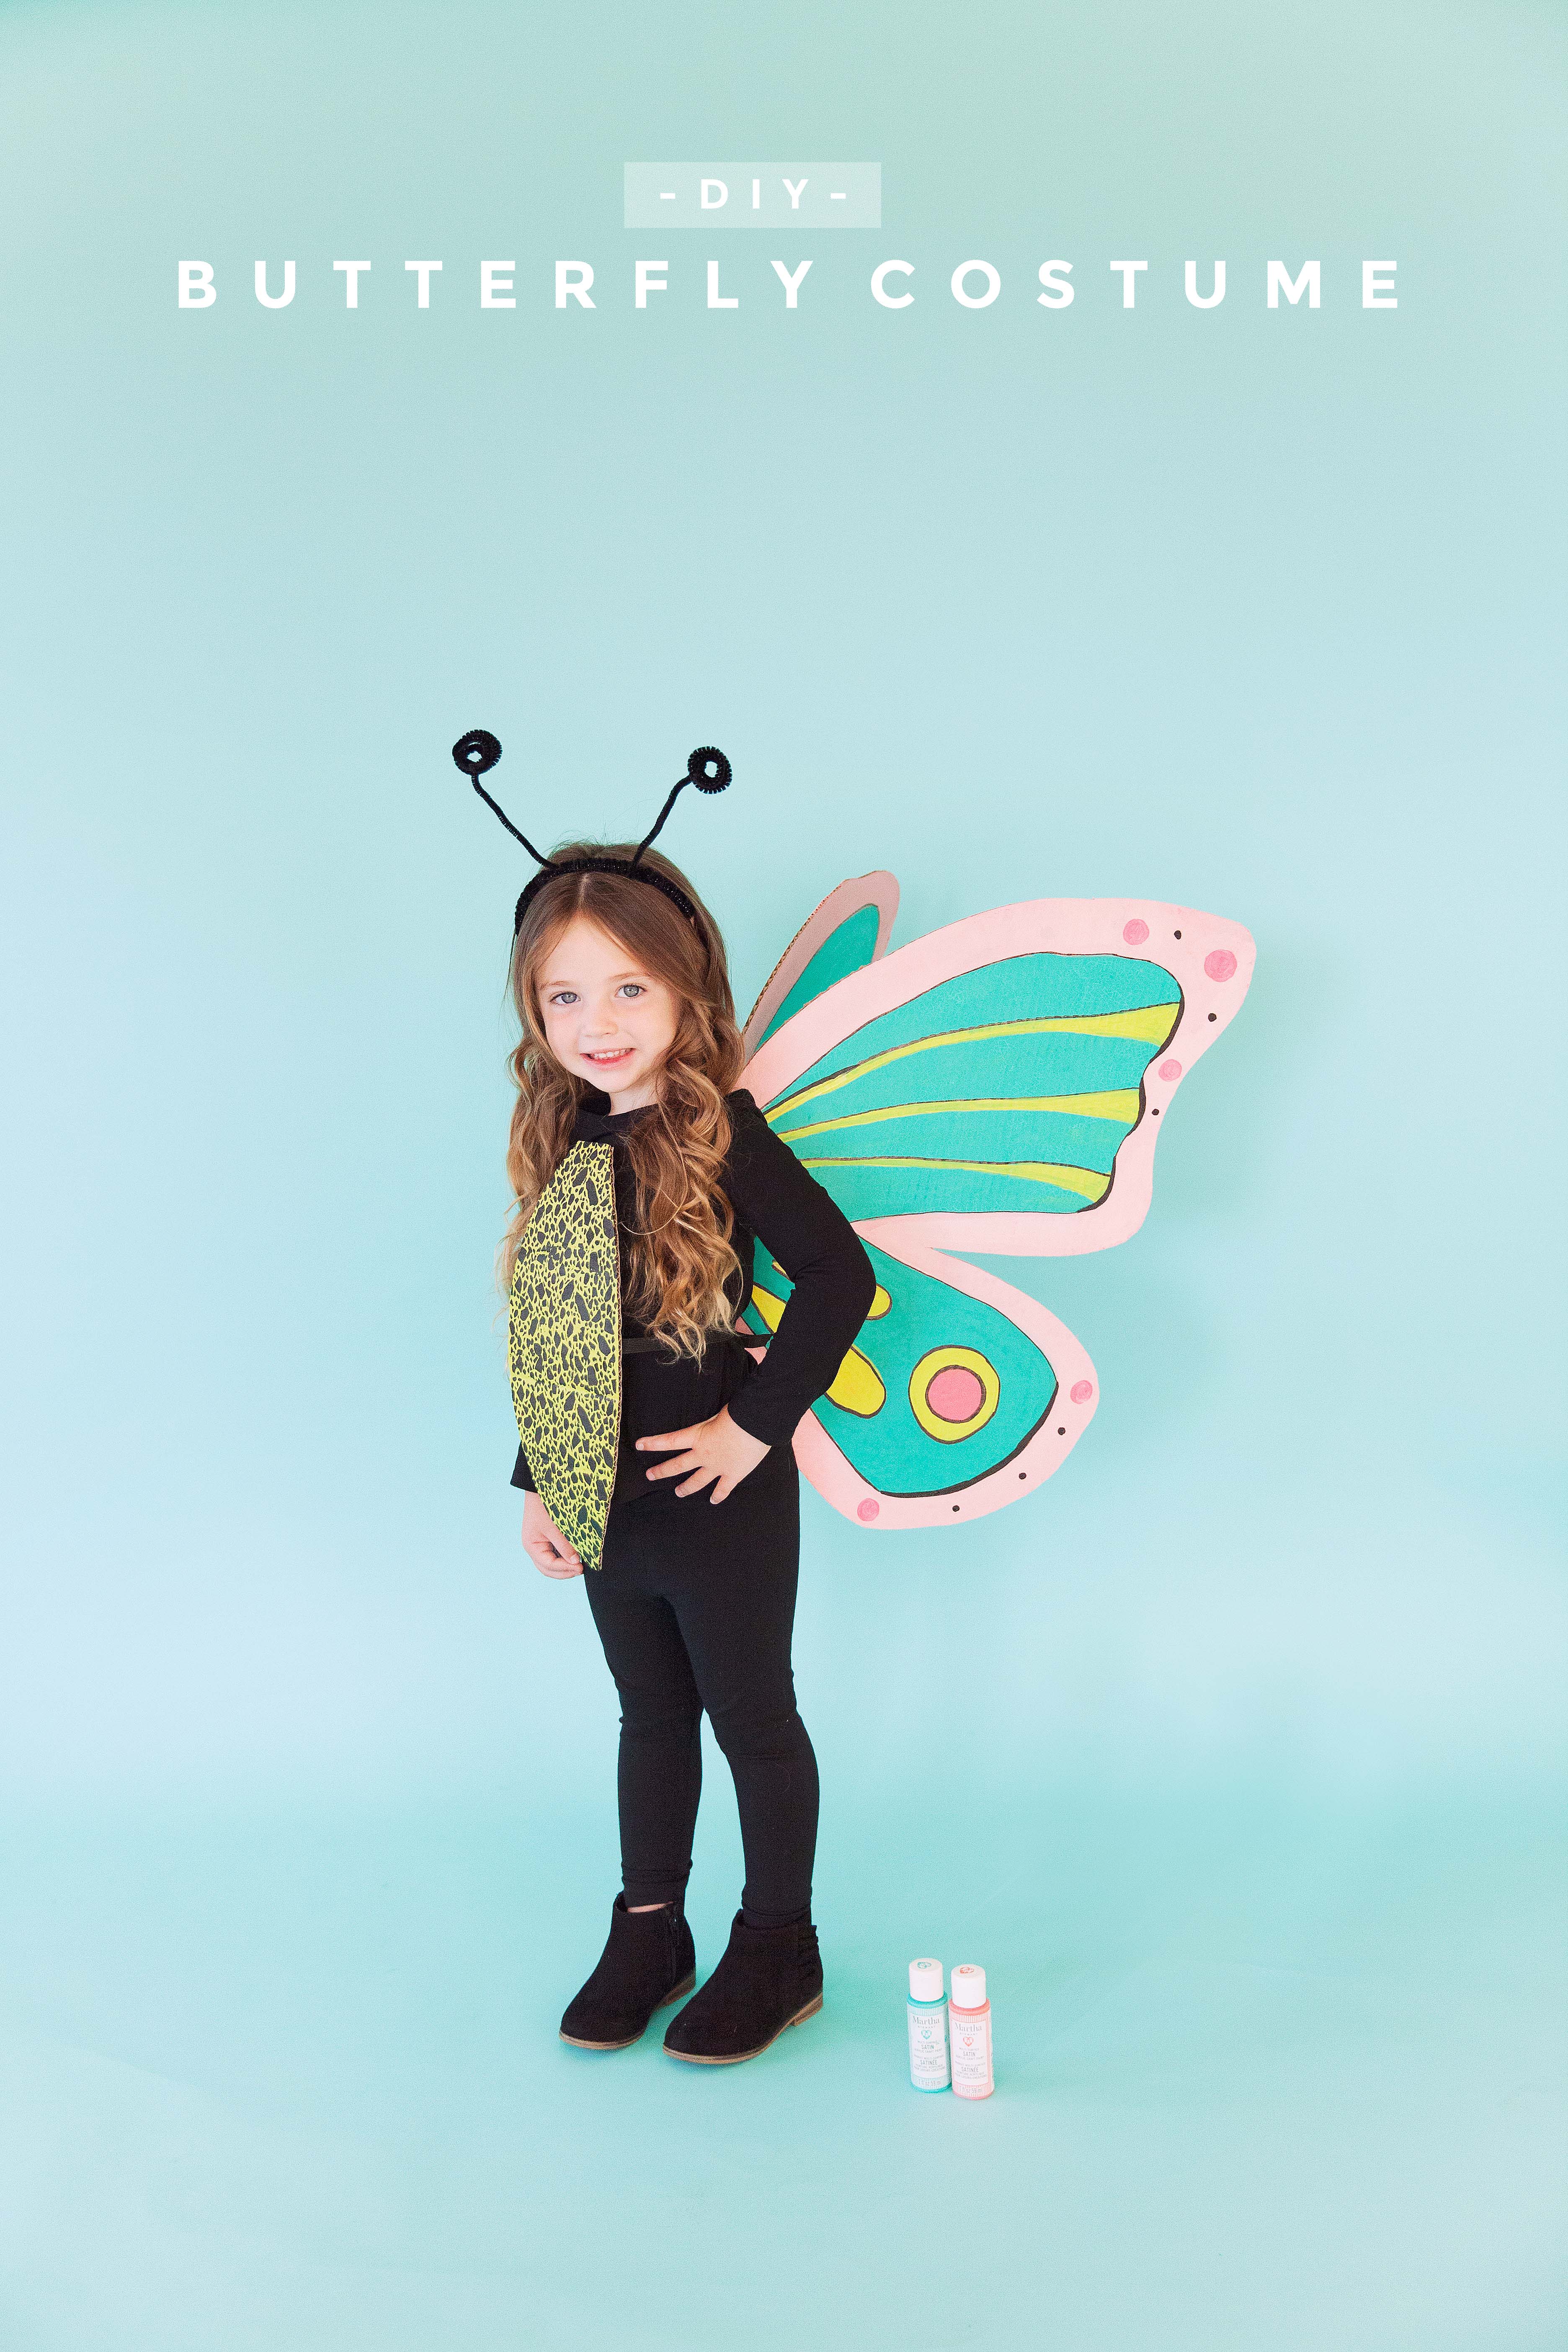
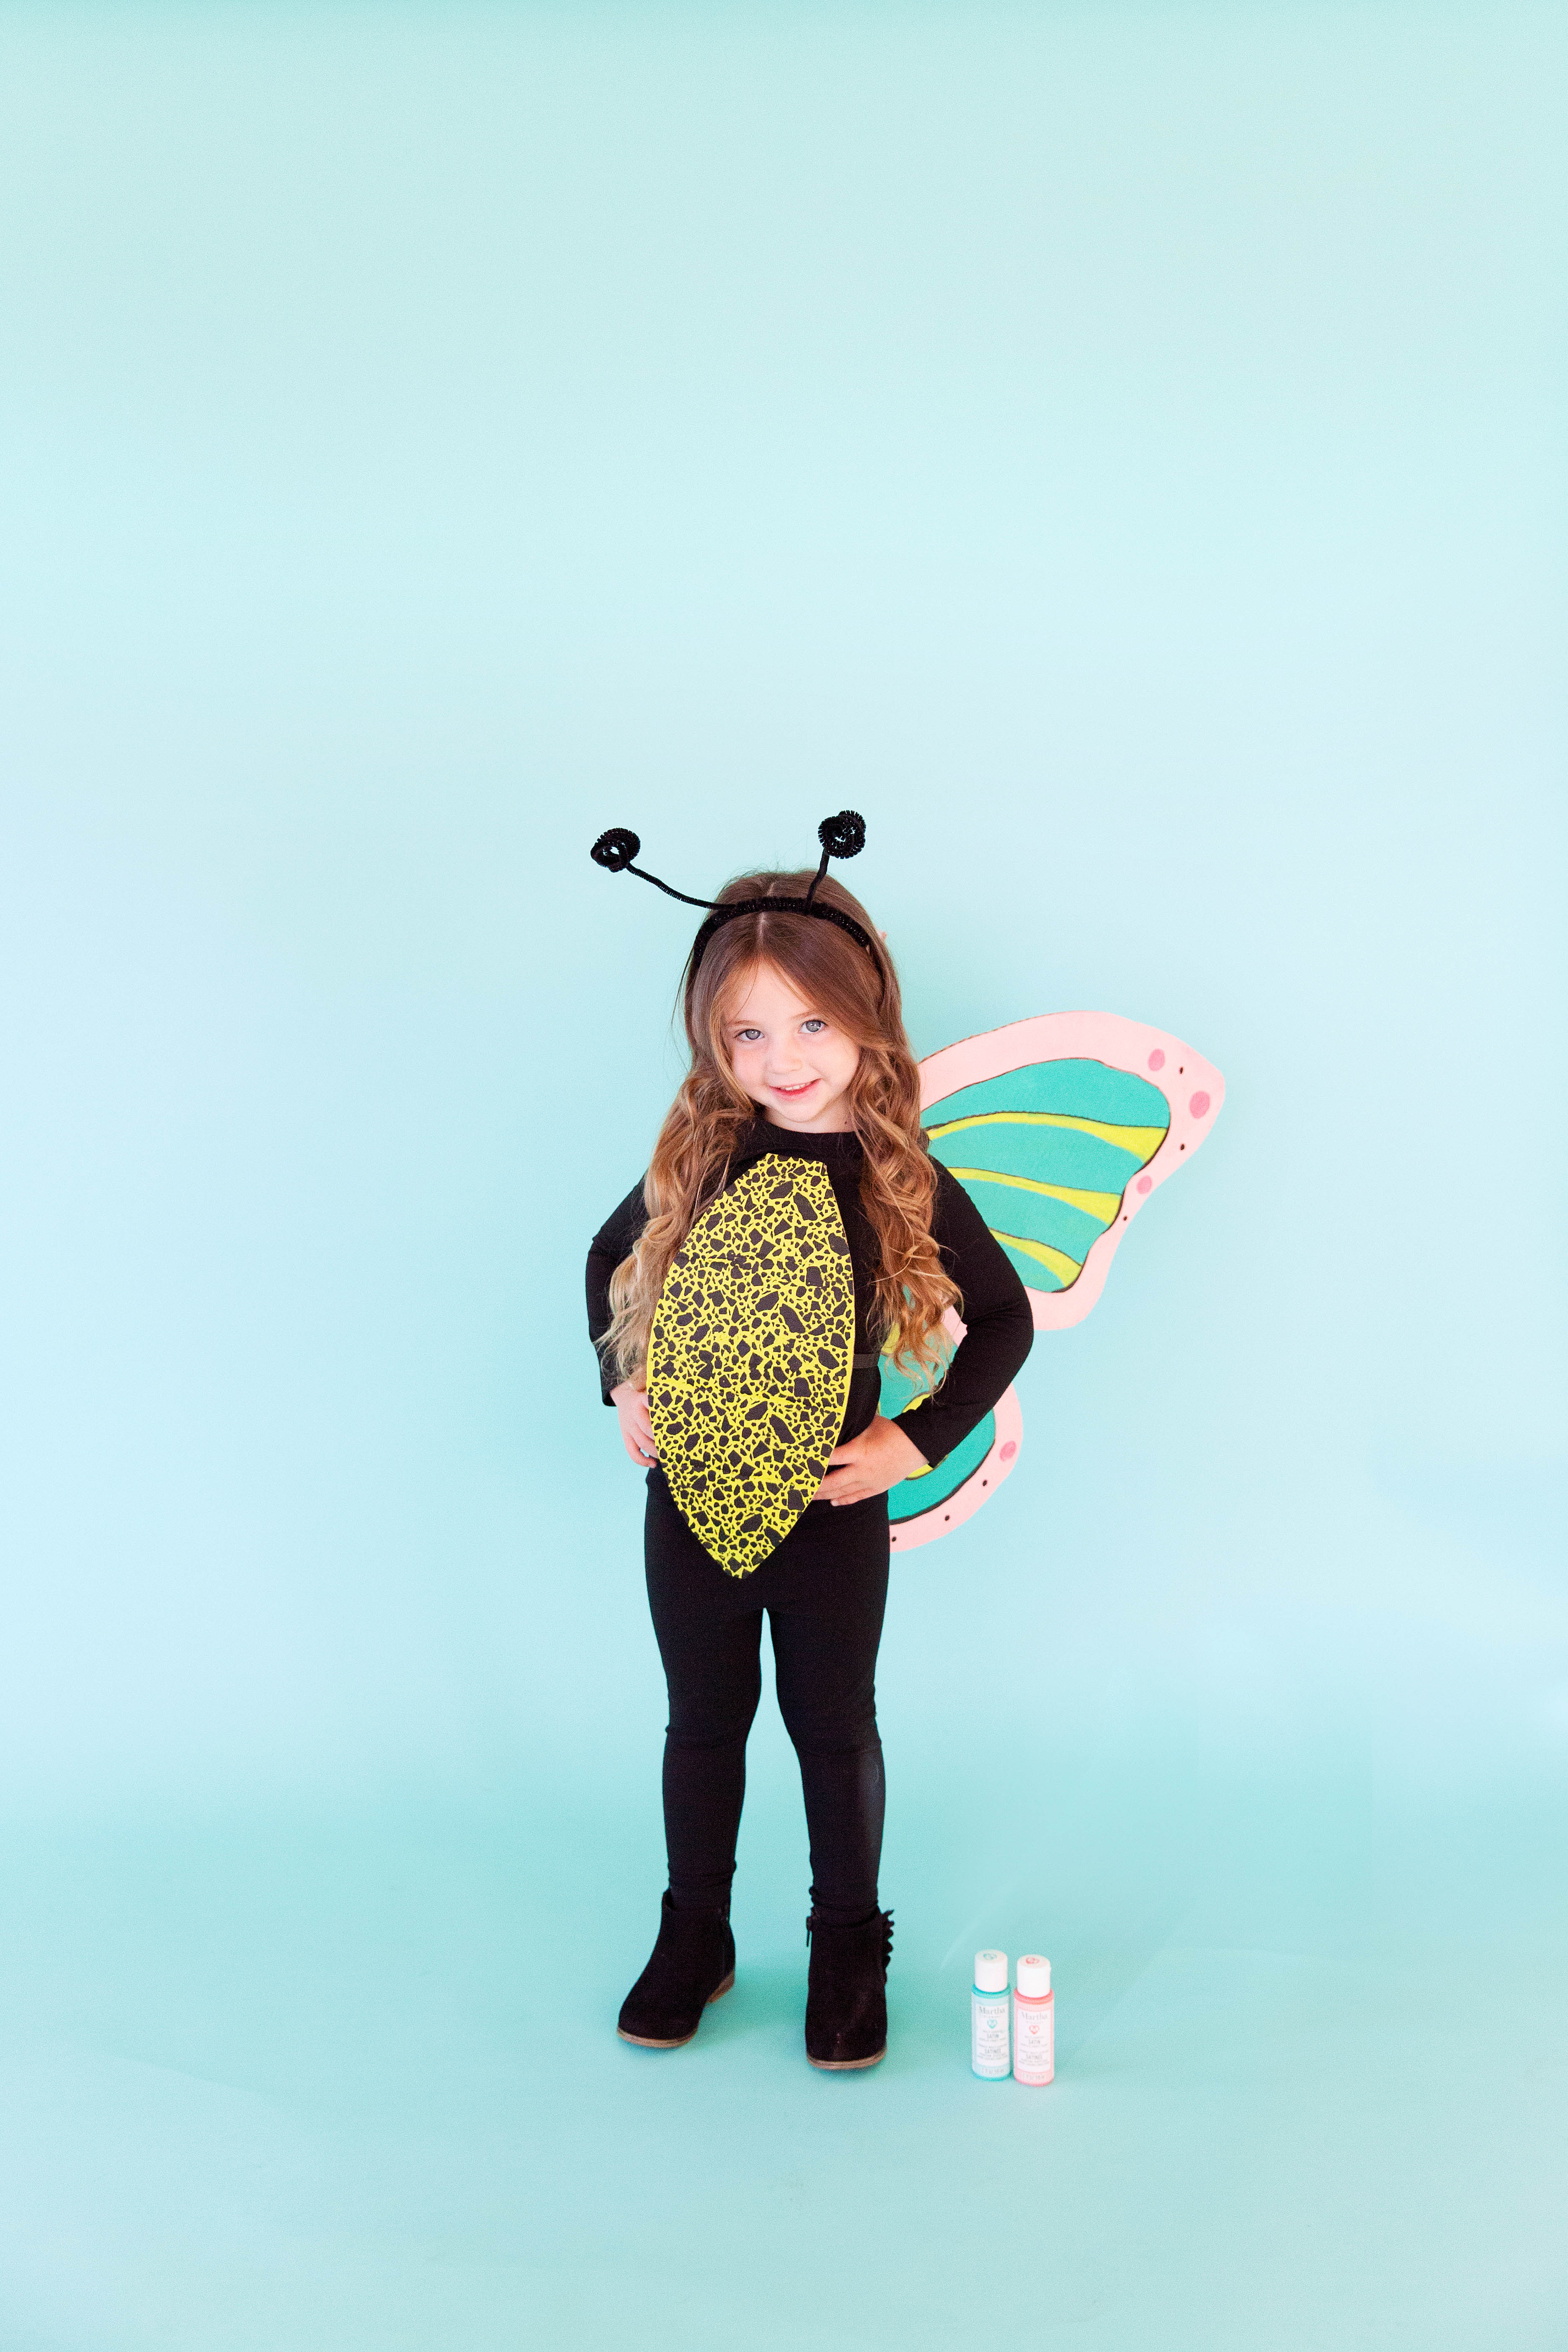
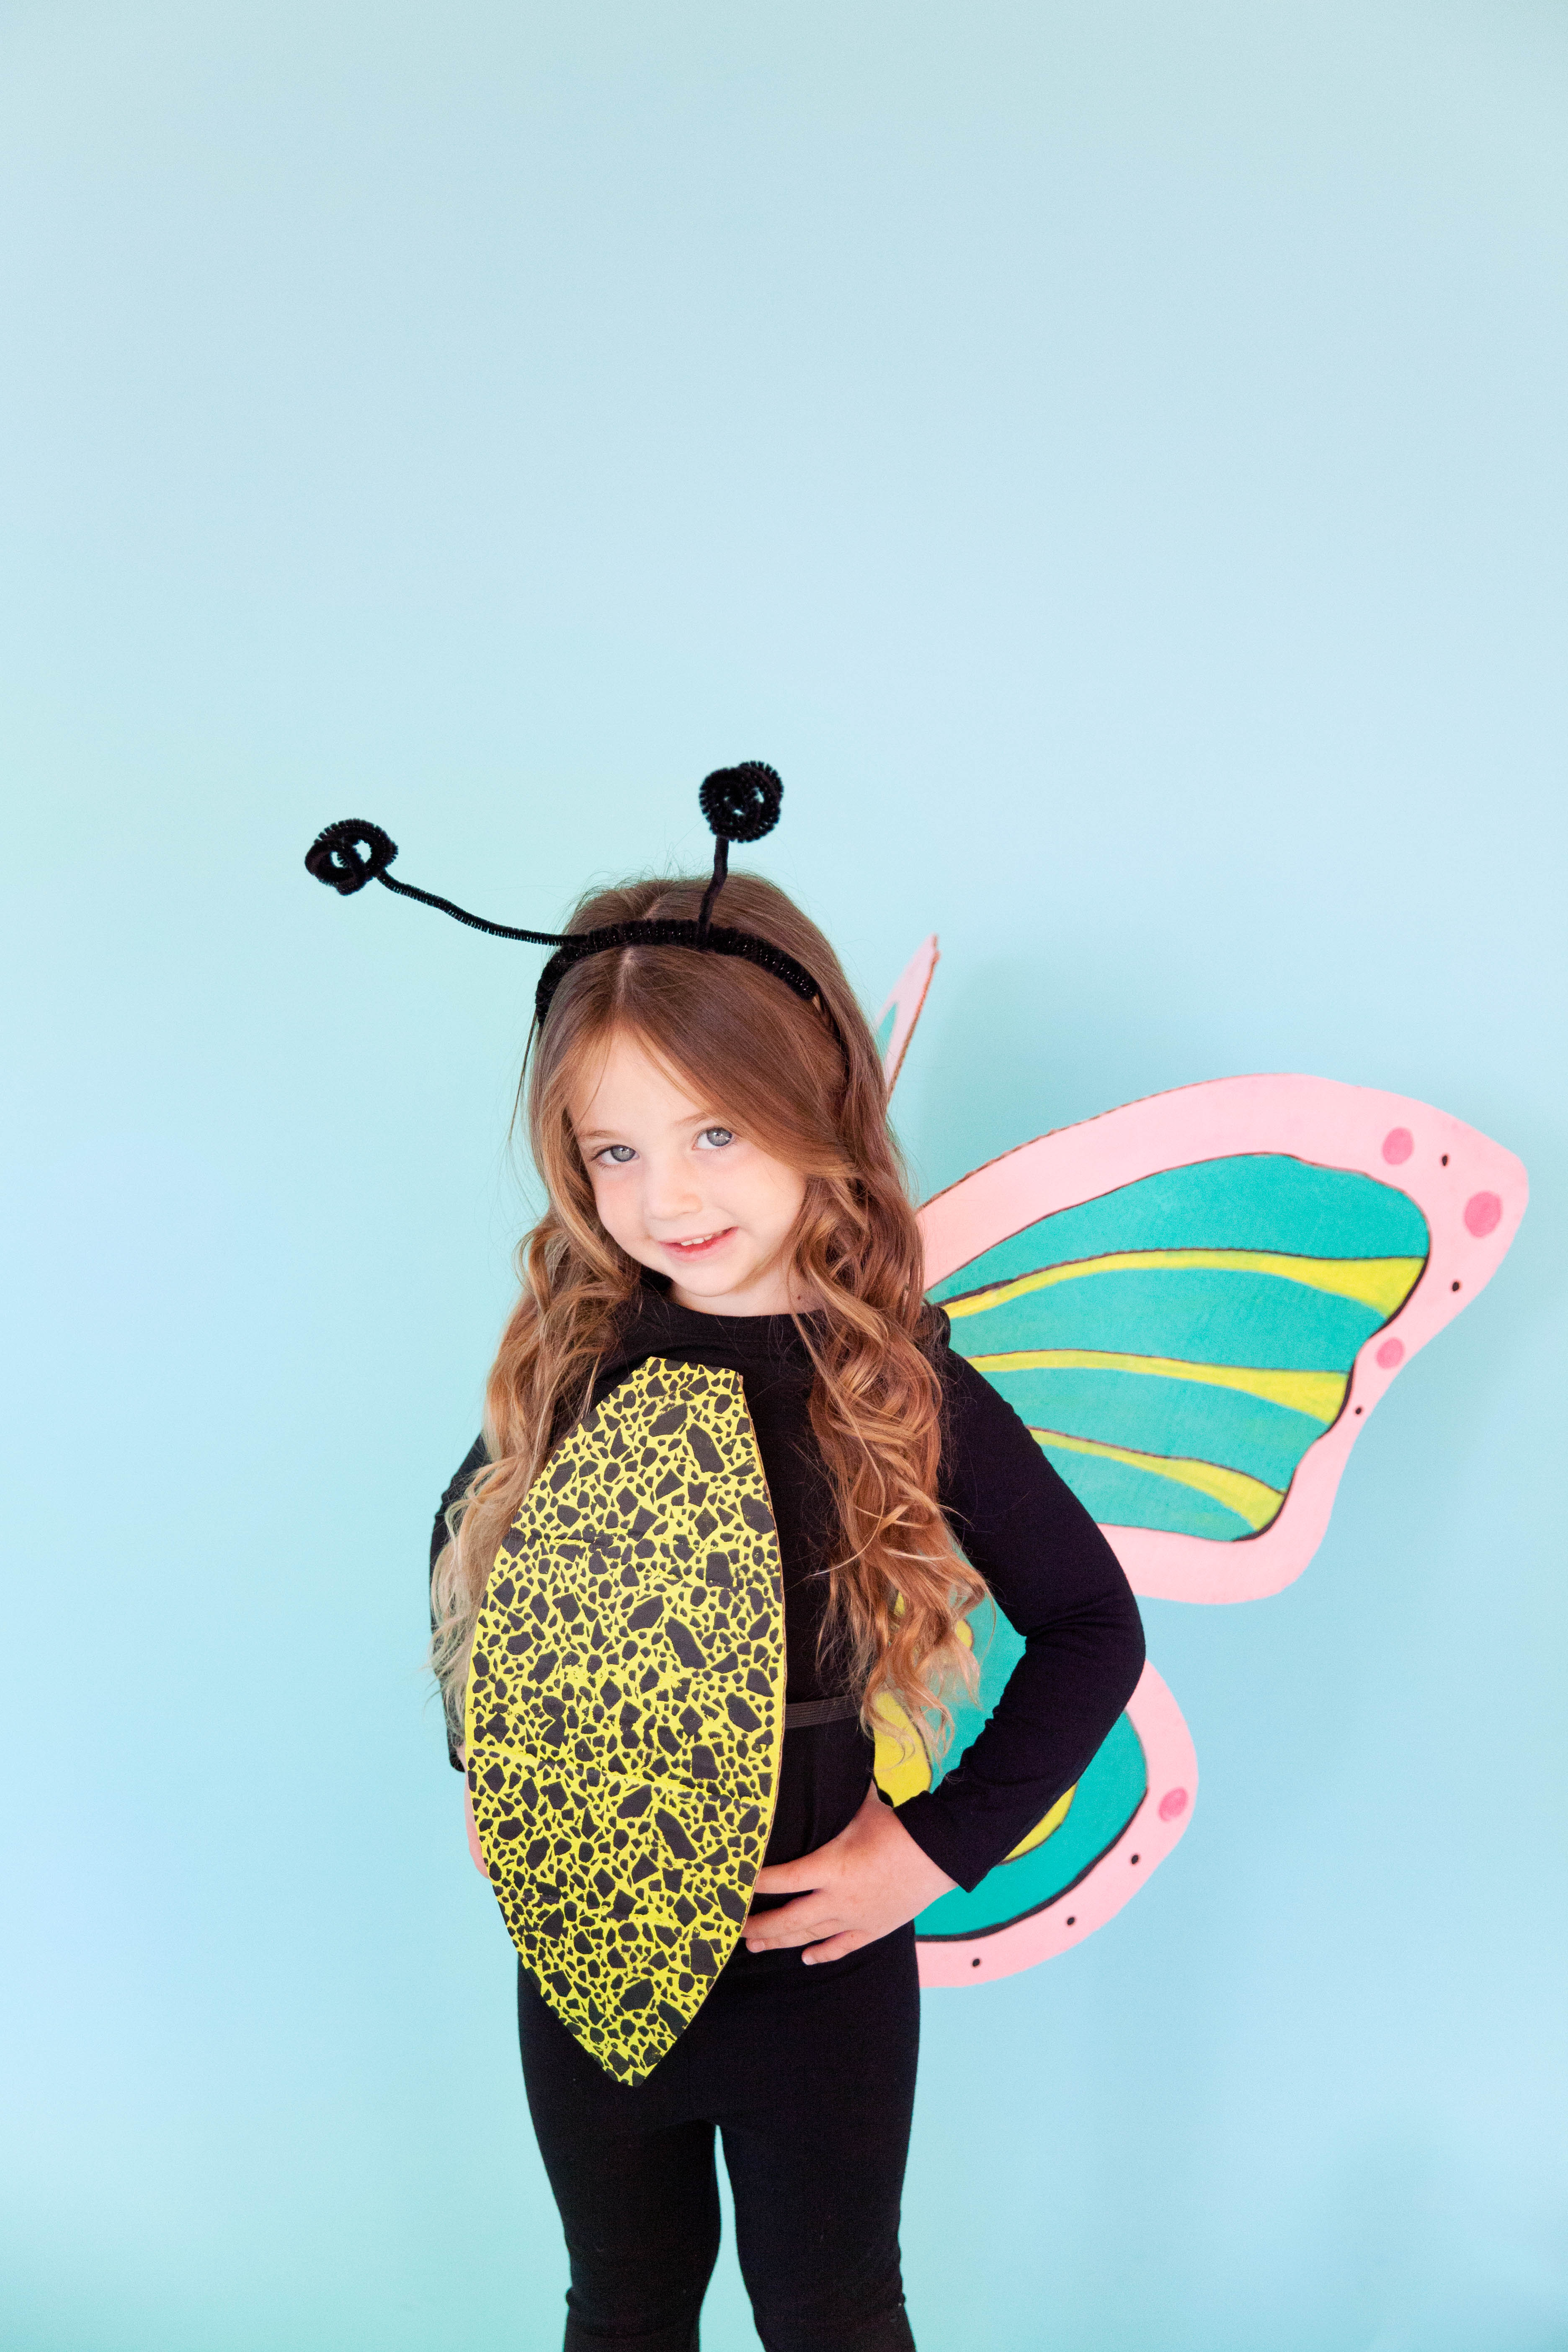
 I love this time of year and coming up with costumes is one of my favorites! I am partial to handmade costumes mostly because I love how you can make it your own and it is so unique. And if you want unique, this butterfly costume is it! Step aside monarch butterflys because there is a fun pink, yellow and teal butterfly in town! I partnered with the Martha Stewart team and Plaid Crafts to share this adorable DIY Butterfly costume. So grab the best paints EVER, cardboard, stencils and lets get crafting! It will make your kids’s butterfly dreams come true! Trust me ;) Find the full tutorial below.
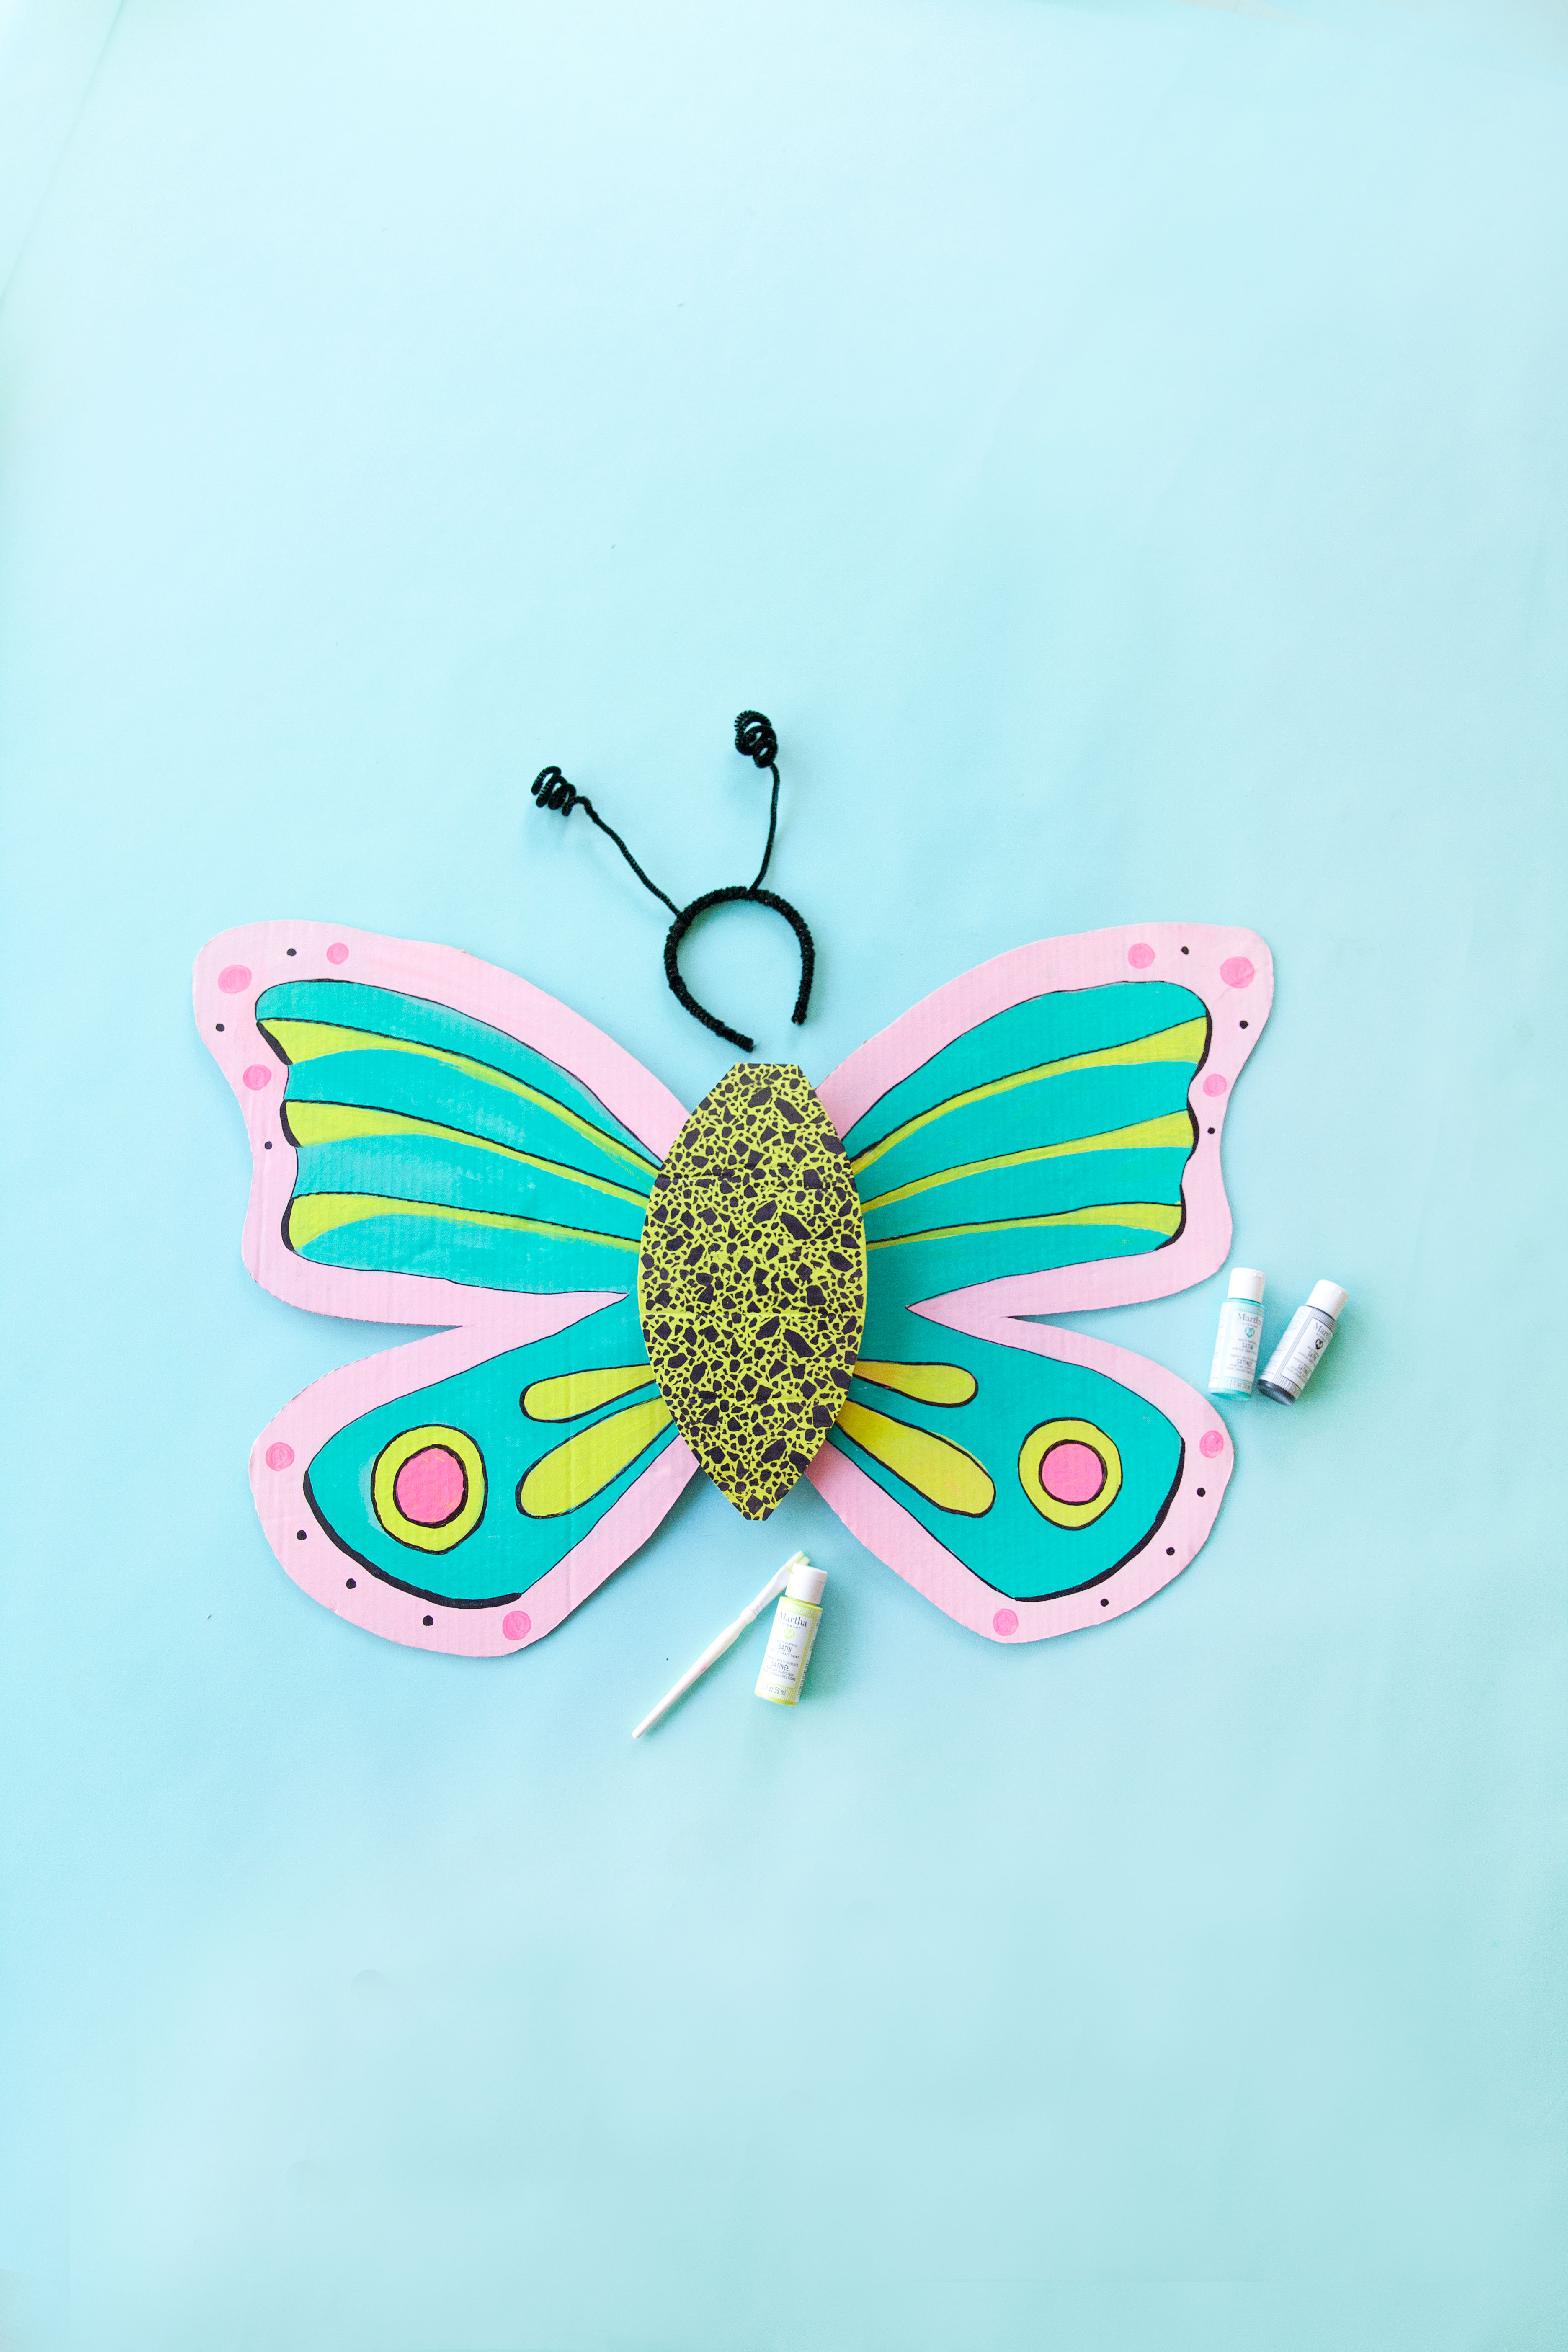
SUPPLIES
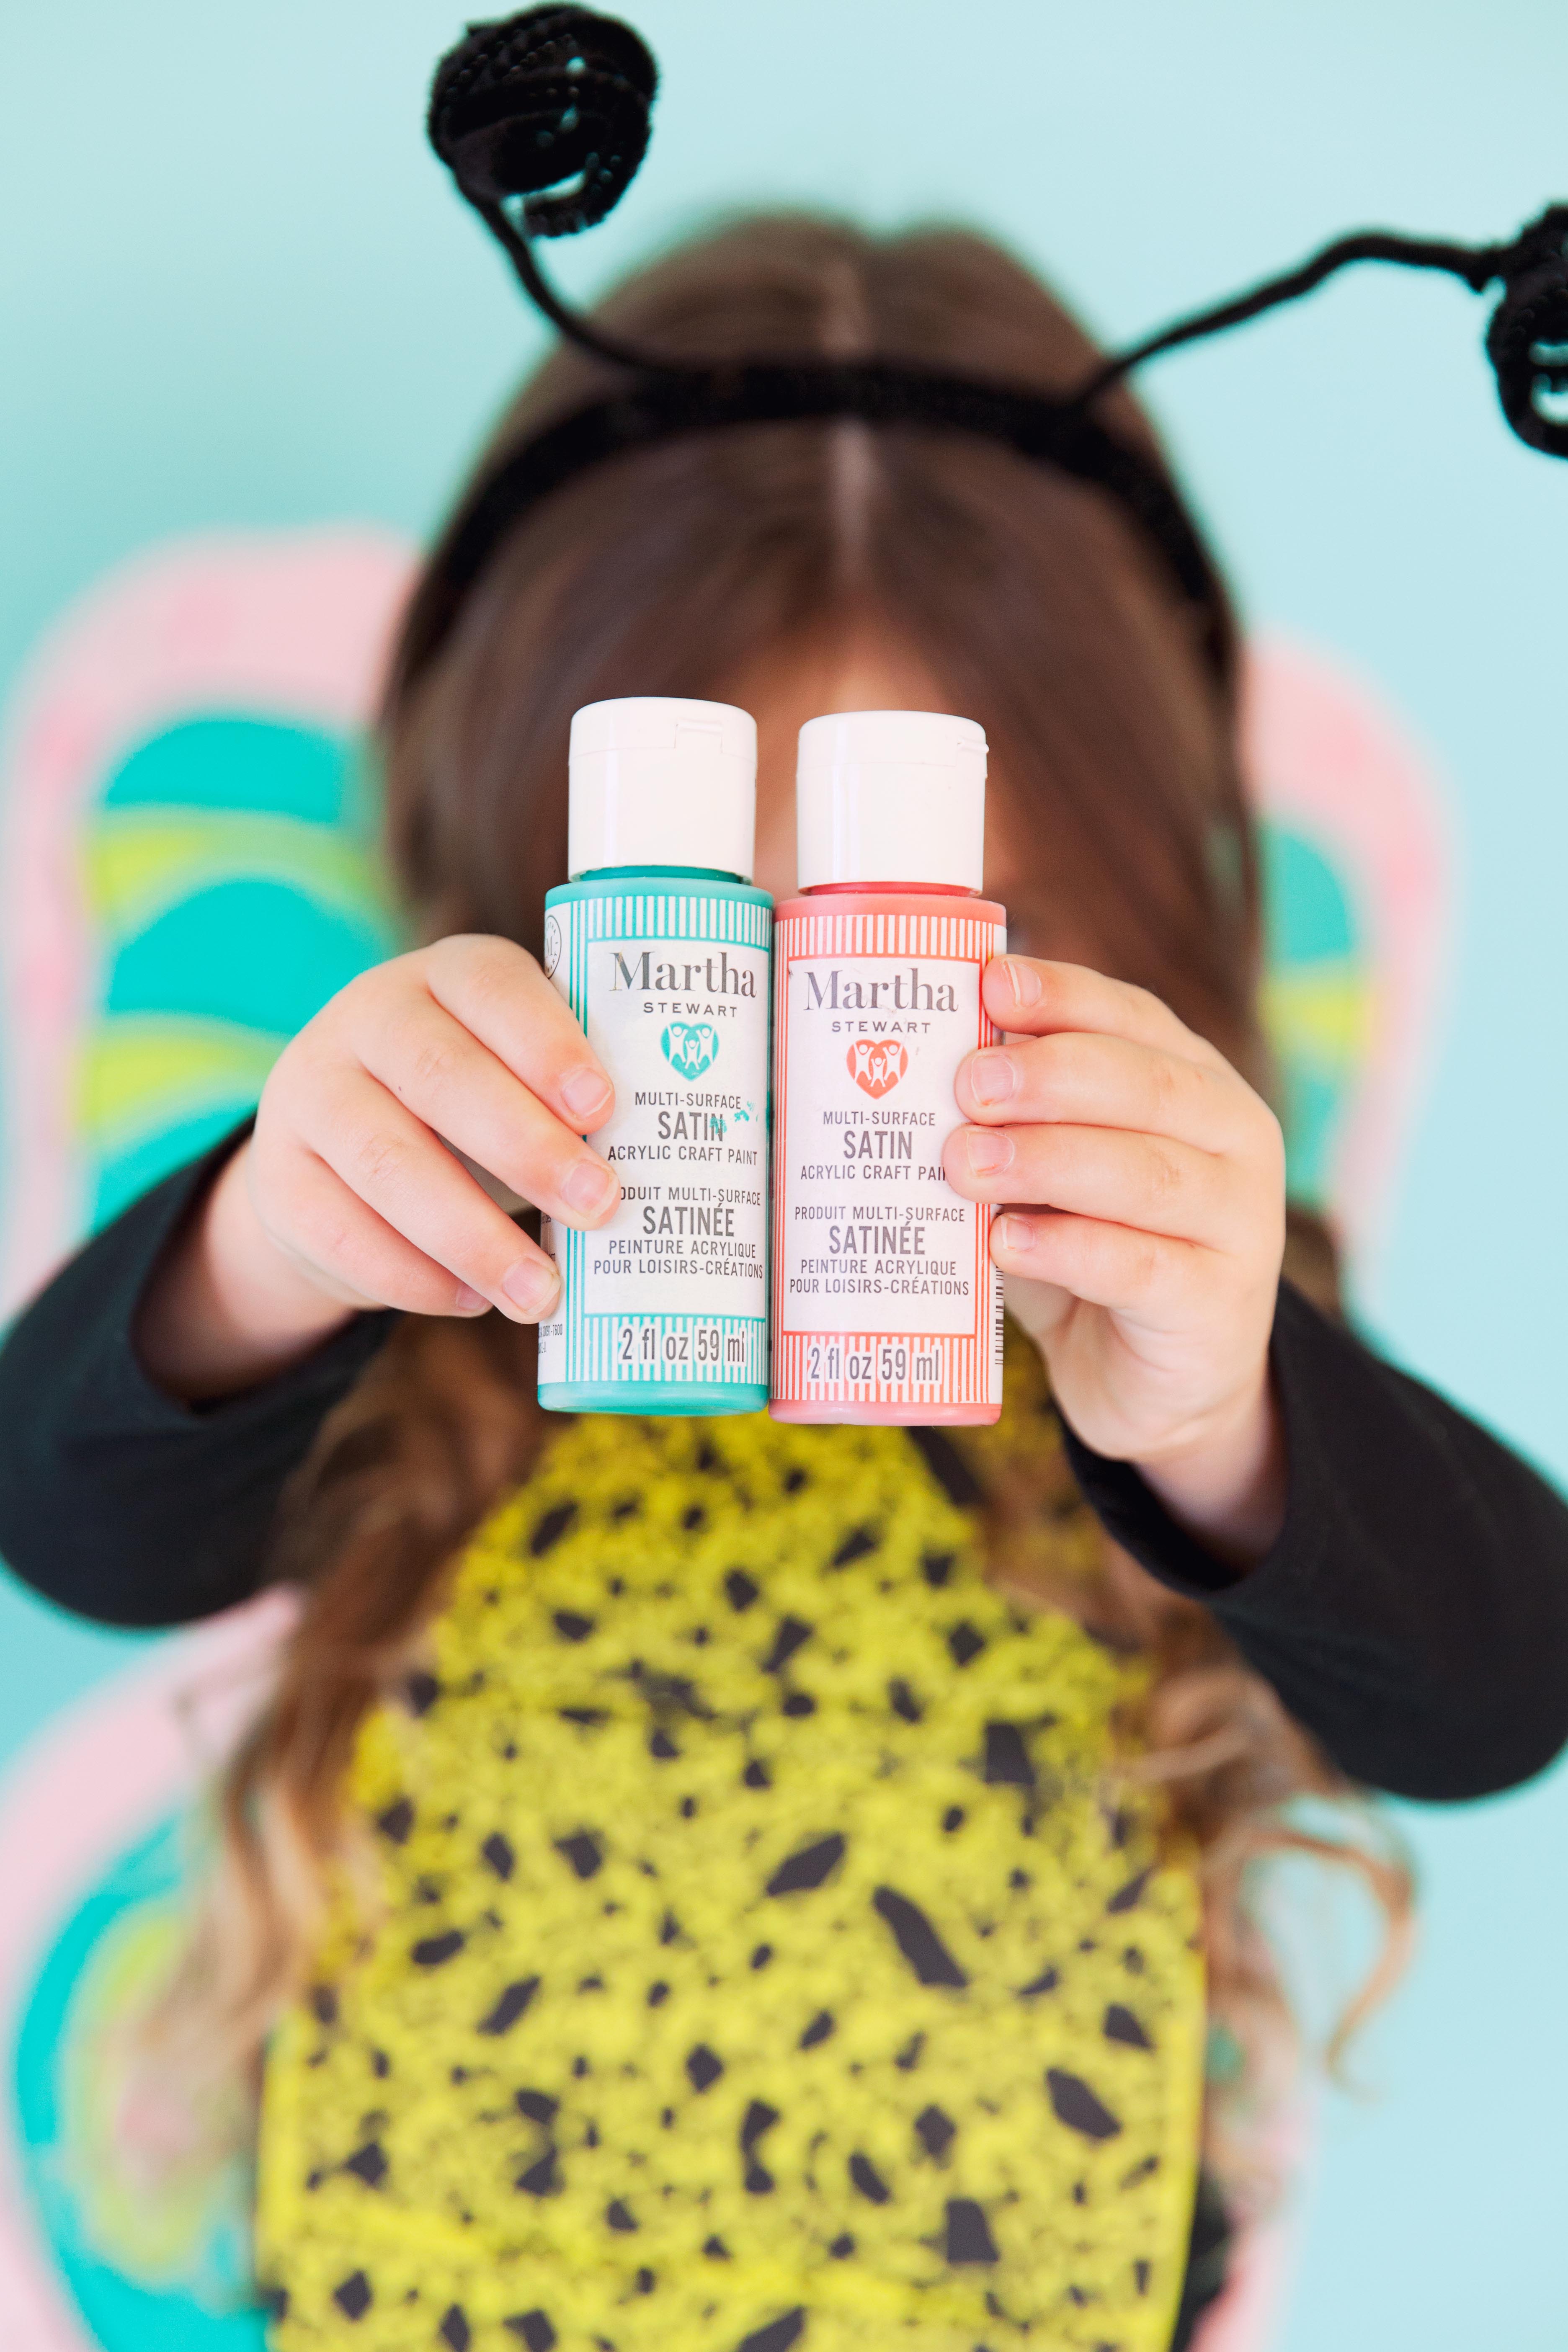
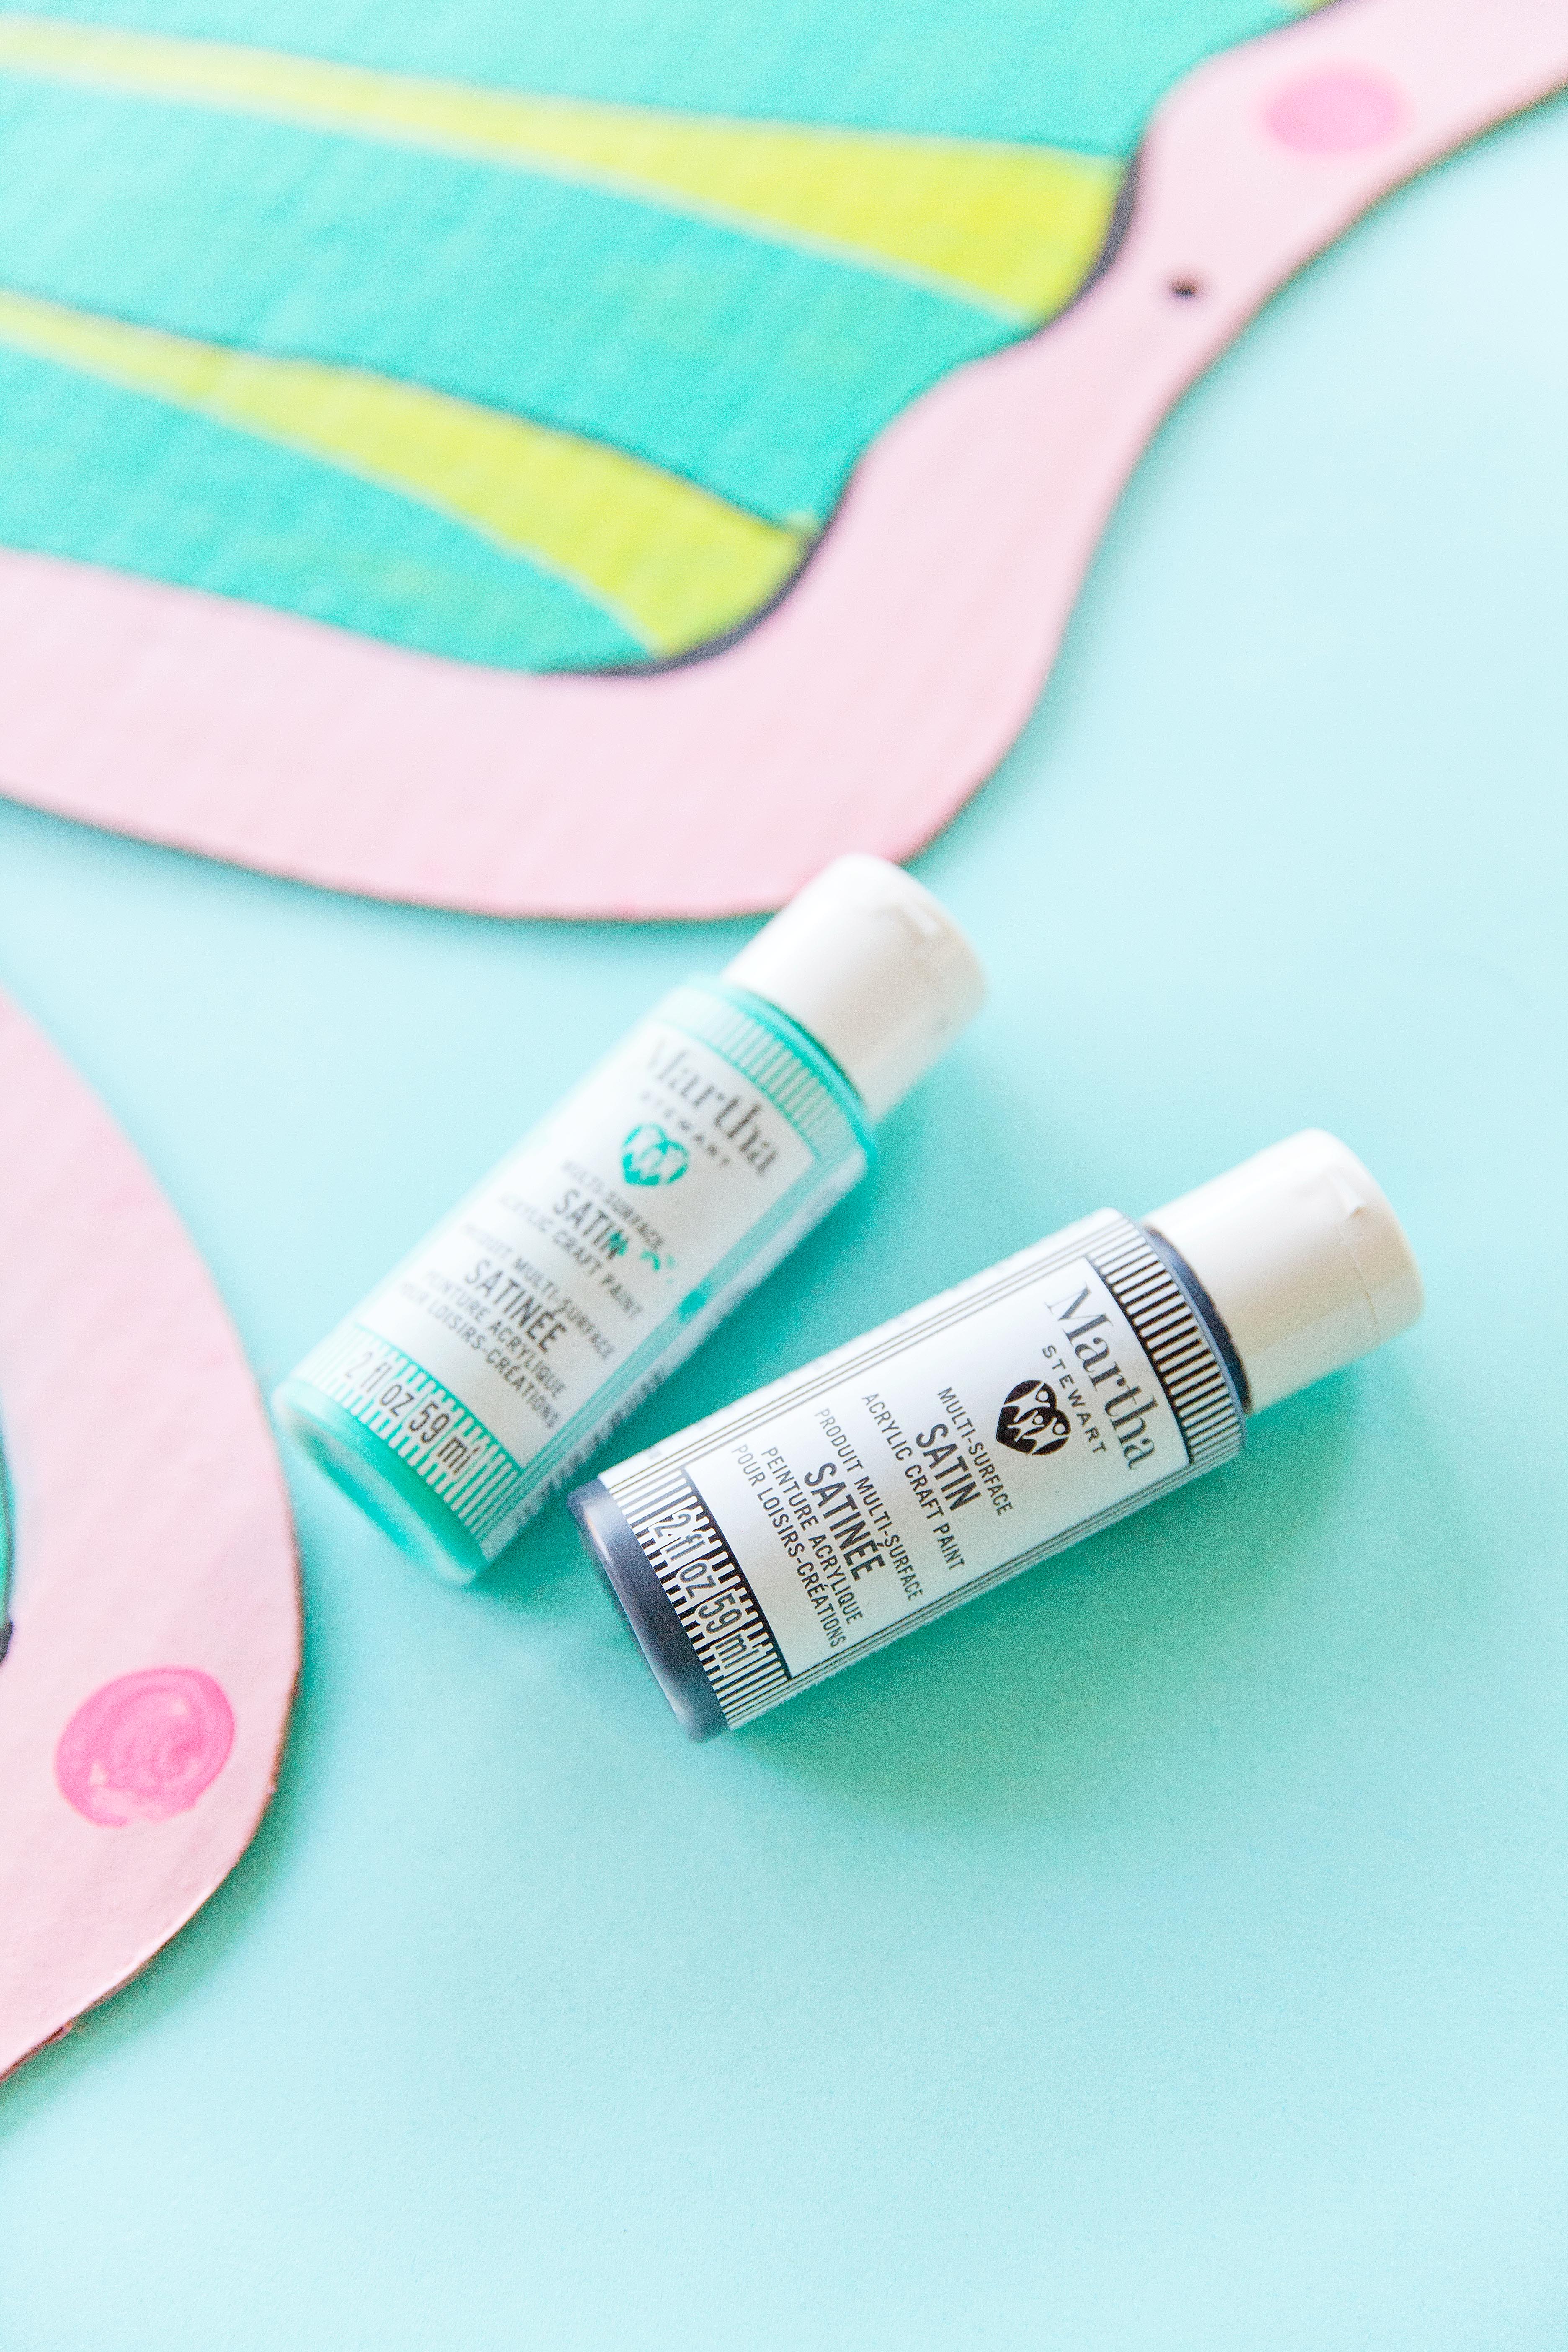
–Martha Stewart Family Friendly Satin Acrylic Paint
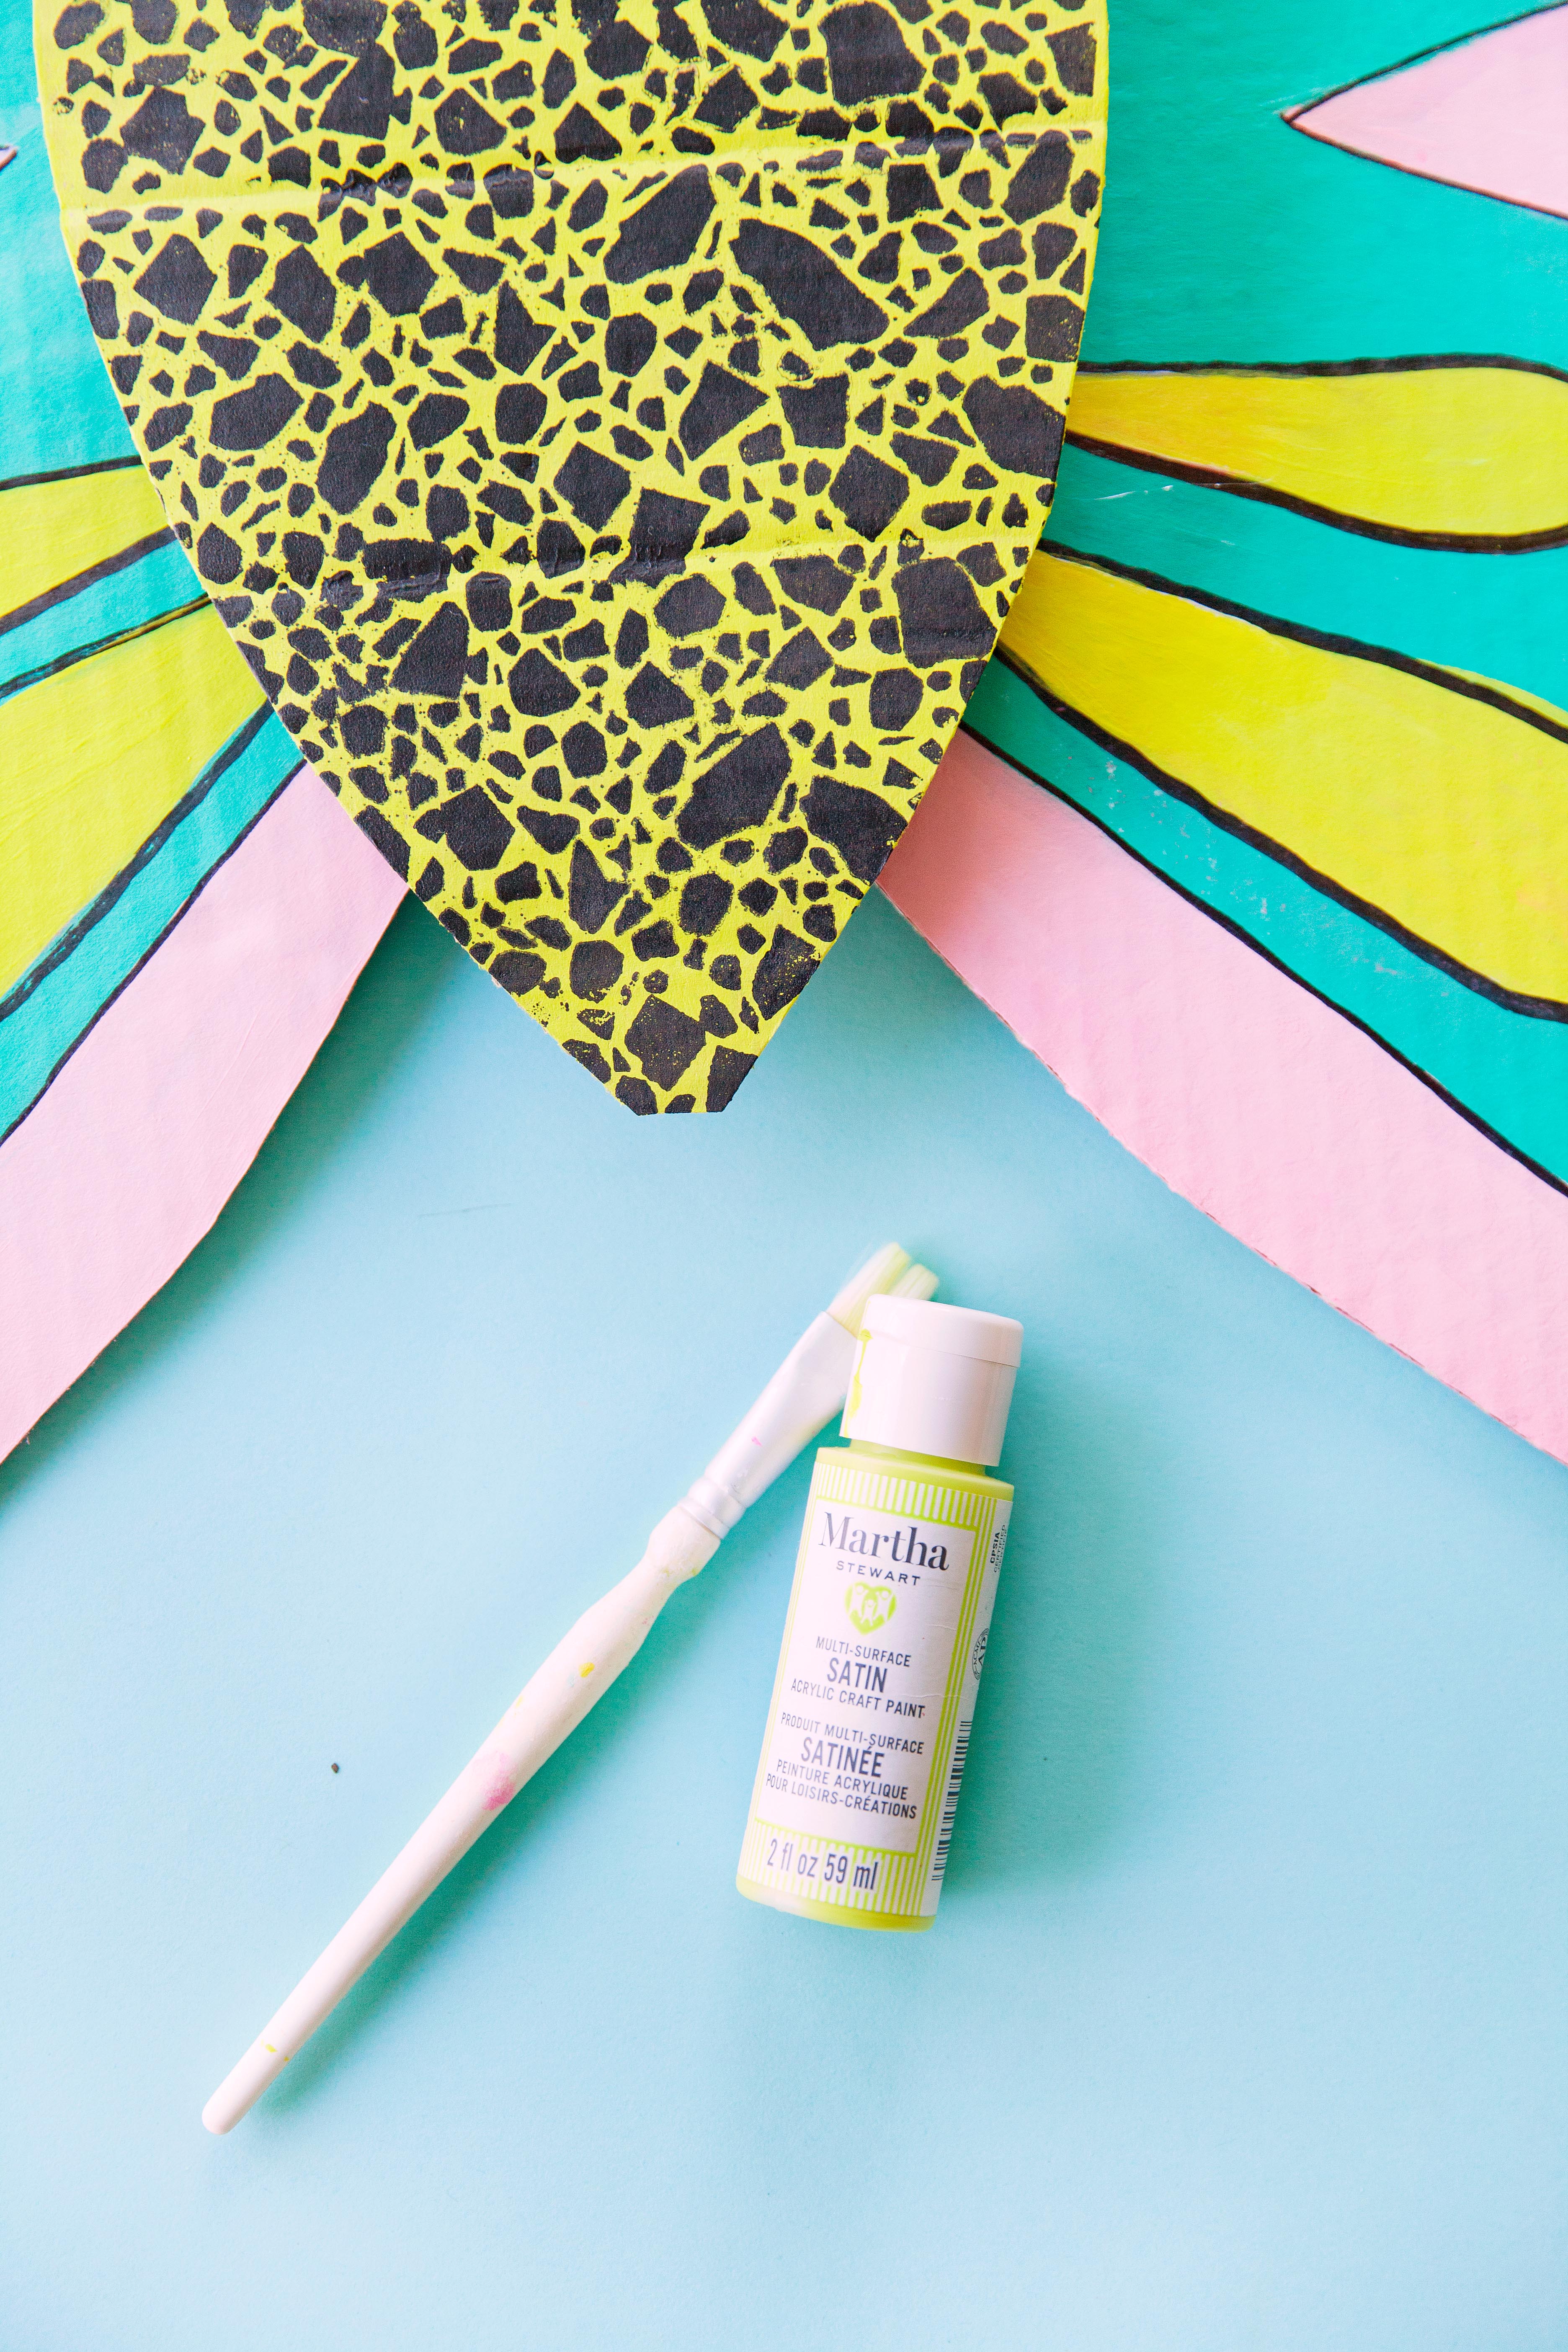
–Martha Stewart Adhesive Silkscreen Stencil
-Cardboard
-Black Elastic
–Martha Stewart Paint Brushes
-Sharpie
-X-acto Knife
-Hot glue
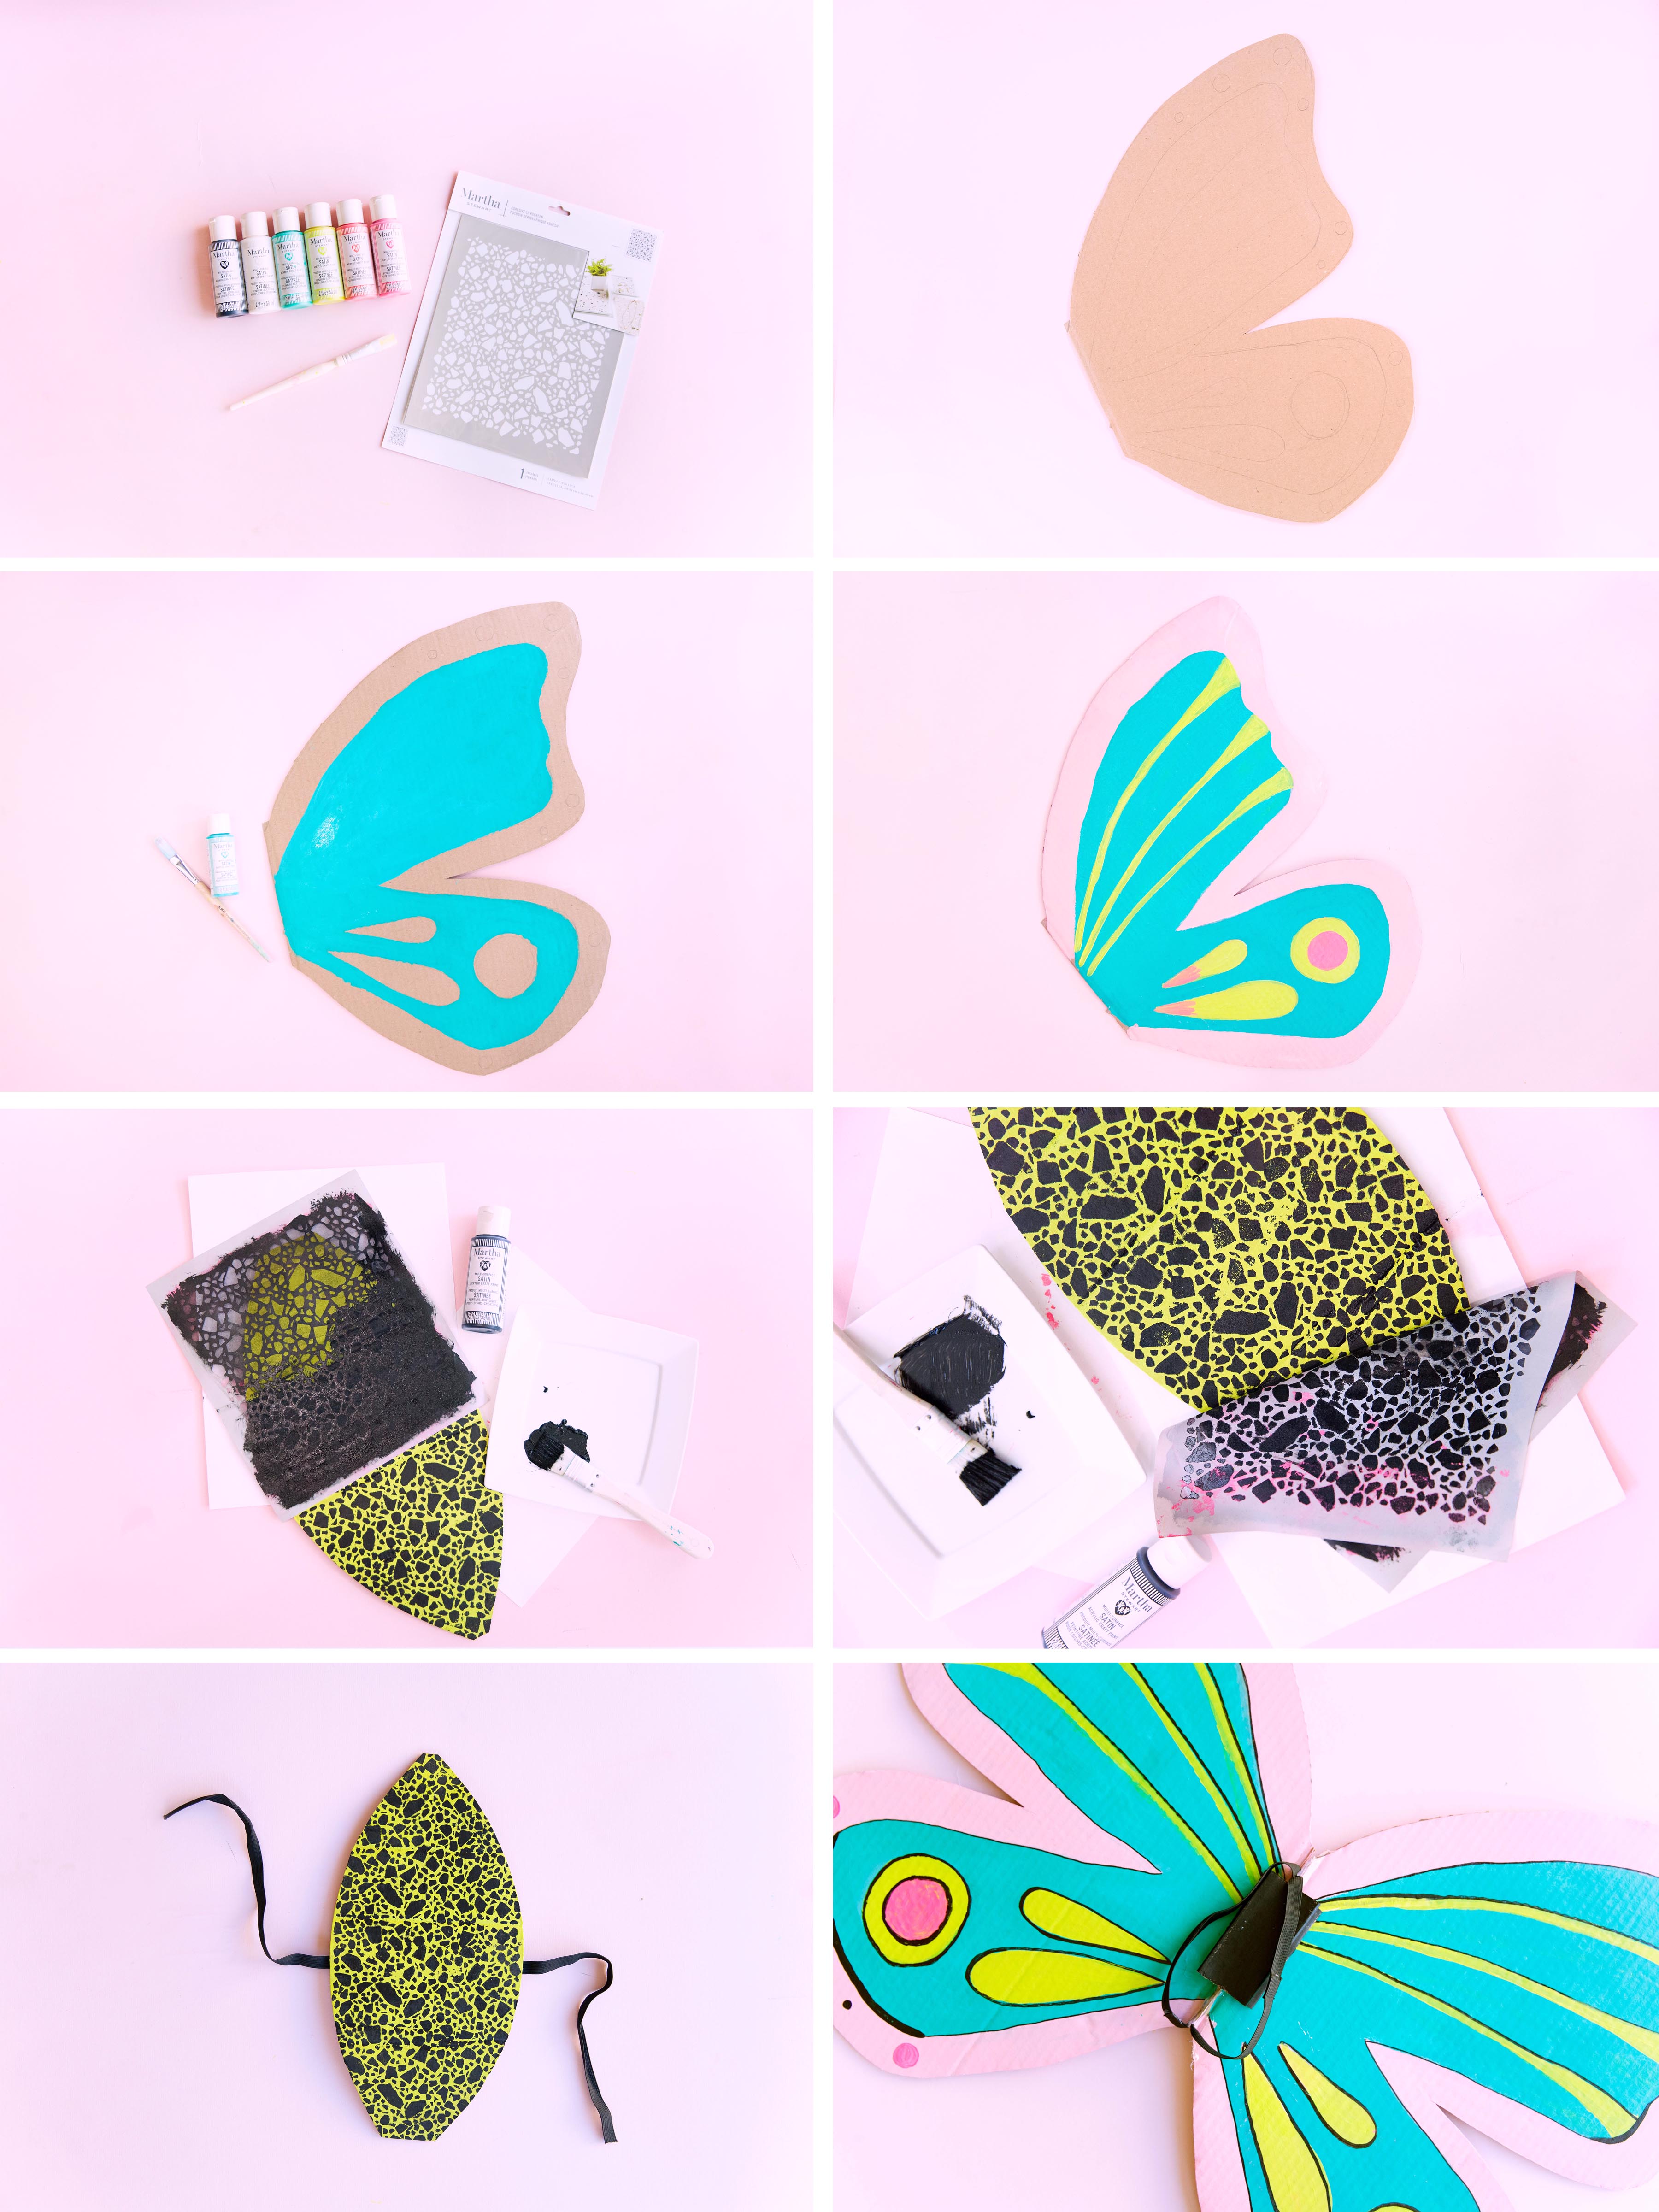
-Take your cardboard and X-acto Knife and cut out your butterfly wing and body shape. This can differ depending on what kind of butterfly wings you want. I recommend drawing something out on a piece of paper first then enlarge it on the cardboard.
-Cut out the shapes.
-Take a pencil and draw out your wing designs, this is such a fun part.
-Gather up the Martha Stewart Family friendly paint colors and get painting. This paint covers soooo well. No need for tons of layers of paint.
-Paint the butterfly body one color and let dry. Then work on the wings design.
-Now its time to stencil! Take the butterfly body piece and your stencils. The Martha Stewart silk screen stencils are my very favorite. Lay it onto the body and start to paint. These stencils work differently than other stencils because they are silk screen. I find it better to brush on the paint then blot. Peal back the stencil slowly and then continue the pattern till the whole body is covered. Let dry.
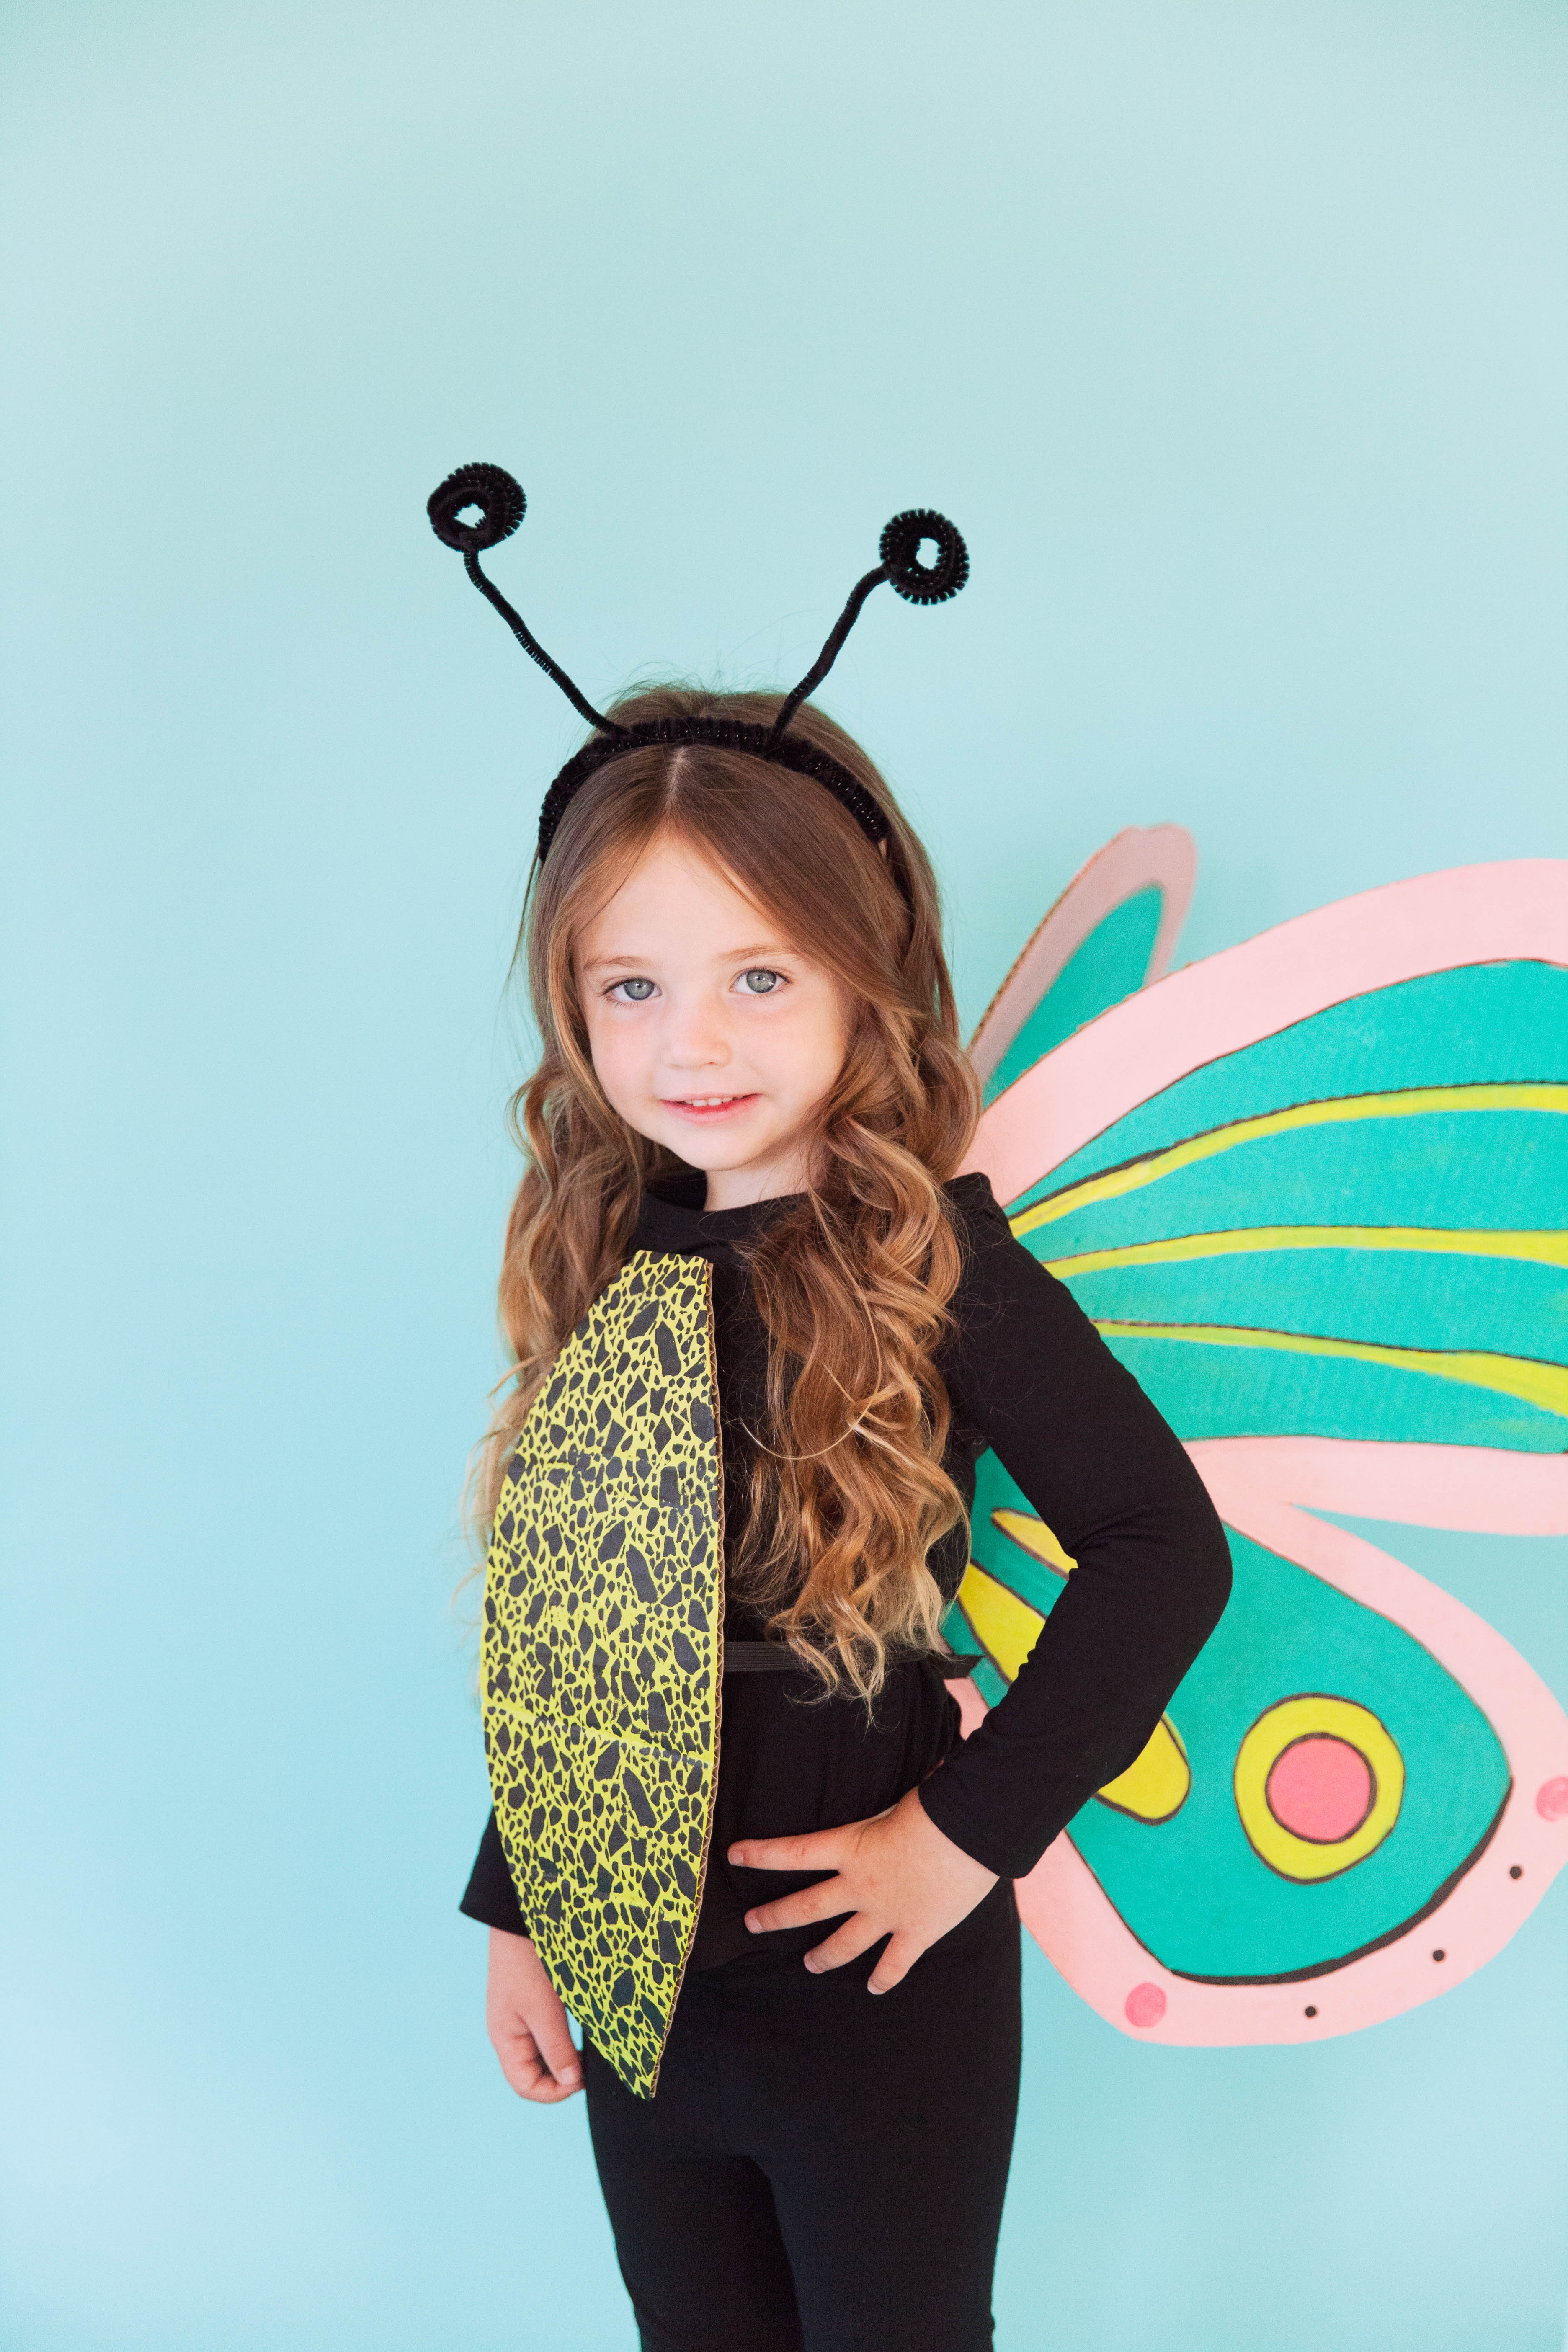
-Prop the wings up so they are in an open V like position and hot glue the wings together. Don’t be afraid to use lots of glue you want those wings to stay together well.
-Cut a small square piece of cardboard and paint it black. This will go on the wings to keep them in place and make it comfortable for whoever is wearing it. Fold over two sides of the cardboard and so that it is like a table and then glue that onto the part of the wings that will touch their back.
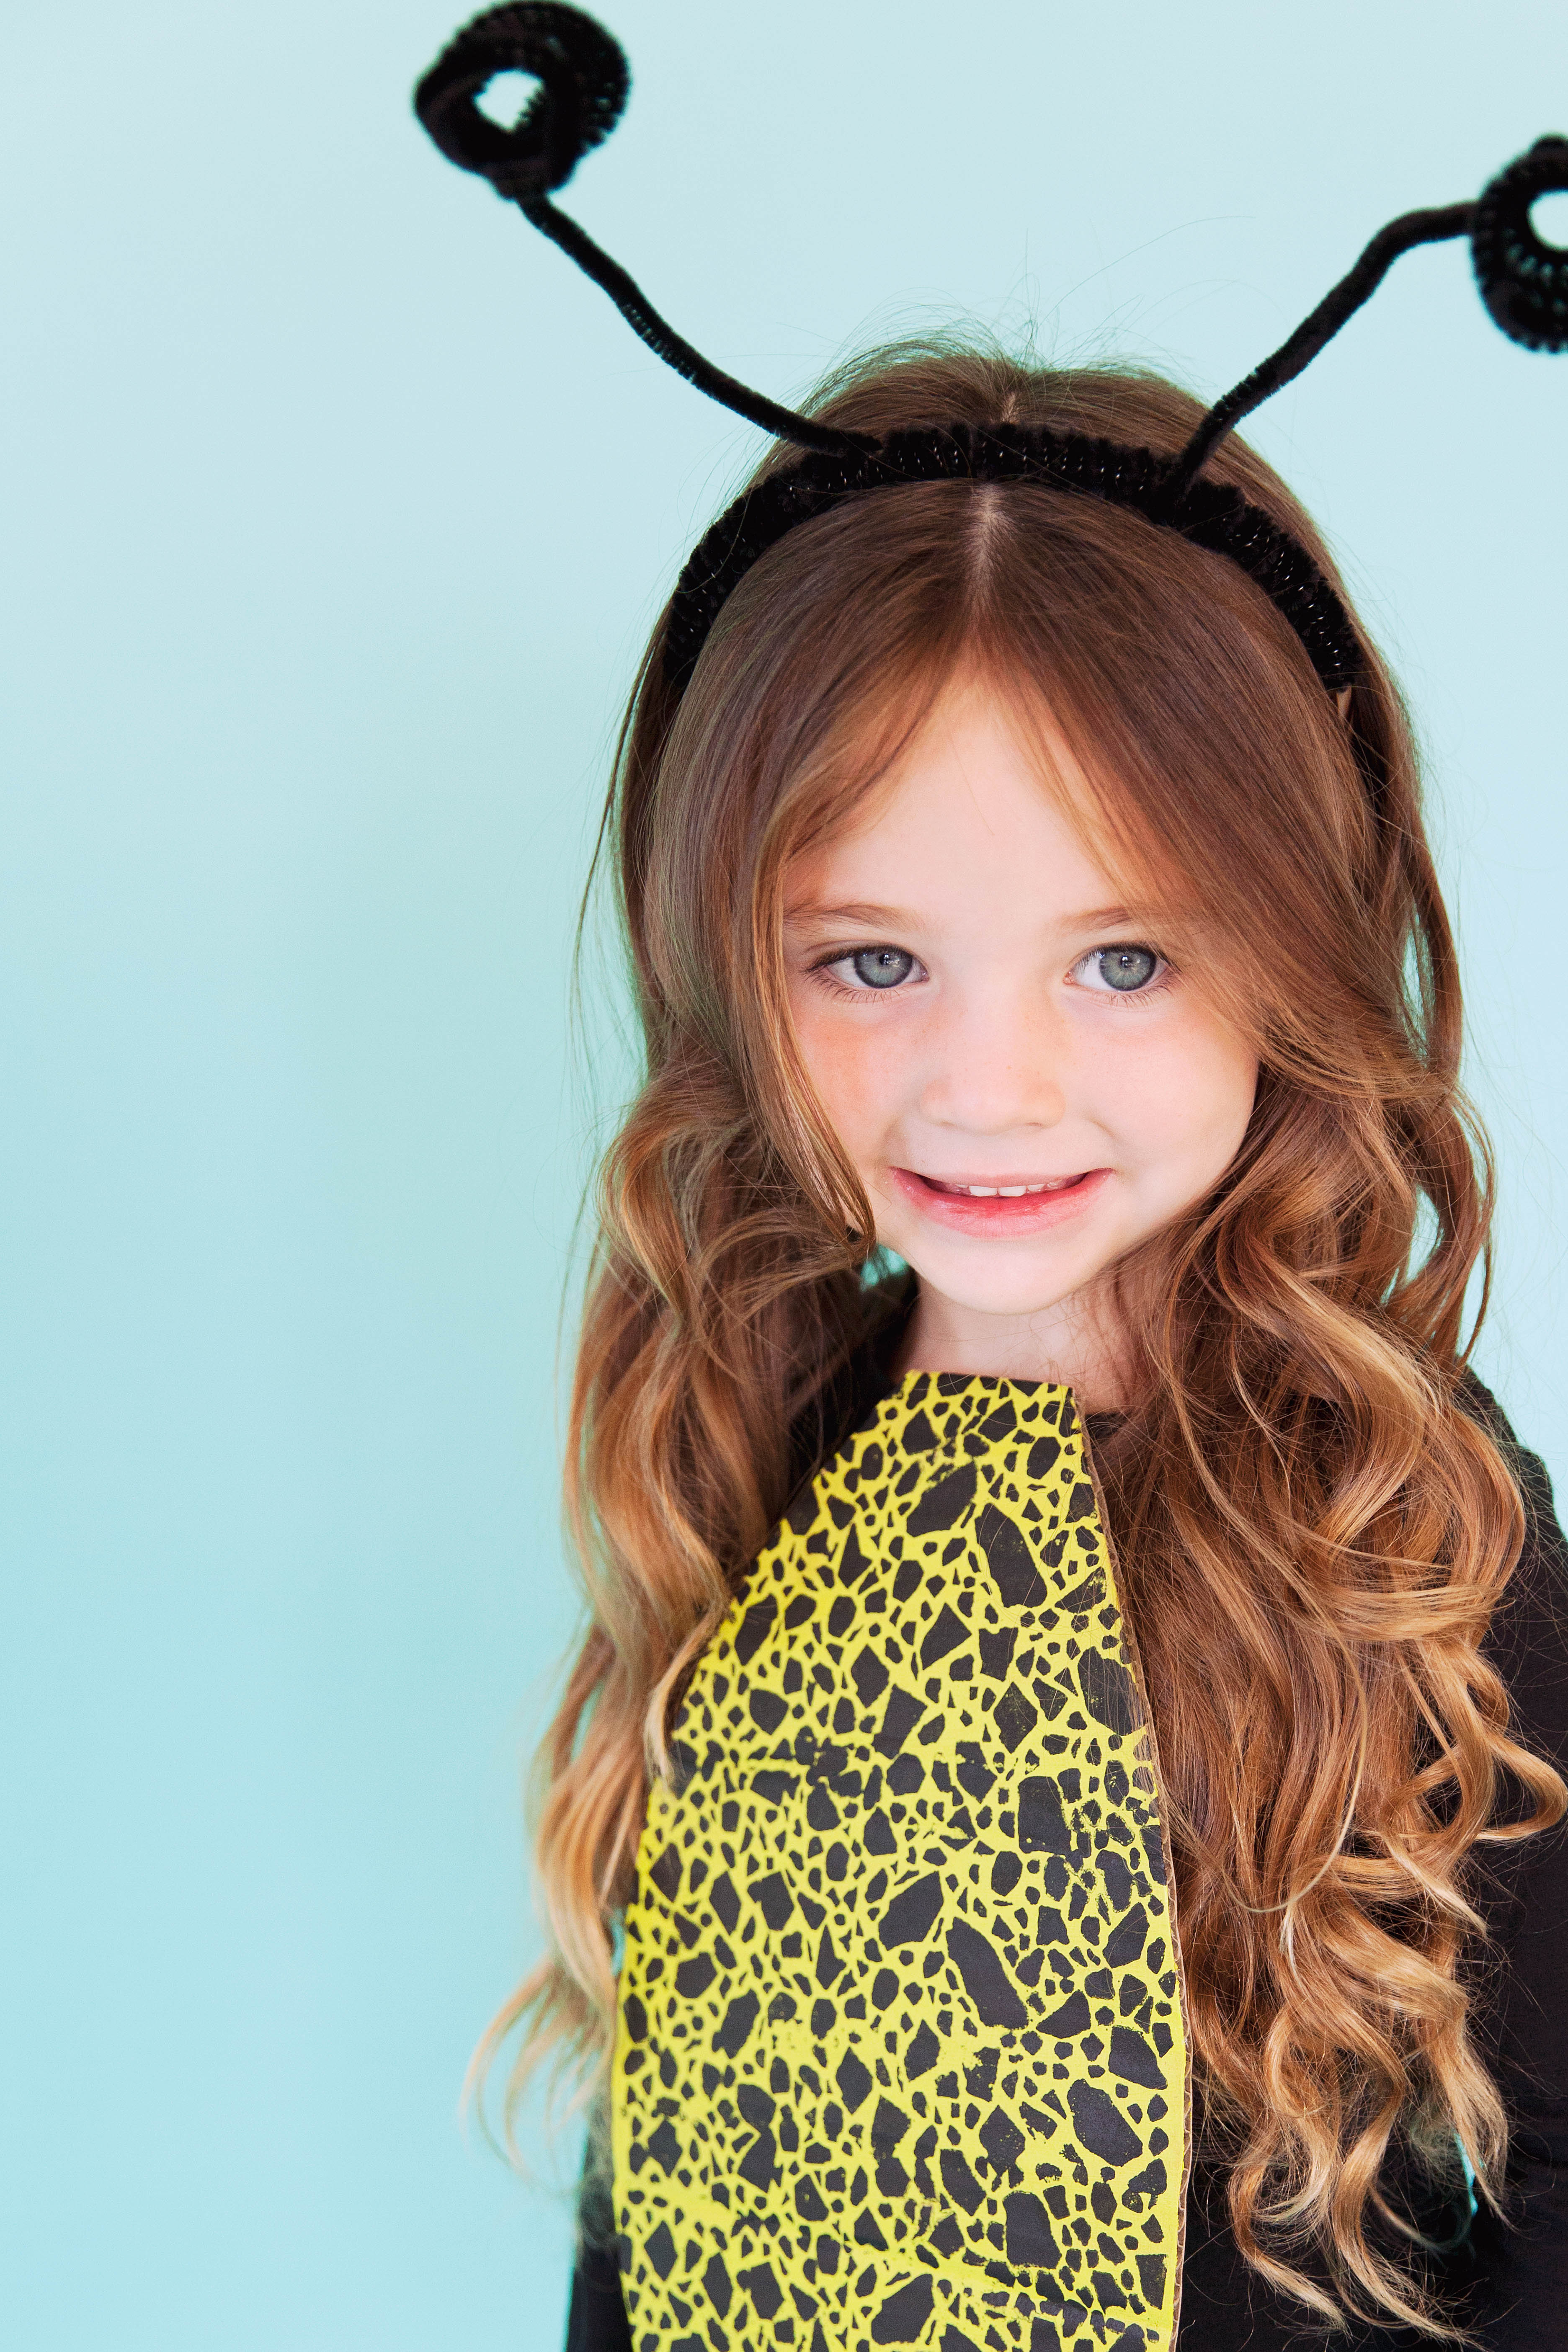
-Cut a few pieces of the elastic.
-Glue two pieces on the back of the body. Then tie on the body piece.
-Glue two more pieces of elastic onto the wings and these will keep the wings on their back.
-Tie some pipe cleaners to a head band and voila! Cutest butterfly around!
Martha Stewart paints and stencils can be purchased exclusively at Michaels!! And no joke Martha Stewart paints have the best colors HANDS DOWN!
This post is in partnership with Martha Stewart and Plaid Crafts.
Thank you for supporting the brands that keep Tell Love and Party going.