

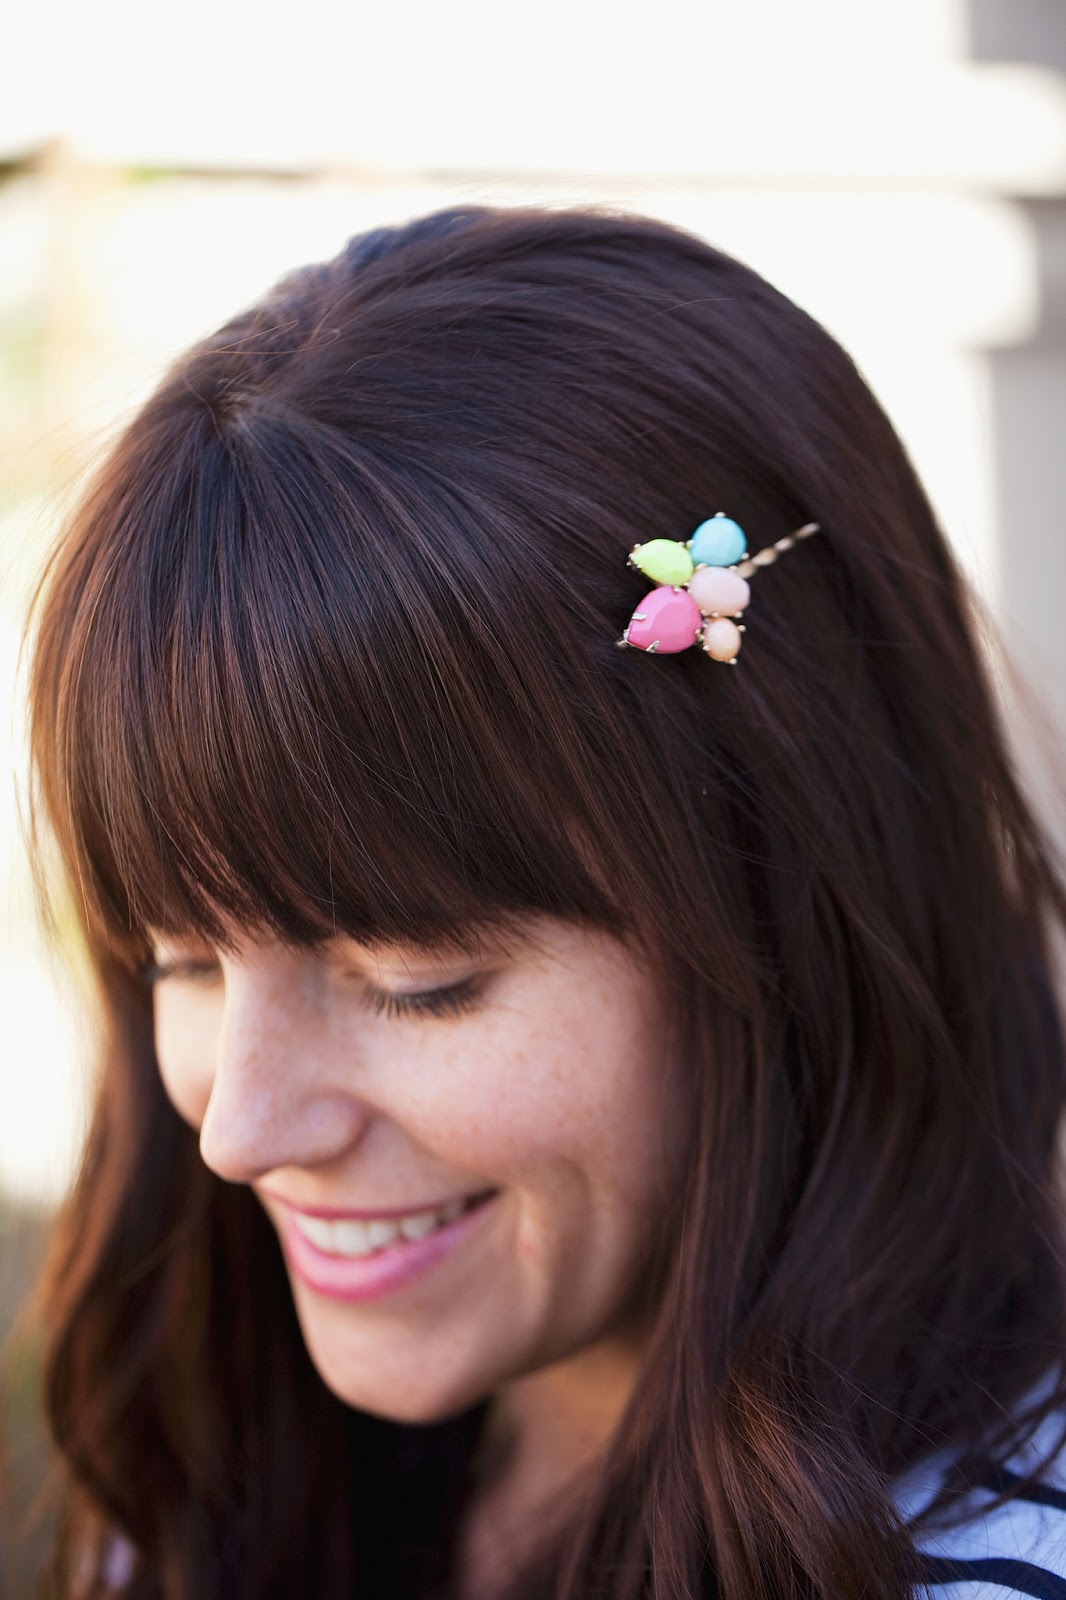
I thought of this very simple DIY when my Forever 21 necklace broke. I didn’t want to throw it away, but couldn’t wear it anymore. I’m so thrilled they turned out as WAY adorable bobby pins! I seriously LOVE them and want to wear them all the time. I mean, I am pretty obsessed with any kind of hair accessory so these are right up my alley.
This DIY is so incredibly simple. Make them for yourself or give them out to friends, either way, they are worth a try!

READ ALL ABOUT THE TUTORIAL AFTER THE JUMP
Here is the necklace where it all began…
One of the gemstones fell out and it was never found. The necklace only cost me $8 so I wasn’t too concerned but I did like it and was hesitant to throw it away. When these bobby pins popped into my head I was so excited!

I then realized I needed more colors so I took a trip back to forever 21 and found some earrings.
The great thing about them being from forever 21 is
1. They are cheaply made, so it’s easy to use pliers to pull them apart
2. They are very inexpensiveThe key to finding the right earrings and necklace is that you want the gems to be loose and not attached together. They are easier to pull apart and wont break. Also, you don’t want the gems to be too big.
I think it’s easier to go check things out in-store, but, here are a few I found online:
Bejeweled big necklace
cascading drop earrings


I found these pretty gold and bronze bobby pins at target and thought they were perfect. Just thick enough and a little fancier than regular bobby pins

The supplies are:
earrings or necklace from forever 21
Pliers
Glue ( I used E6000)
Bobby pins
1. Disassemble the earrings and/or necklace. (do you like my chipped nail polish look? I need to hire a hand model ha ha)

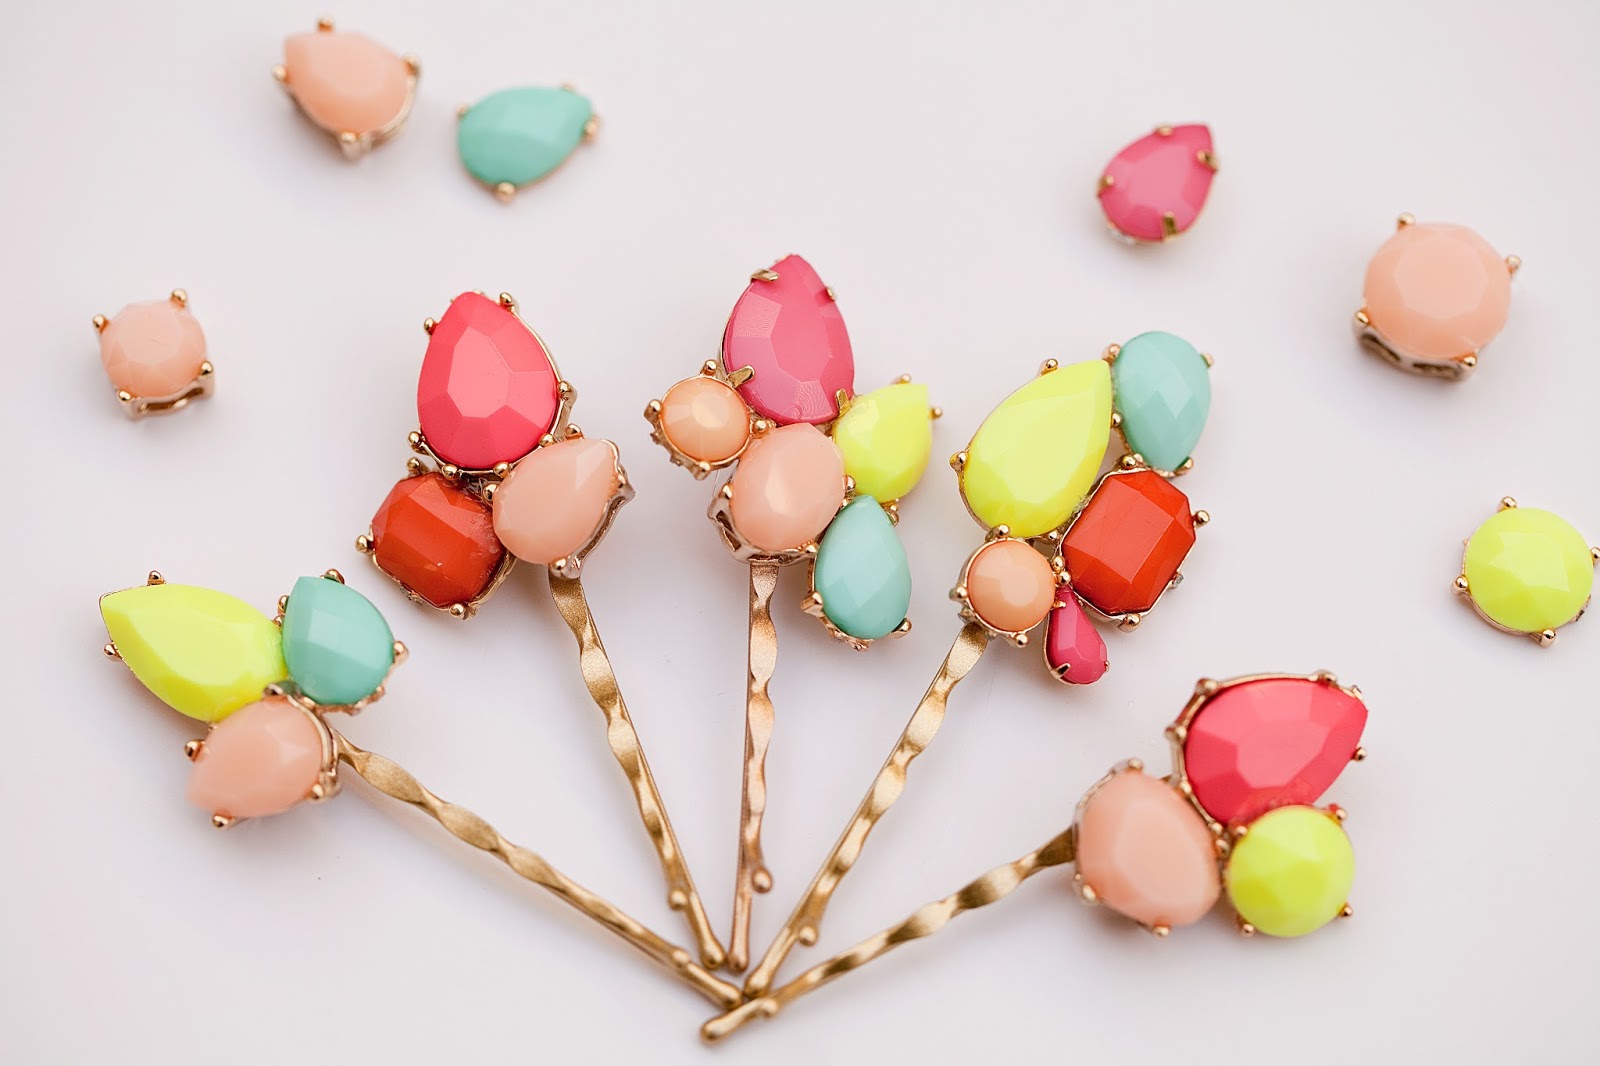
2. Start to lay out the gems so you can figure out some ideas.

3. Once you have a design, lay it out and get it ready to glue.

4. Always glue the main gemstone first. Because the bobby pin is so small there needs to be a main stone, that way you can glue other stones onto that one. Let it sit for a bit so the glue can dry.


5. Add on additional stones and let them dry upside down. You may need to elevate the bobby pin so they lay flat.


Thanks!! they are my favorite too xo
Great DIY I absolutely love these pins. i just discovered you for White House Crafts. Great blog. I look forward to following along! Bec x
i tried these with beads and a hot glue gun they are amazing and look great and soooooooo easy to make
These bobby pins are gorgeous! Thank you for sharing.