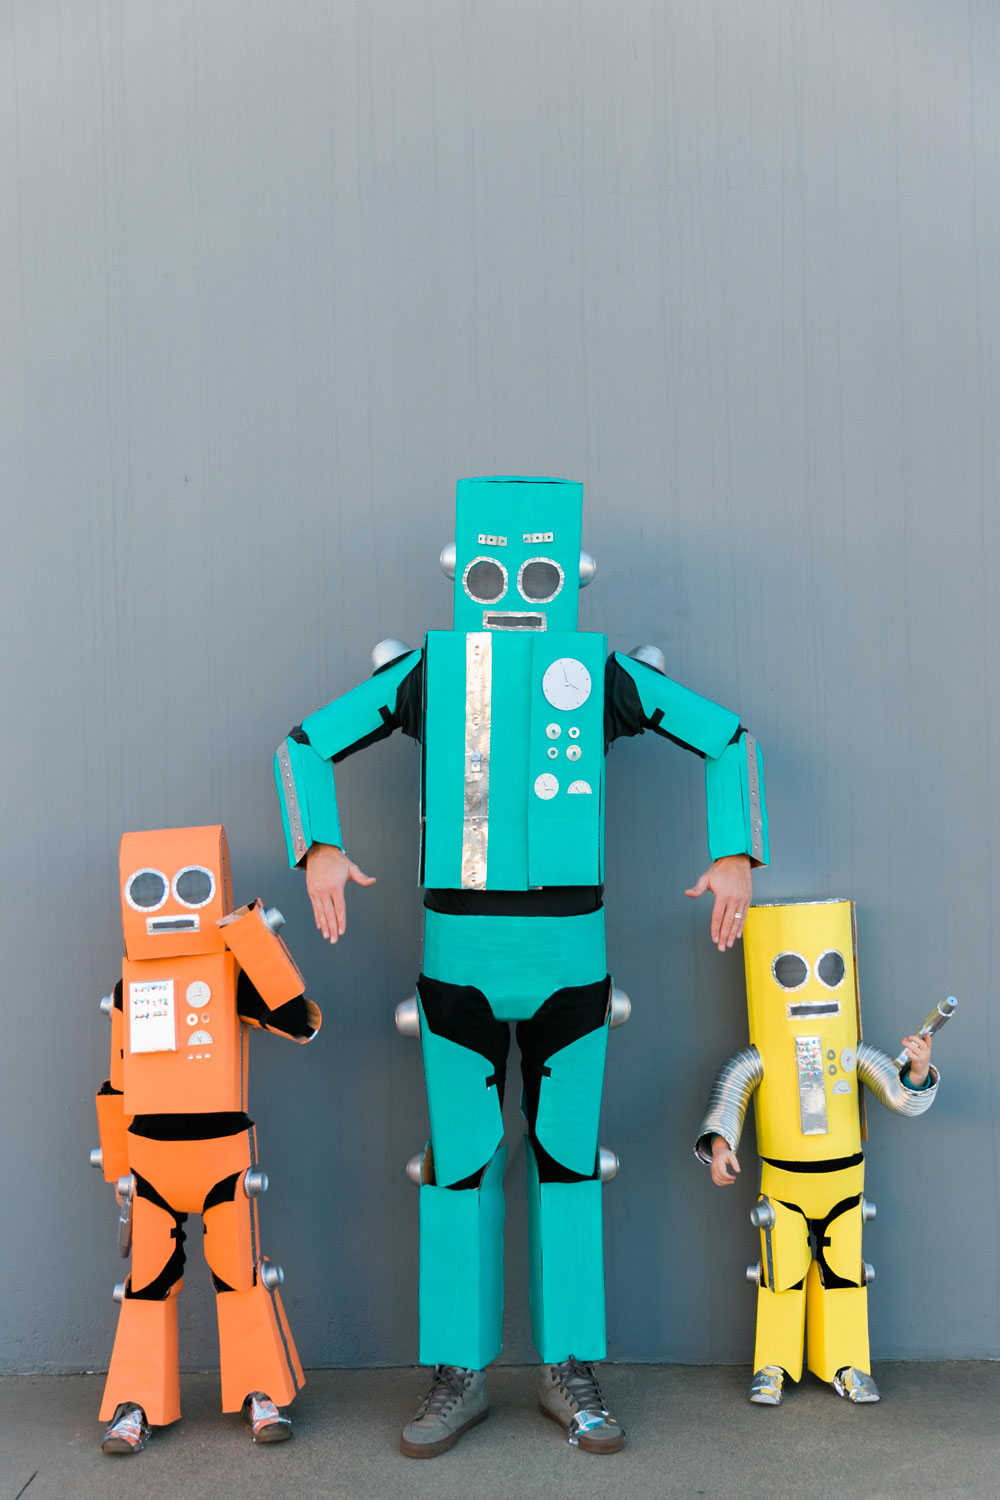
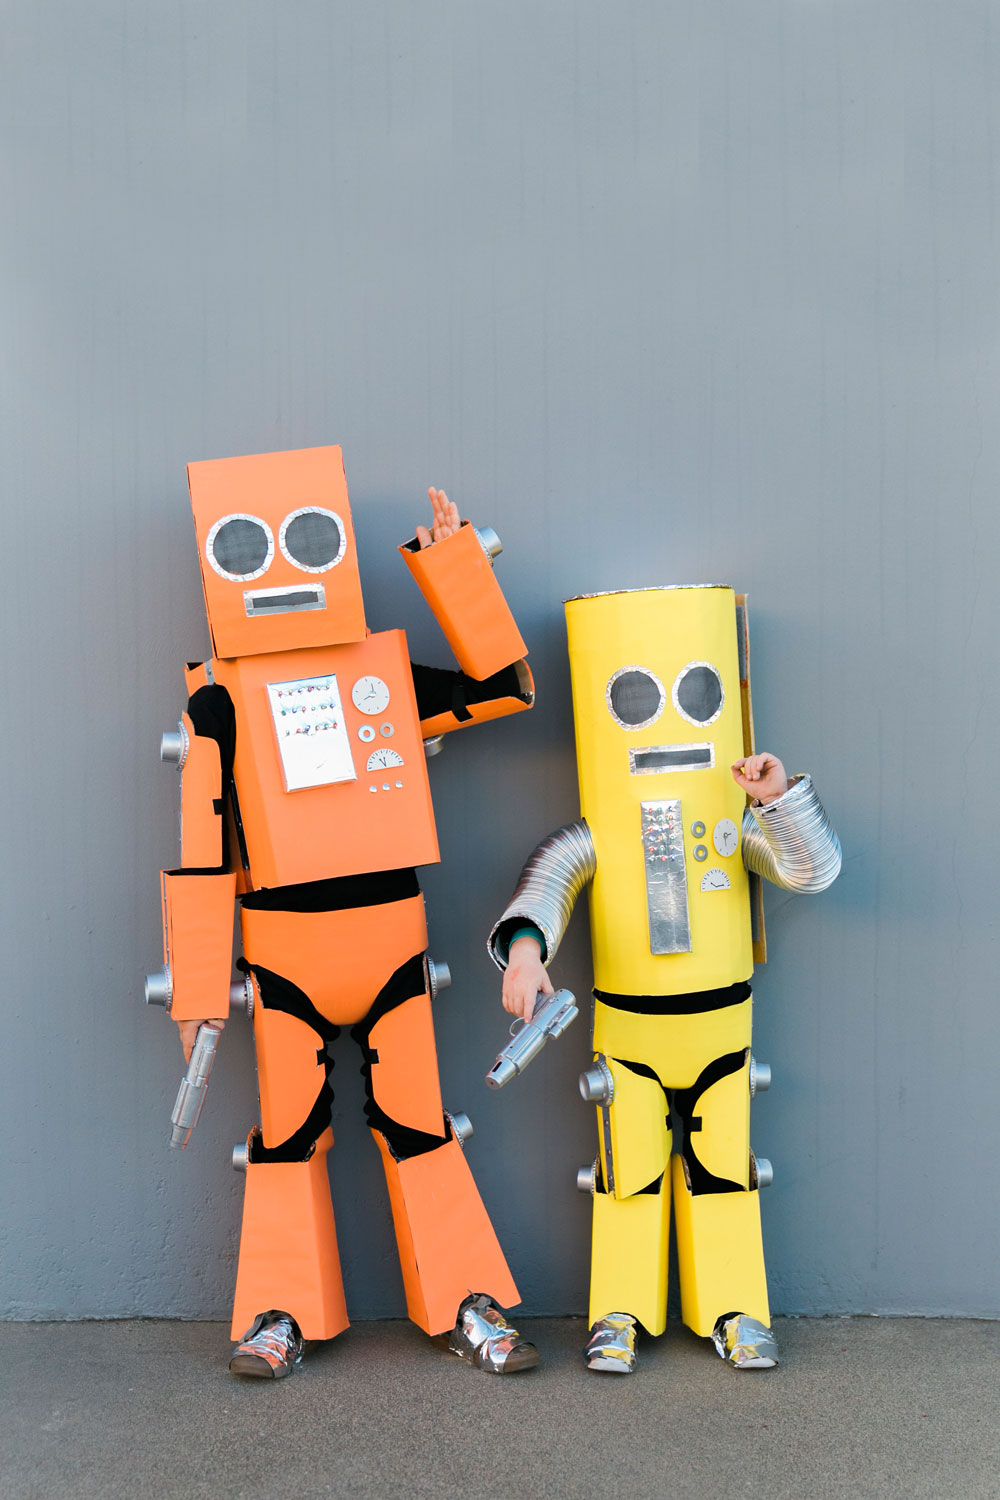
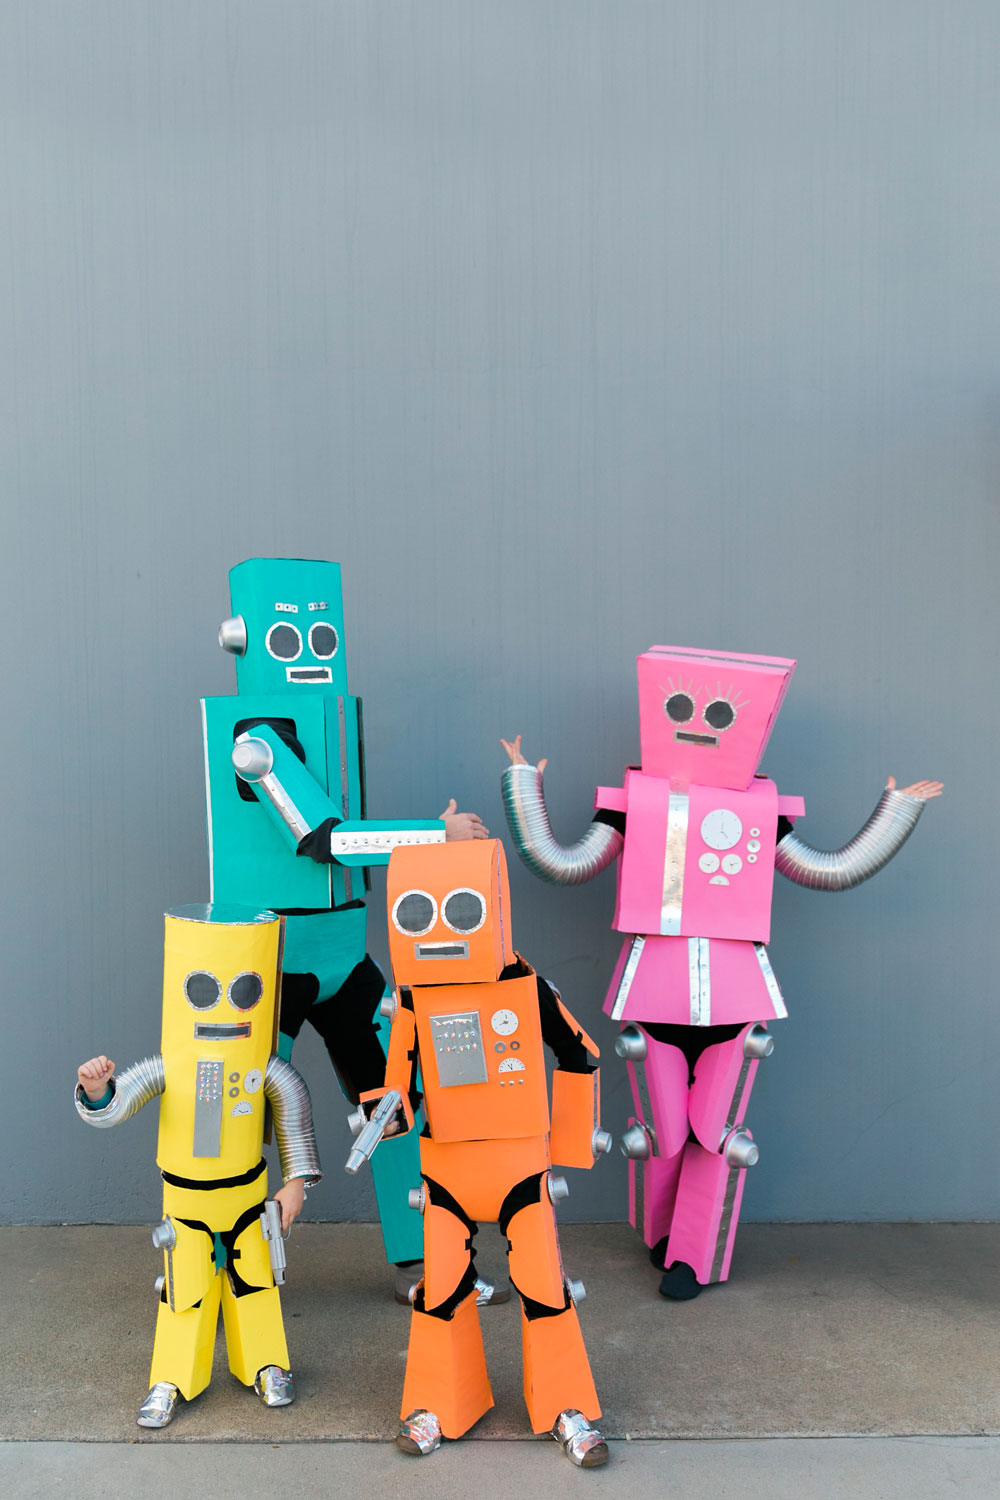
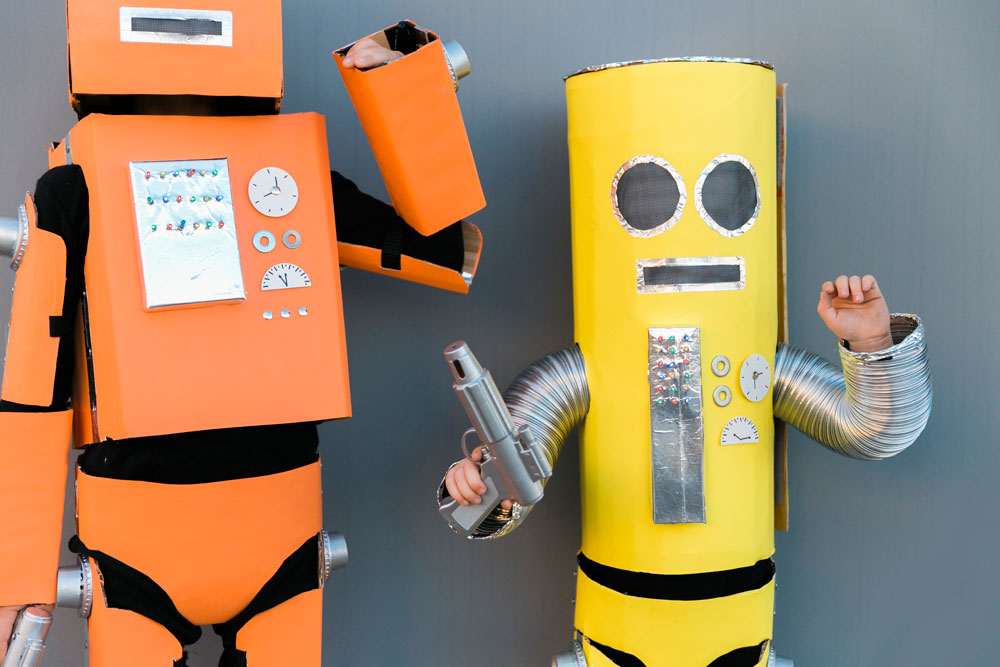
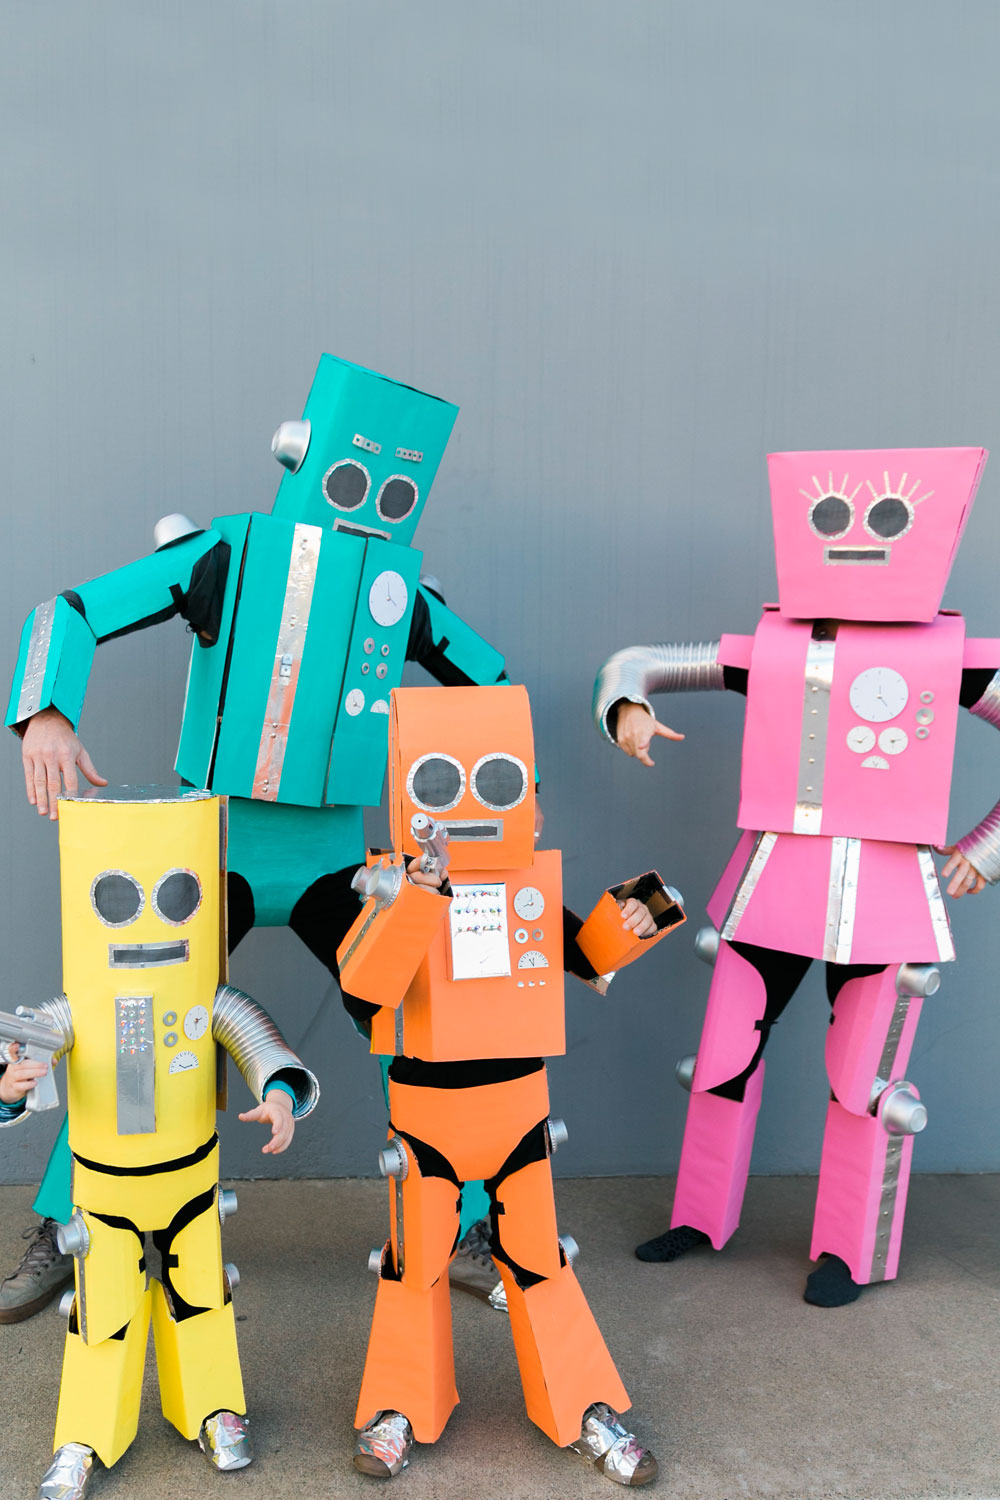
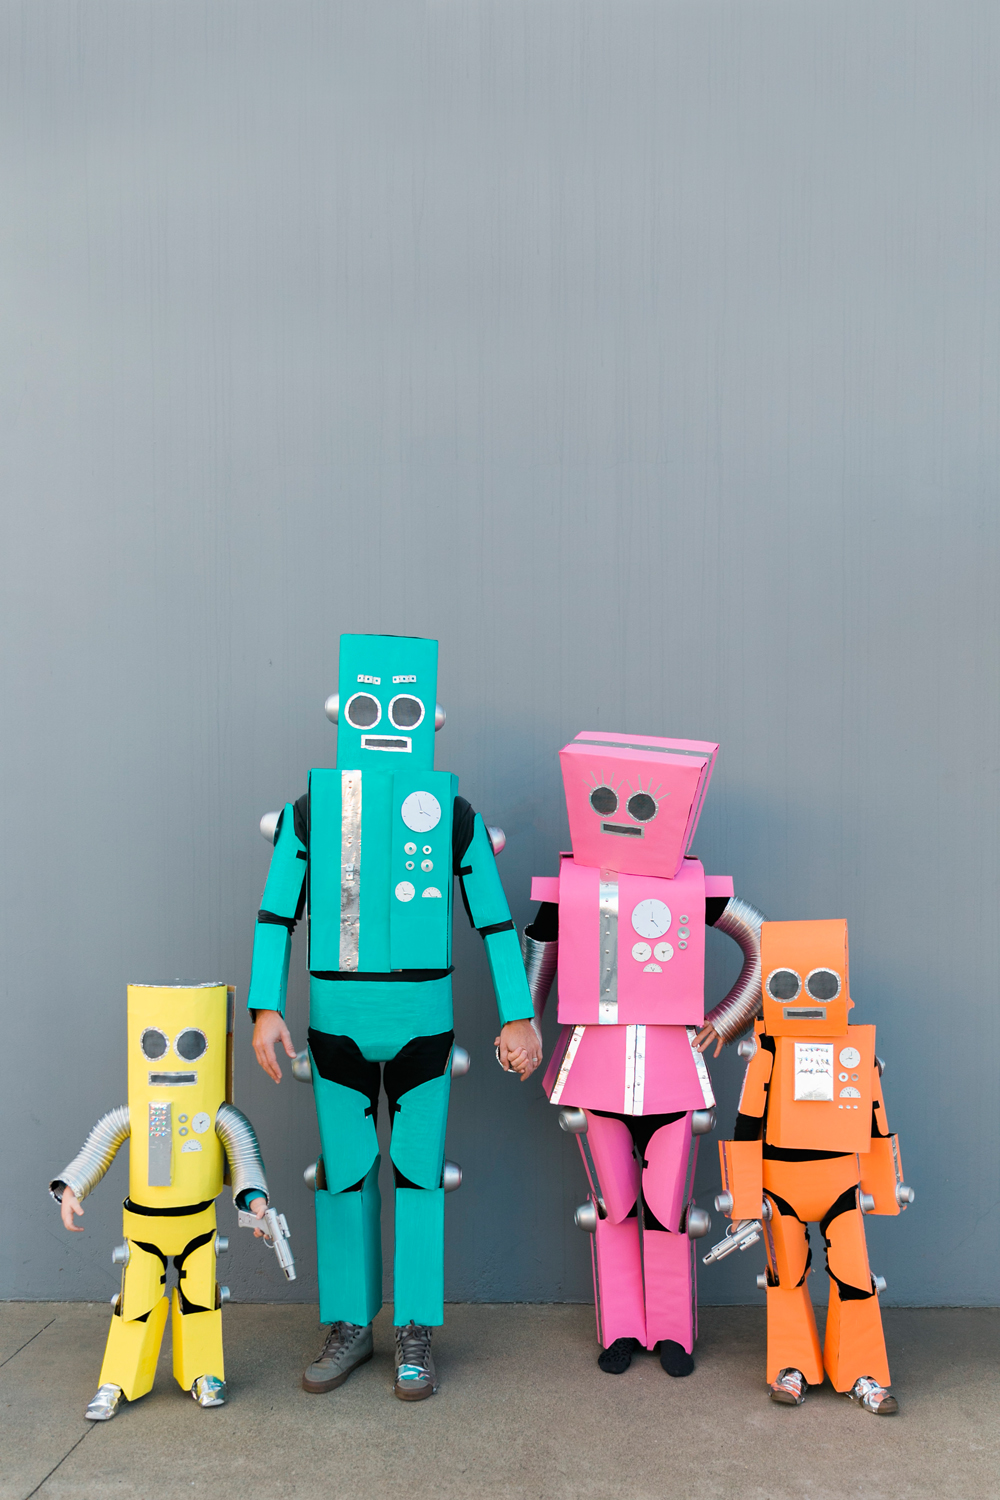
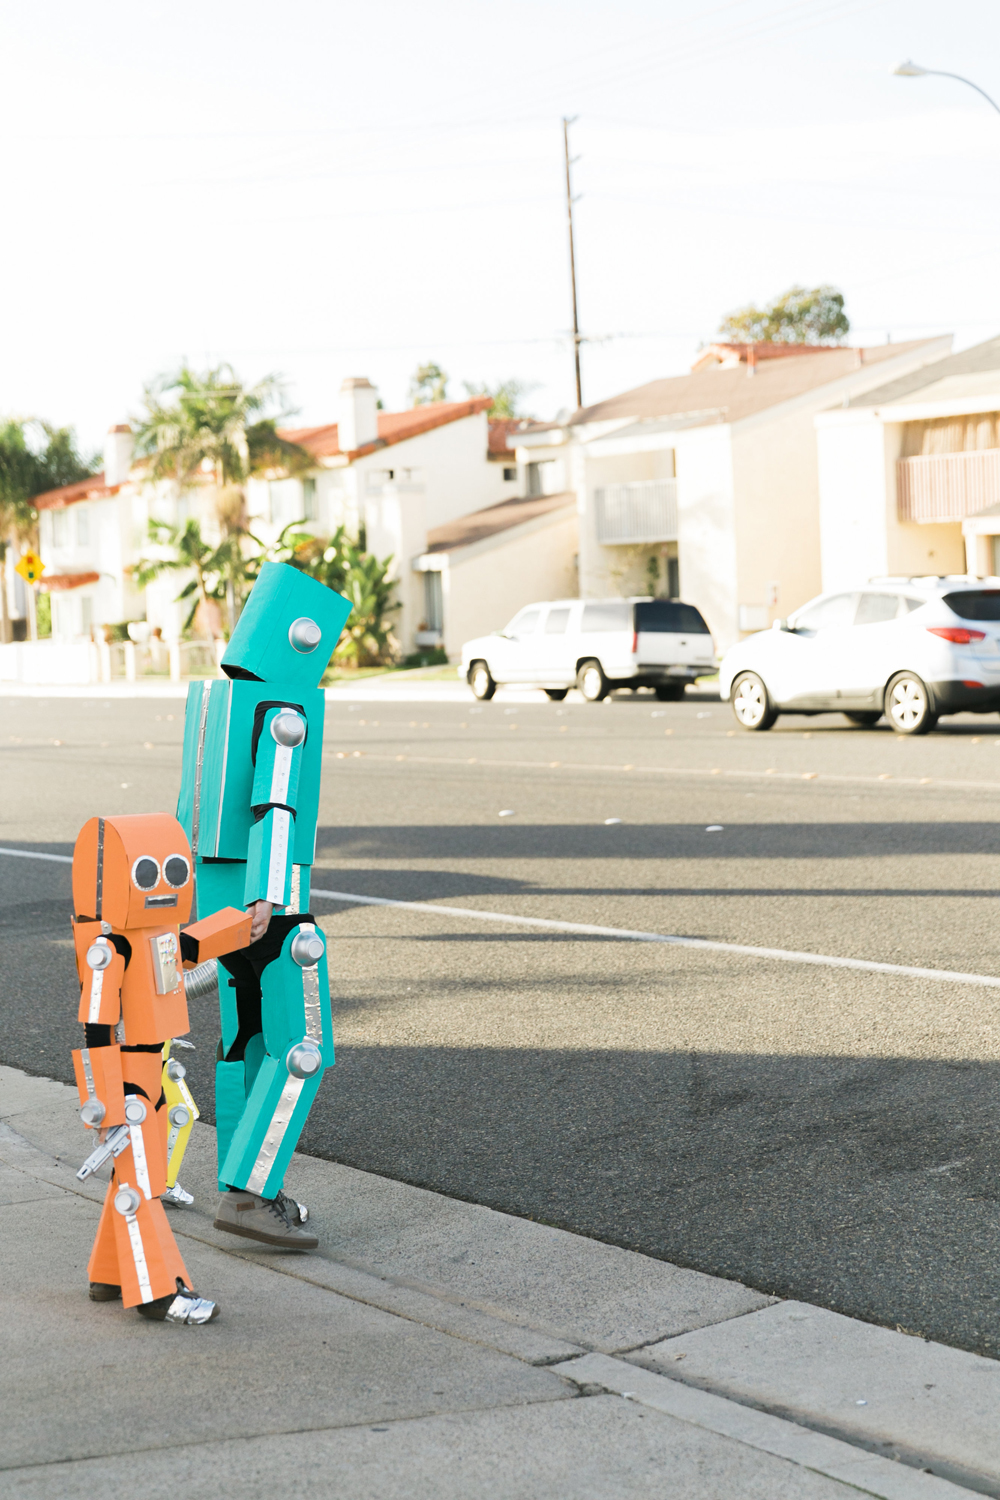
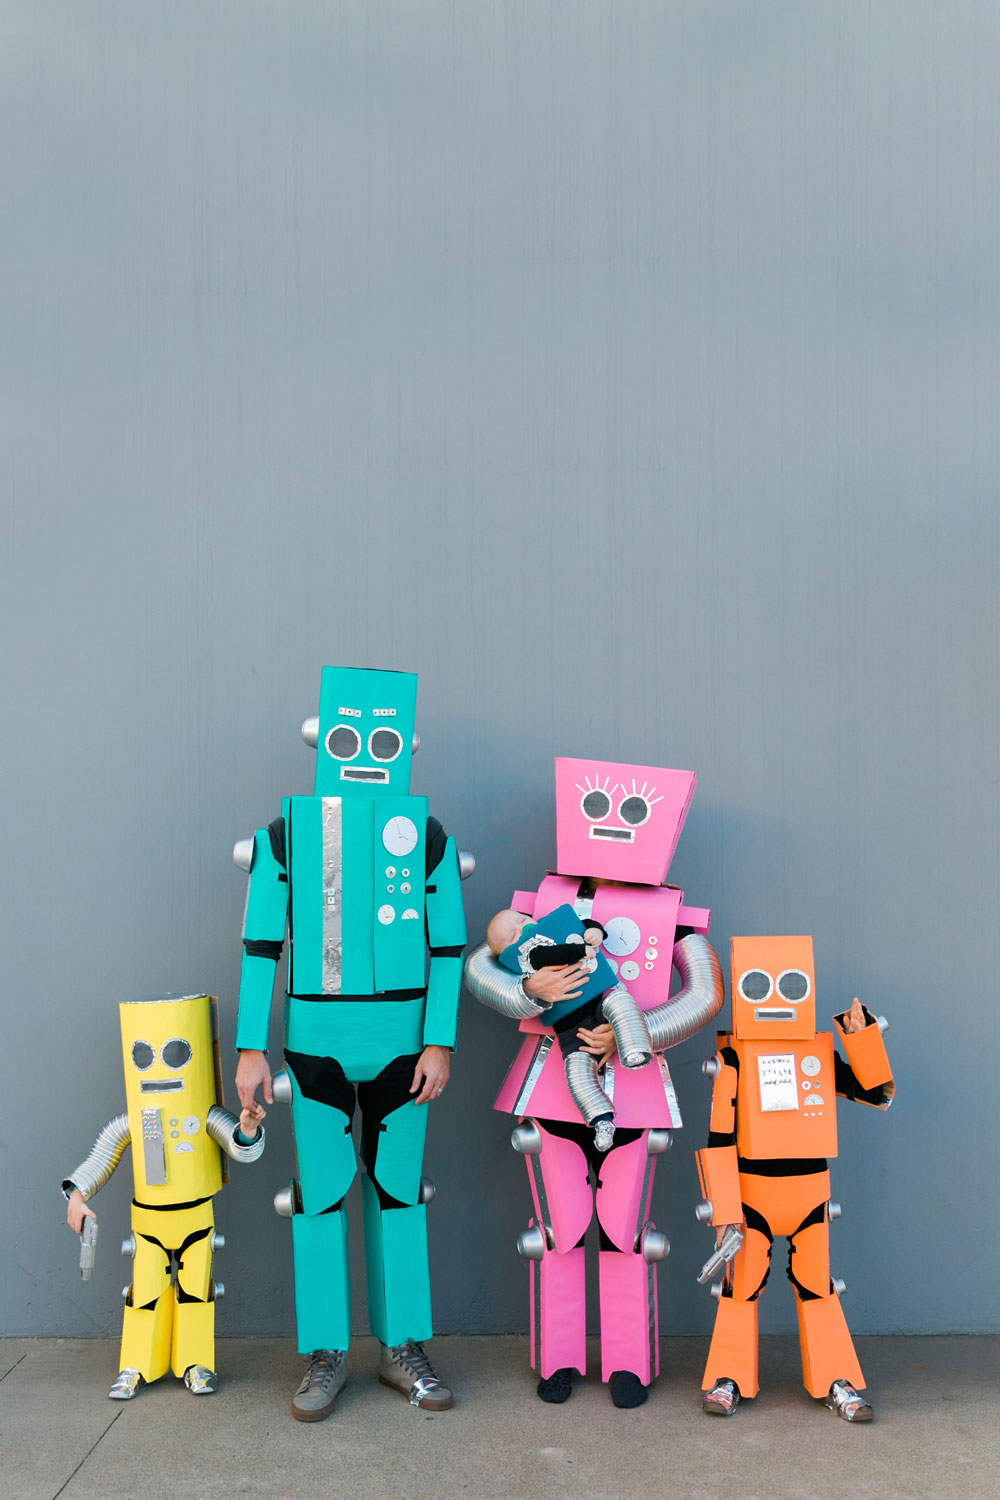
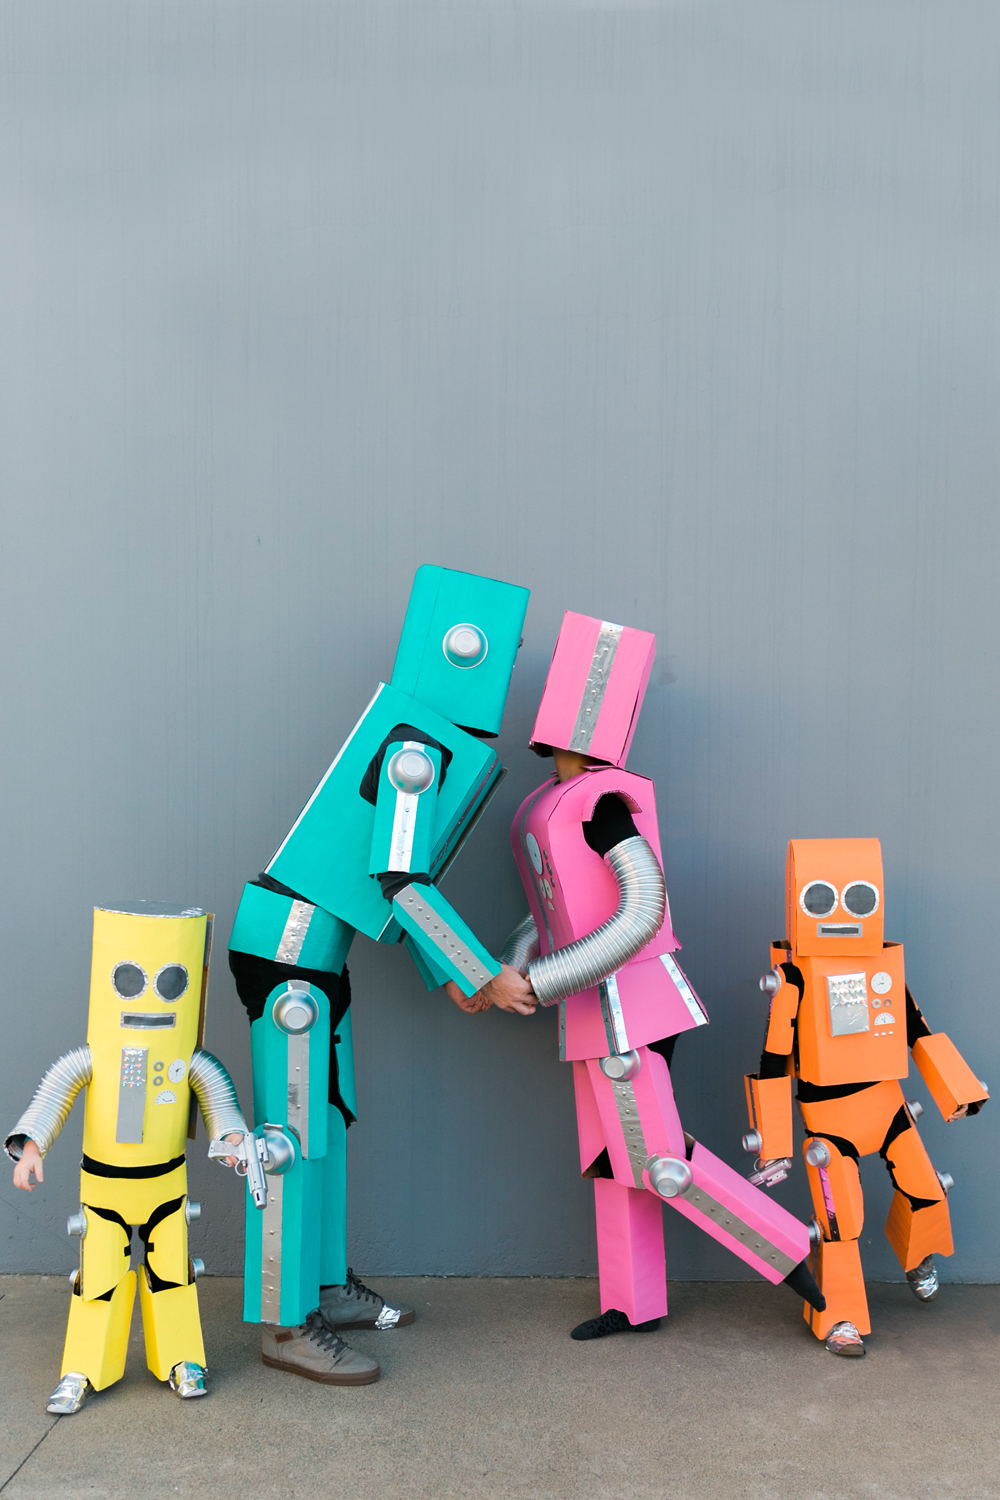
Halloween is next month and I am so excited to FINALLY share all the details of our DIY robot family costumes from last year. This was not an easy or quick DIY but it sure was a HUGE hit and my kids loved it so much. I still laugh when I look through these pictures, we definitely stood out ha ha. So if you’re looking to make just one Robot or a whole family I have some tips and instructions on how to get it done.
SUPPLIES FOR ROBOT COSTUMES
-Cardboard boxes (try to use ones that aren’t bent)
-Elastic (used for the arms and upper thigh pieces)
-Colored Paint (just wall paint from Home Depot)
–Duct Tape (lots)
-Velcro (for the skirt and all torso pieces so they are easy to get on and off)
–Silver Spray Paint
-Plastic Bowls, ramekins, and plastic tops from the dollar store
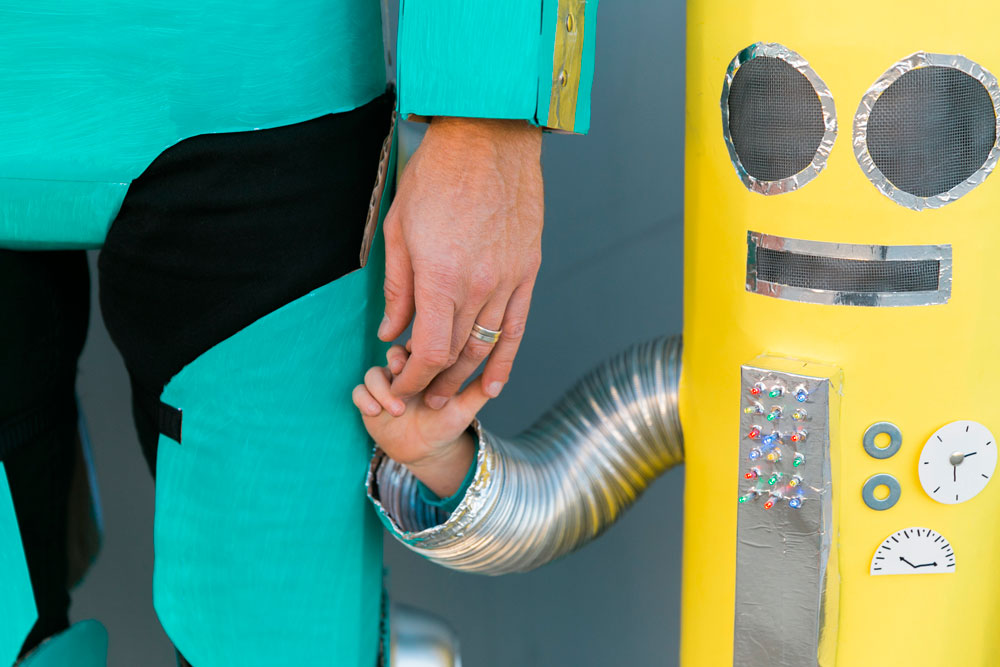
–Aluminum Flex Pipe (You need to go try these on, there are lots of different sizes)
–Foil Tape
–Silver Thumb Tacks
–Hot Glue Gun and LOTS of hot glue
-Small Box (for the robot lights)
-Battery operated LED lights
-Window Screen
-Washers, metal pieces or other random tool scraps
-Black clothes for under the costume. I bought long johns, leggings etc.
First off I got this WHOLE idea from this amazing robot costume. I saw this and his video and knew I had to make a whole family of them. I used almost all of his ideas but altered things to work for each person. Watching his video will help tremendously! ha ha so be sure to watch it this guy is a GENIUS.
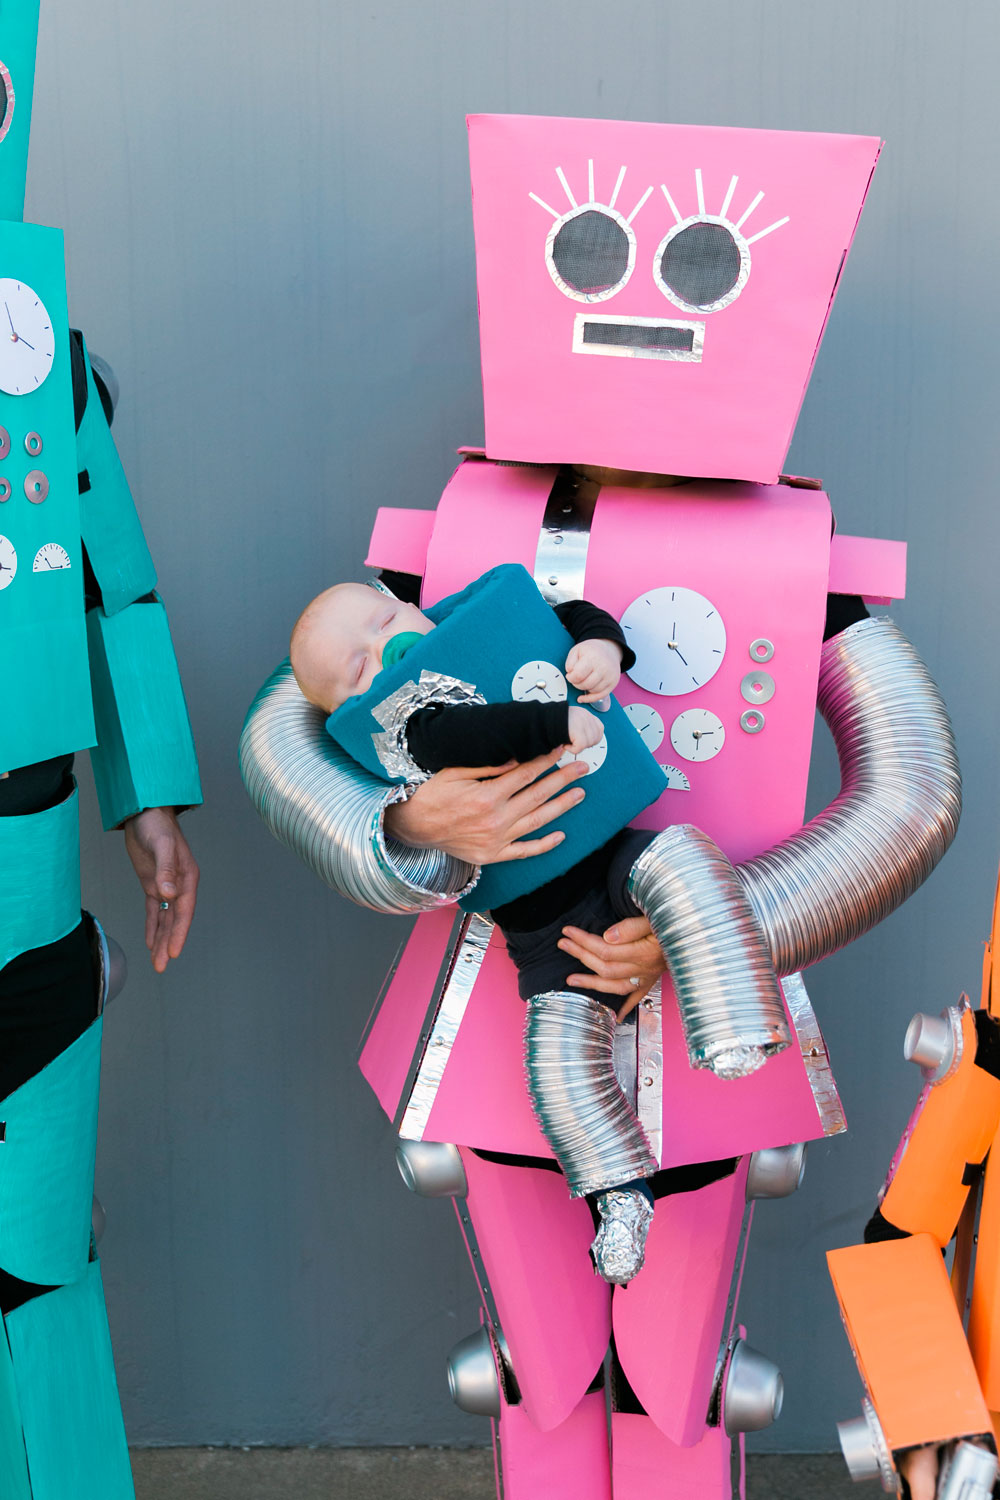
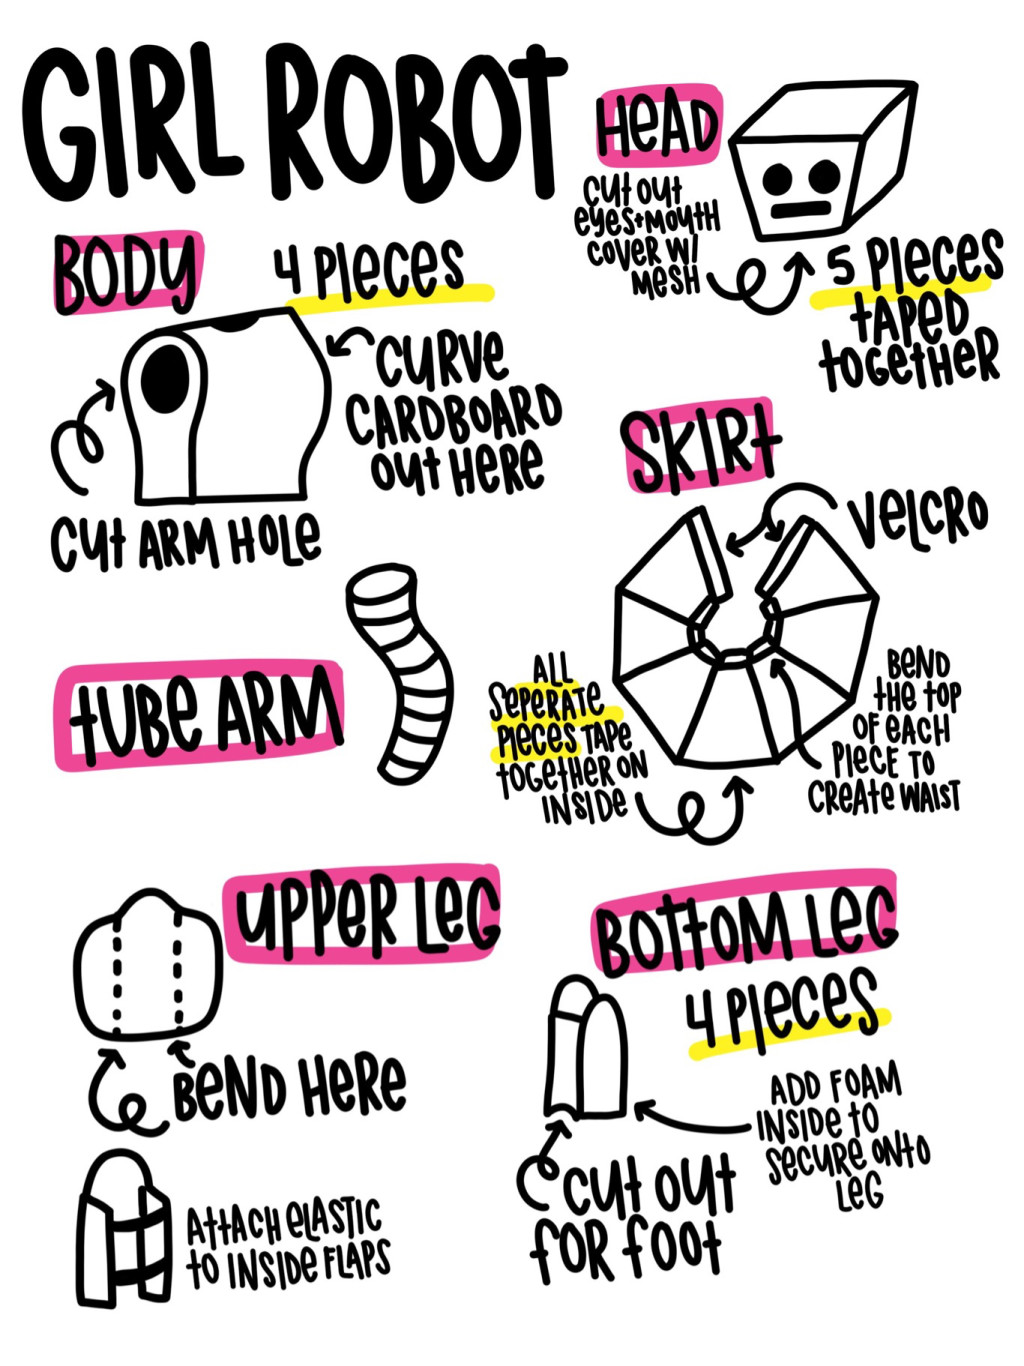
First lets talk girl robot costume. I wanted her to look girly so I tried to give her some curves with her busty top piece and then her skirt. These two pieces were a lot of fun.
-To make the curved bust you will want to bend the cardboard along the grain of the cardboard. That way it is easy to bend and seamless. With the bust you want to make the front and back FIRST then shape the sides based on how you want the shape.
-The skirt was actually really easy! Just cut out one triangle like shape. Make sure the grain goes horizontal. Then bend the top about 3-4 inches (this part will rest on your waist). Make about 5 to 6 pieces (depending on how wide they are) taping on just ONE side (the inside) so that they fold easily at the crease. If you tape both sides the fold wont be so moldable. Continue this until your skirt fits around you. Then add a couple extra pieces for velcro for the back.
–For the tube arms be sure to tape off the sharp edges after you cut them so they don’t cut you or who ever wears them!
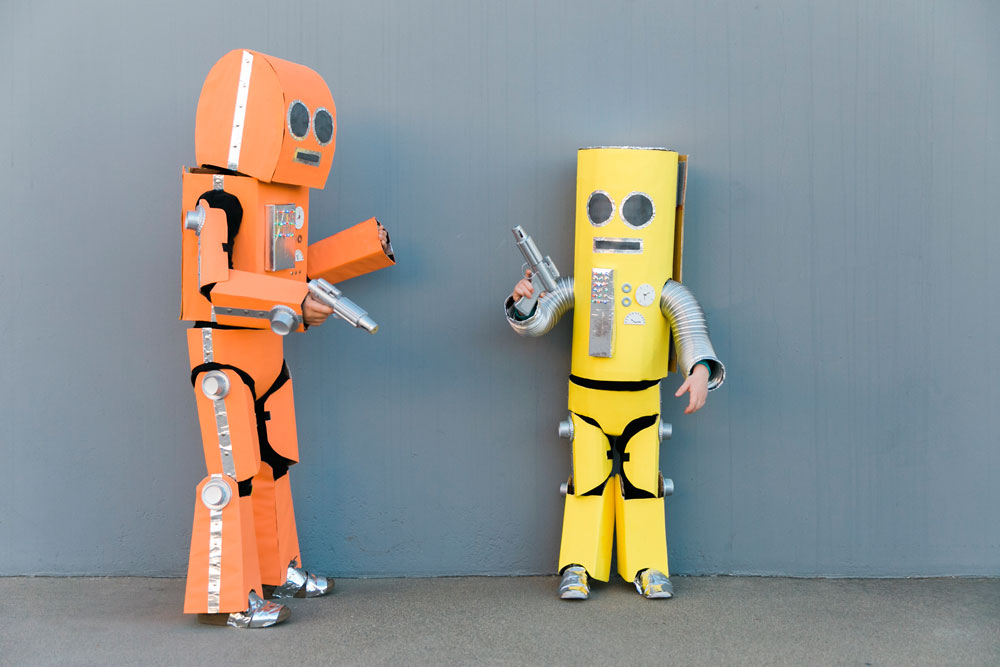
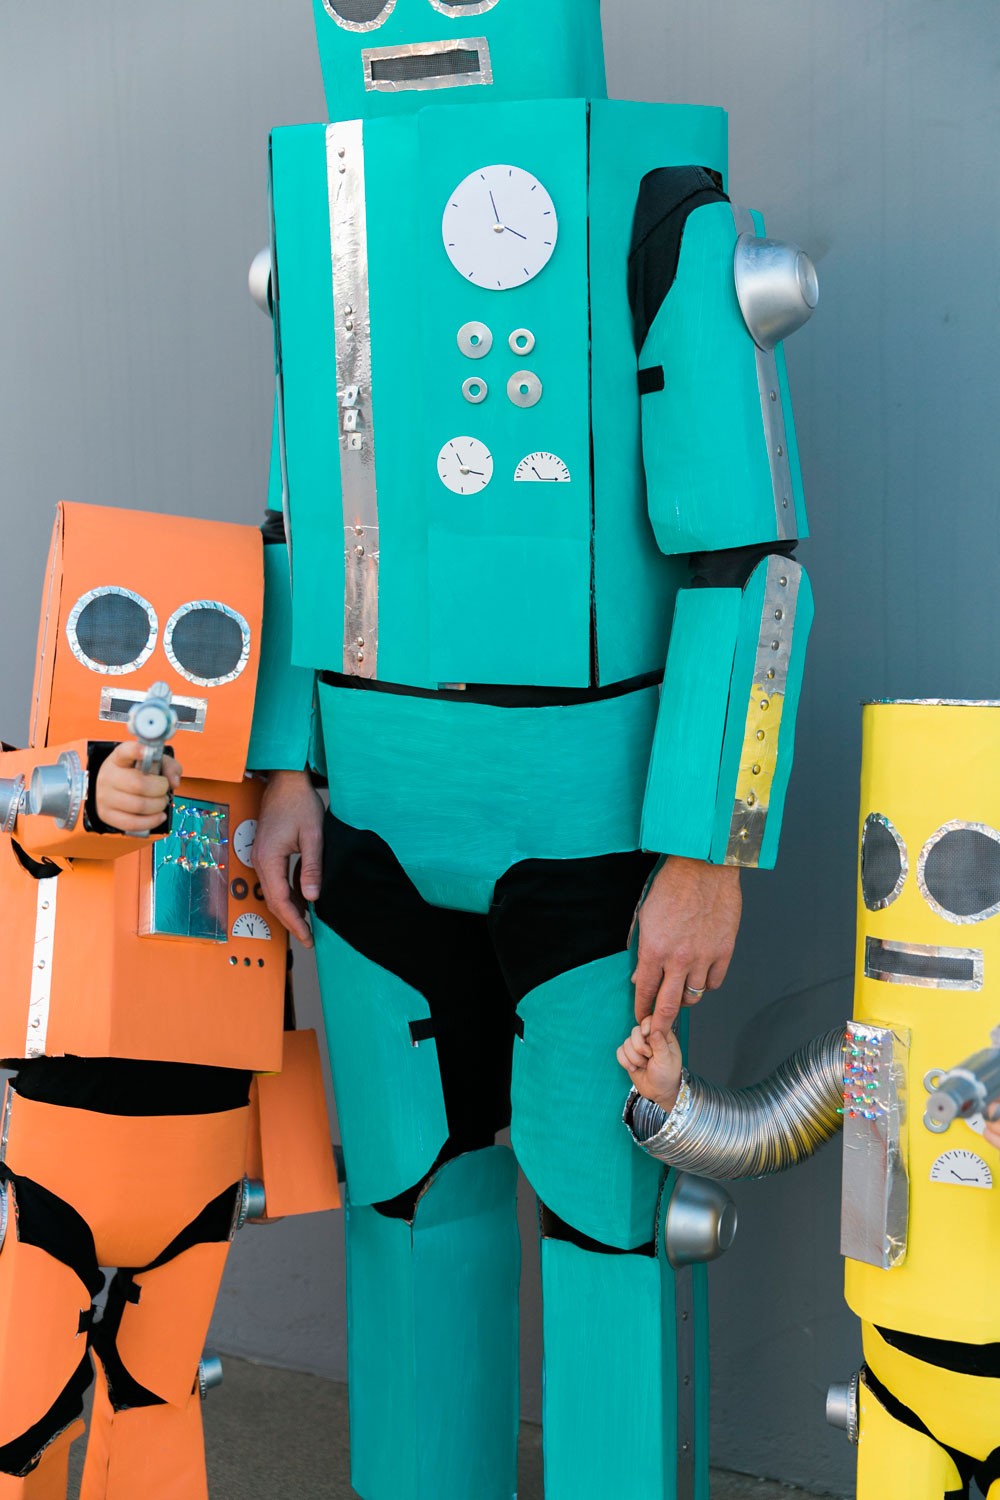
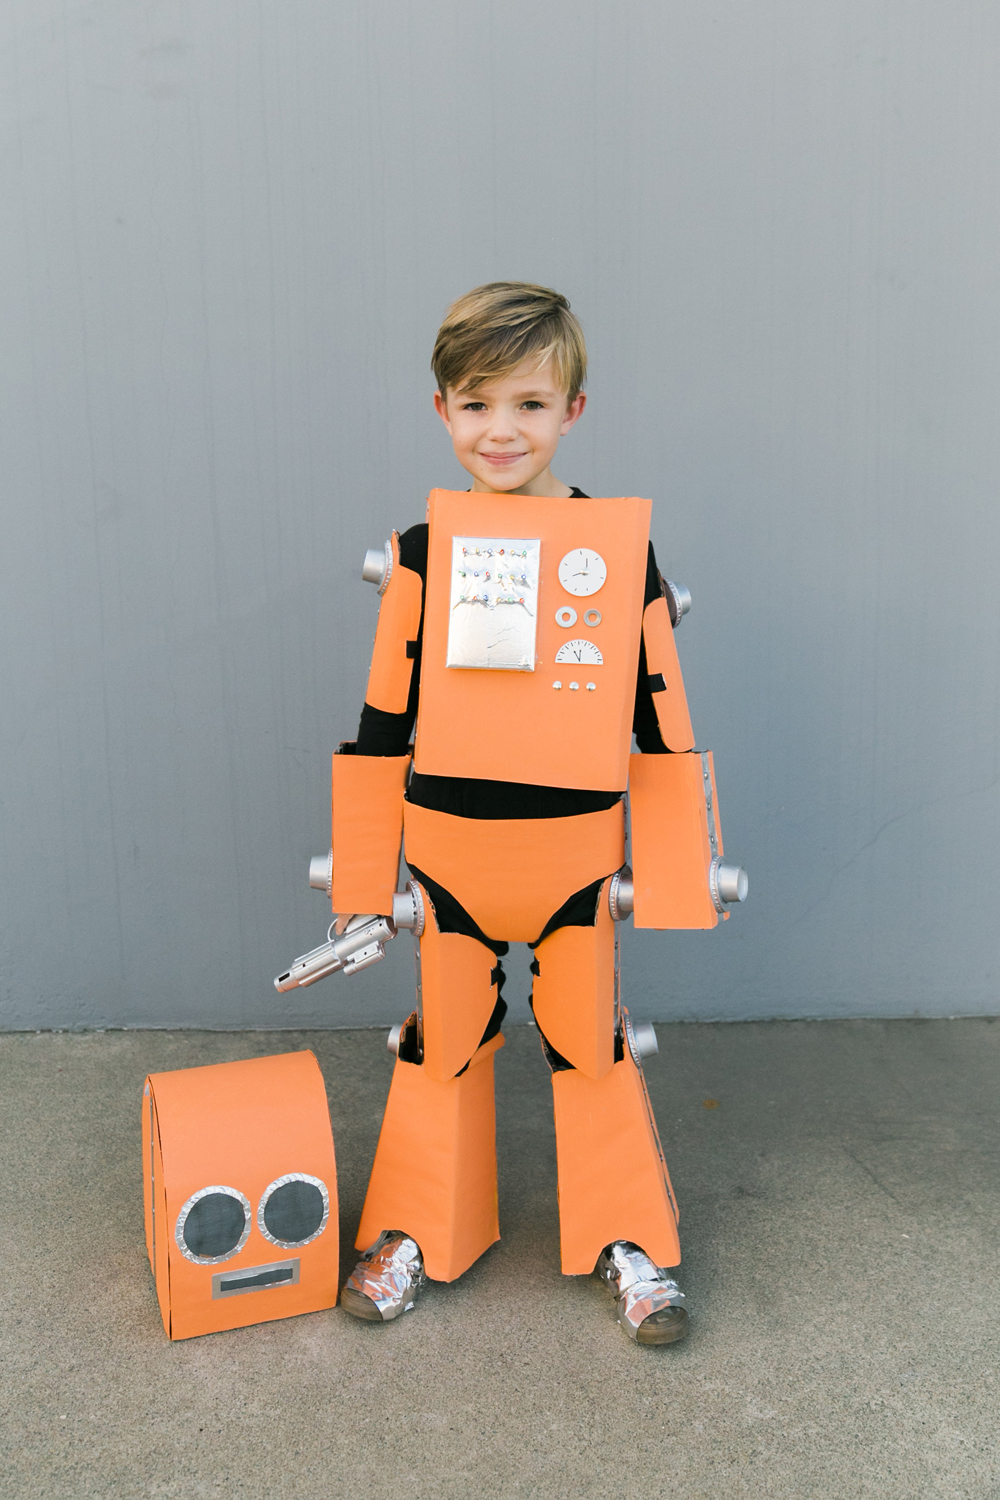
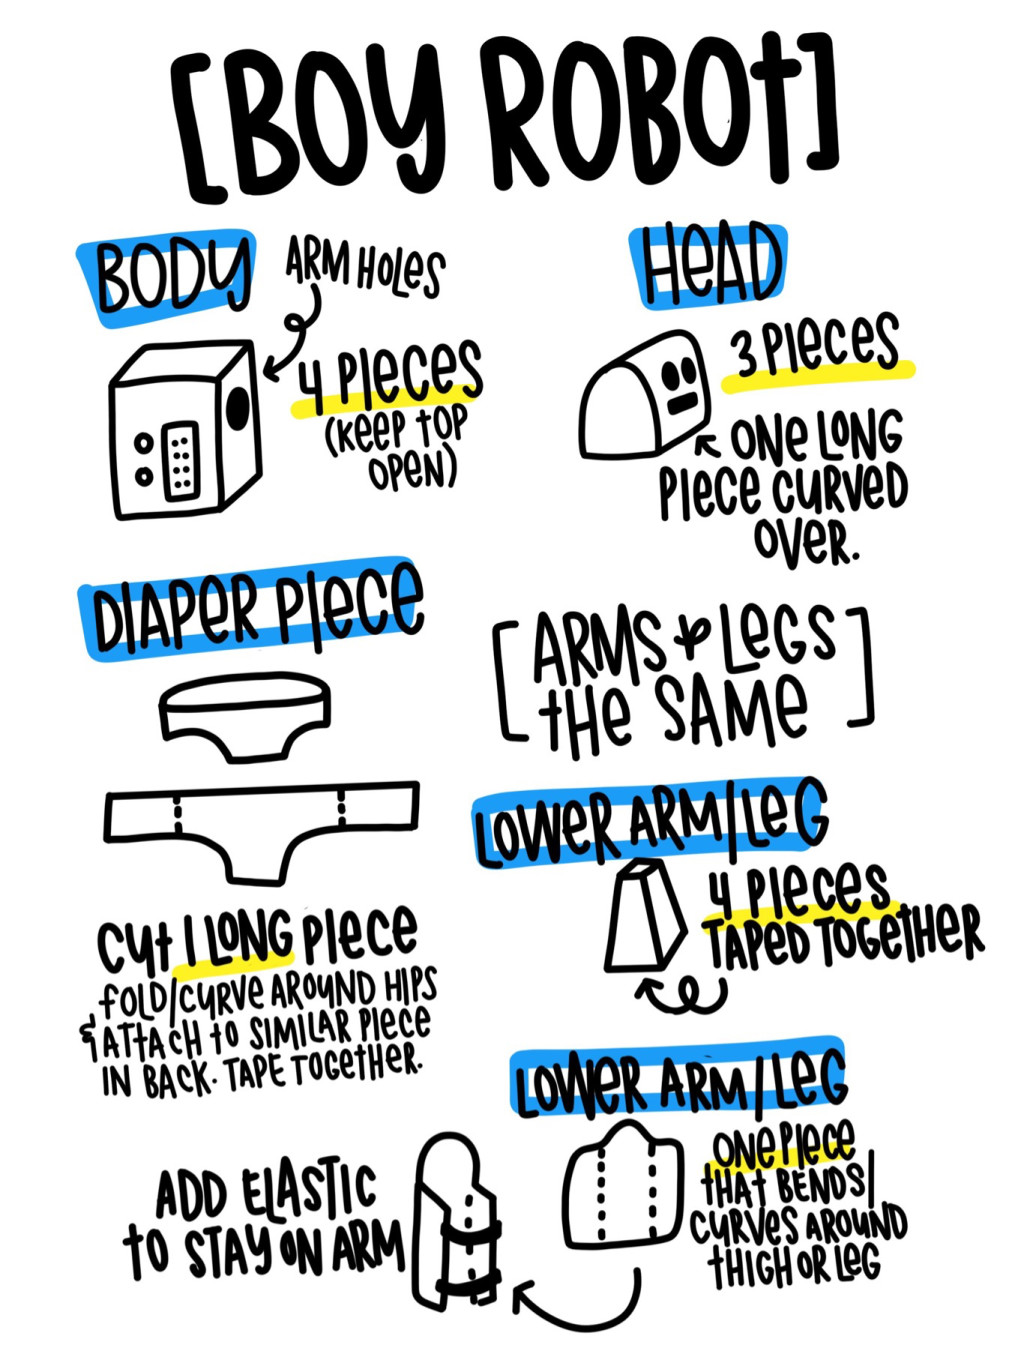
Now onto the boy robot costume. They are all very similar to what the video shows just little things are changed to make each robot costume different looking. To be honest the diaper piece was the very hardest! With lots of trial and error I finally figured it out… you are going to want to make the diaper like the diagram below. Make the main piece with LONG extended sides. This gives you the freedom to mold it and make it work for any body. You could also use some underwear as a sort of guide to cut out some of the shape.
-REMEMBER its always better to cut things out bigger and adjust! So always oversize! Especially with the diaper, its easy to cut bigger curves or cut down the size so it fits.
 BABY BOT COSTUME
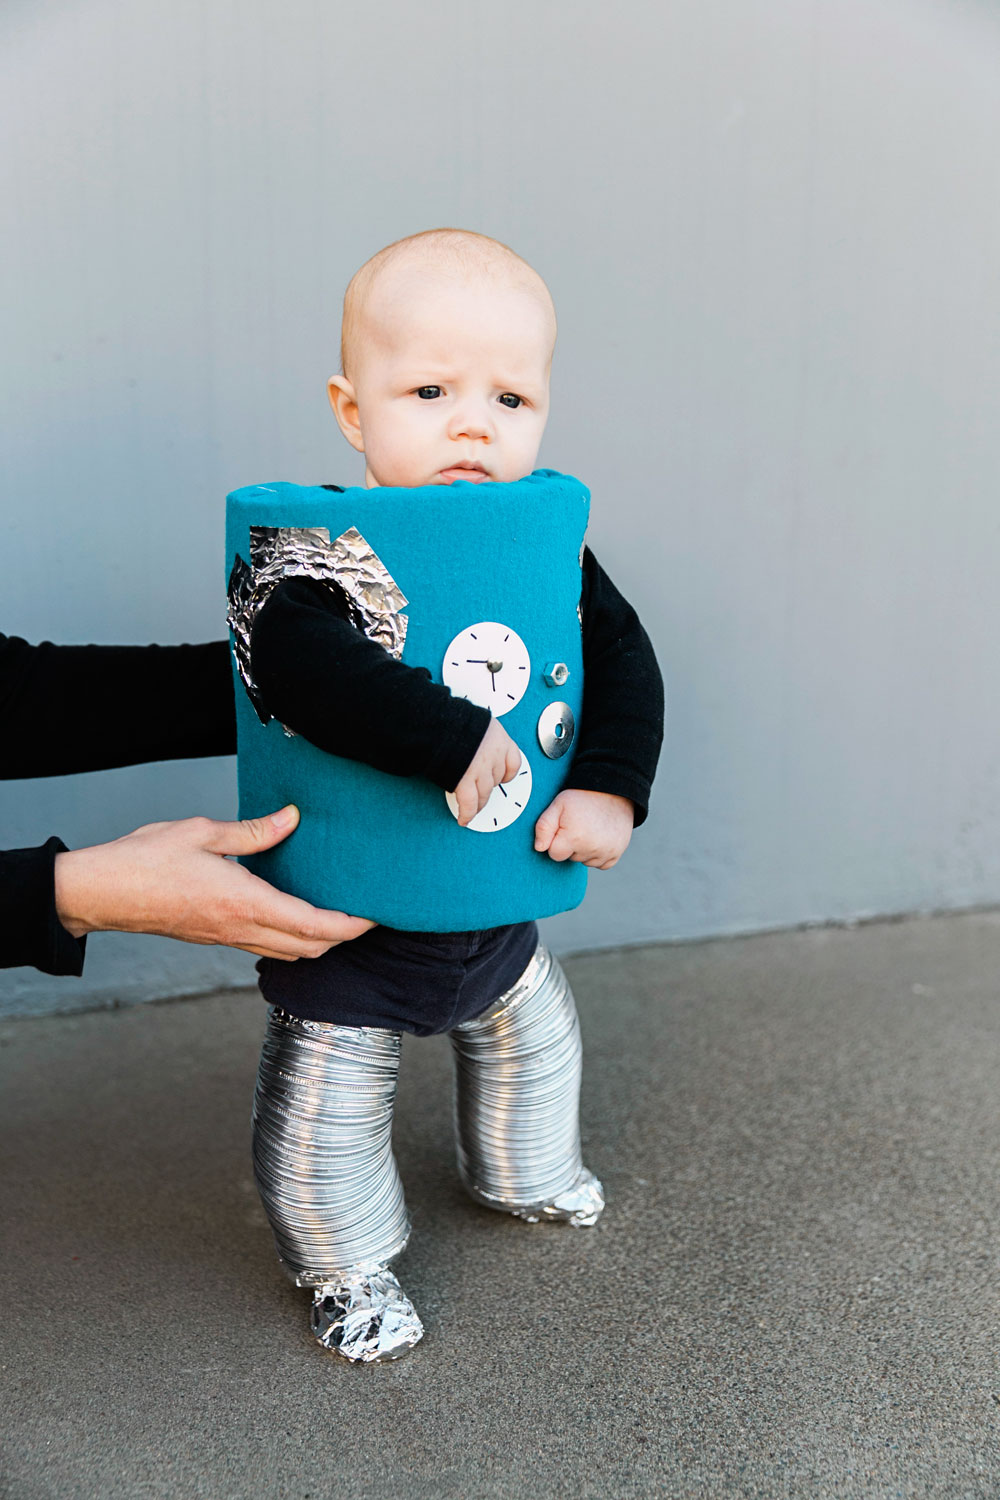
The baby bot costume was super easy and very comfy and soft. I didn’t want to wrap my 3 month old in cardboard ha :)
-I used a giant piece of foam, cut arm holes, wrapped it in fabric and then added accessories around it to match the other robots. I then used extra tubbing for his legs. Make SURE you tape off the sharp edges of the tubing with duct tape so they don’t cut the baby, same for the adult costumes or other kids costume. The ends are sharp when you cut them.
-To secure it in the back I punctured small holes in the foam and used thin pieces of fabric as string and tied it shut in the back. That way it stayed shut, held in place and was easy to take off.
Now onto the fun part! All the decorations!
-I used the foil tape to add some fun addition to the costume. Tape it along creases, on sides or just for decoration. You can see I added tiny strips for my eyelashes etc.
-Take your thumb tacks, cut off the tack part with some heavy duty wire cutters. Then glue those on so they look like “screws” along the foil tape.
-Spray paint all the bowls, cups and plastic lids (you can get creative with this part and just shop around at a dollar store to find some fun stuff). Then hot glue all those onto the “hinge” areas.
-Use any washers or other little metal pieces you have laying around for eye brows, dials, buttons and fun accessories on your robots body.
-For the clocks I use paper and with a sharpie drew some details and glued them on.
-Lastly for the led light box on the kids. I bought some battery operated led lights. Took a old jewelry box taped it with the foil tape, drilled tiny holes in the box then stuck the led lights through each hole. Then glue onto the robot. Make sure you cut a hole so that you can turn on the lights from the inside of the costume BEFORE you glue.
ROBOT COSTUME TIPS:
-I cut out a huge step from the video and made sure that all my cardboard pieces had all the writing from the boxes on the INSIDE so that the outside was plain. That way you can paint straight onto the cardboard and not have to cover it in posterboard
-Make sure you add the screen for the eyes and mouth AFTER you paint.
-Don’t add too many layers of screen to the eyes and mouth. In the daylight you can see ok but at night if the screen is too thick it gets difficult.
-For the lower leg pieces we added some foam on the inside so they stayed put.
These robot costumes are not so cut and dry because every body type is different but the best part is its cardboard and you can add mold or change up pieces! My kids seriously LOVED their costumes so so much and got extra candy because people loved it too (this made their day ha ha)
 Let me know if you have any questions and I will try to help!
Don’t forget to check out our past DIY Halloween Costumes from previous years :)
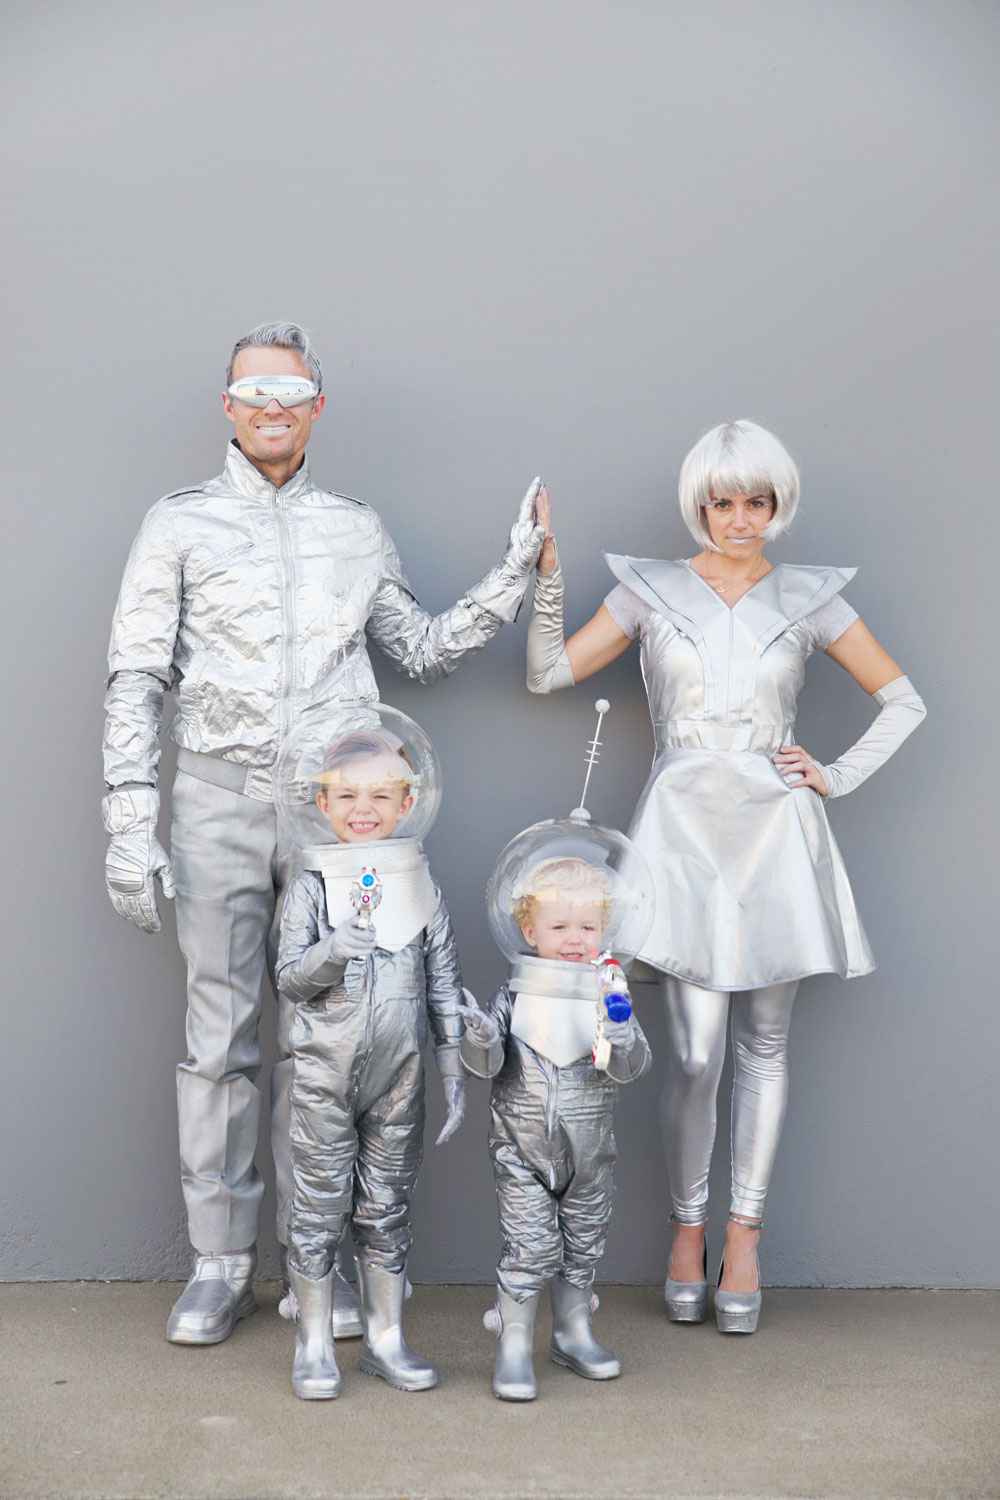 Space Family Costume
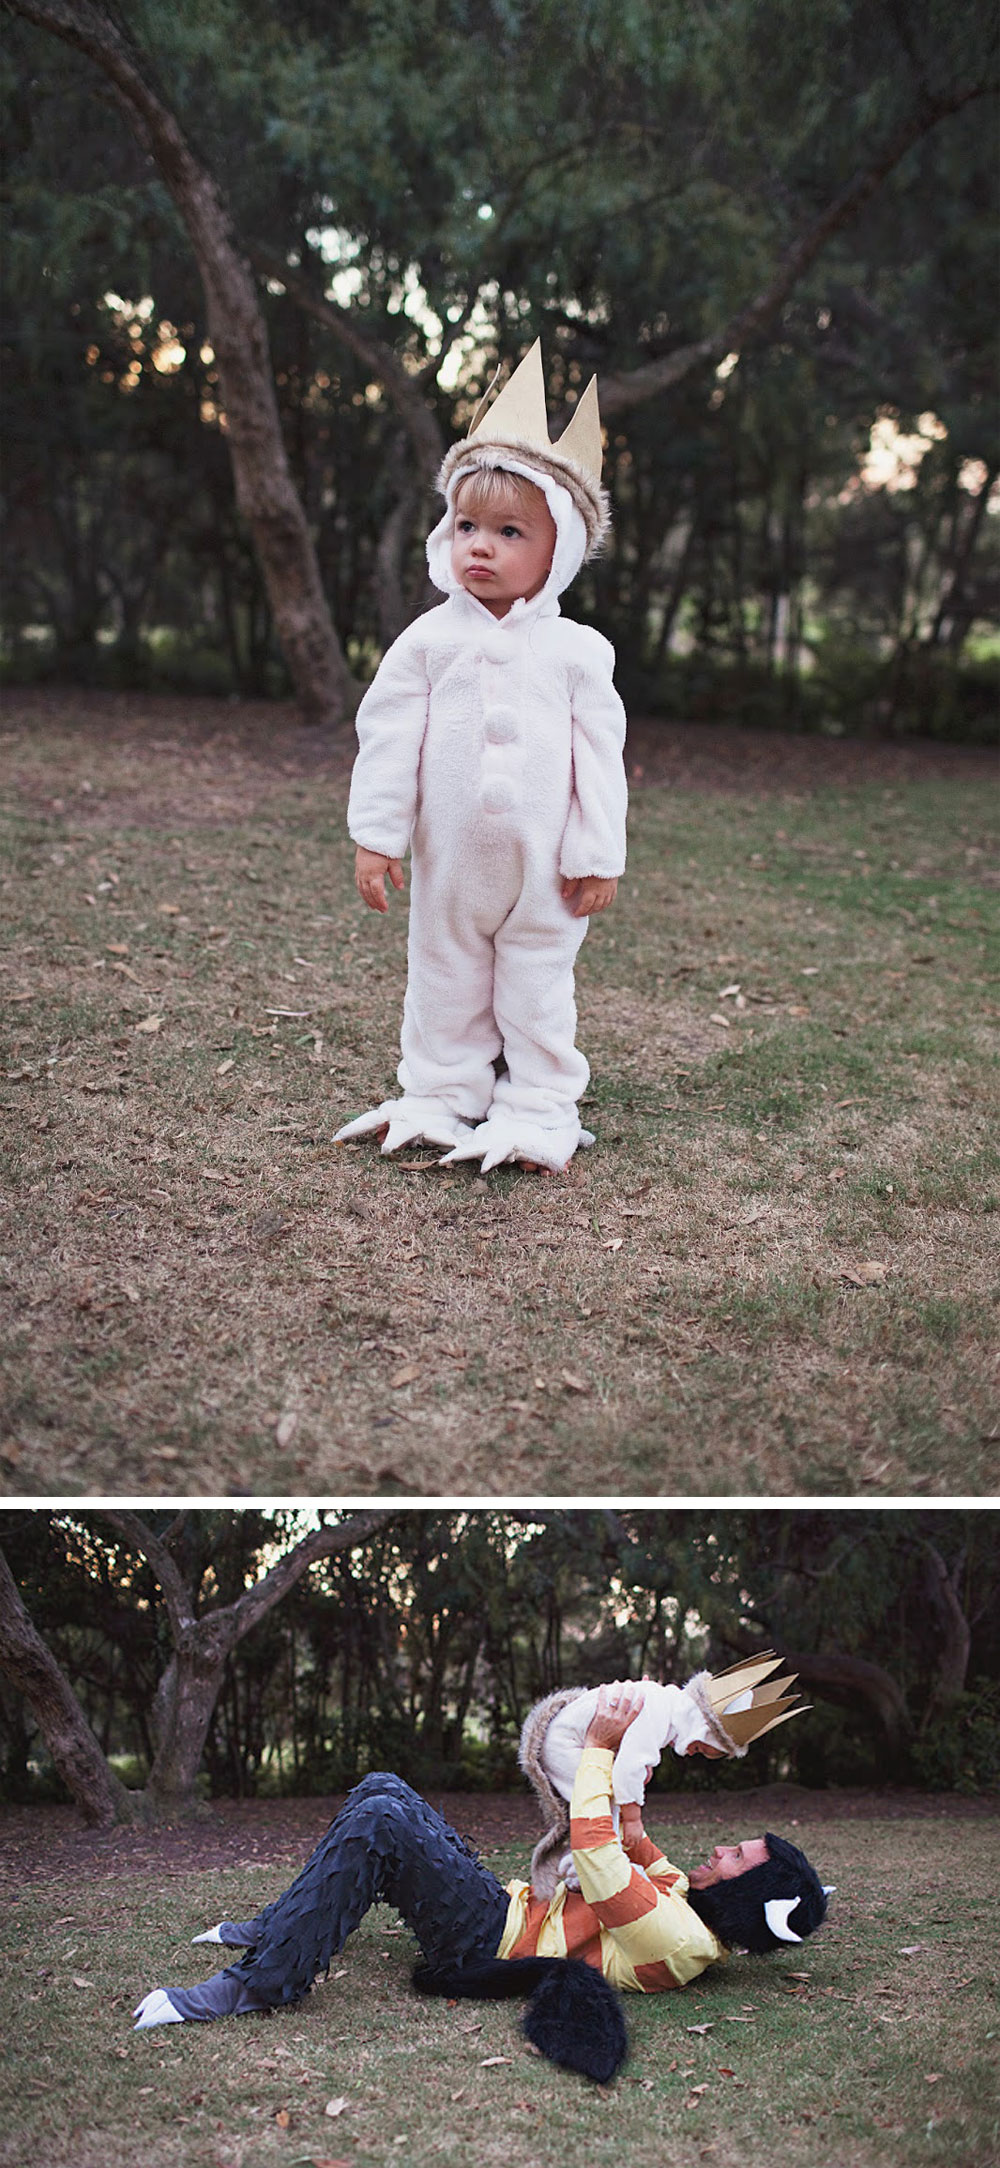 Where the Wild Things Are Family Costume
xoxo
These adorable pictures and sketches were done by the fabulous Rad and Happy!!

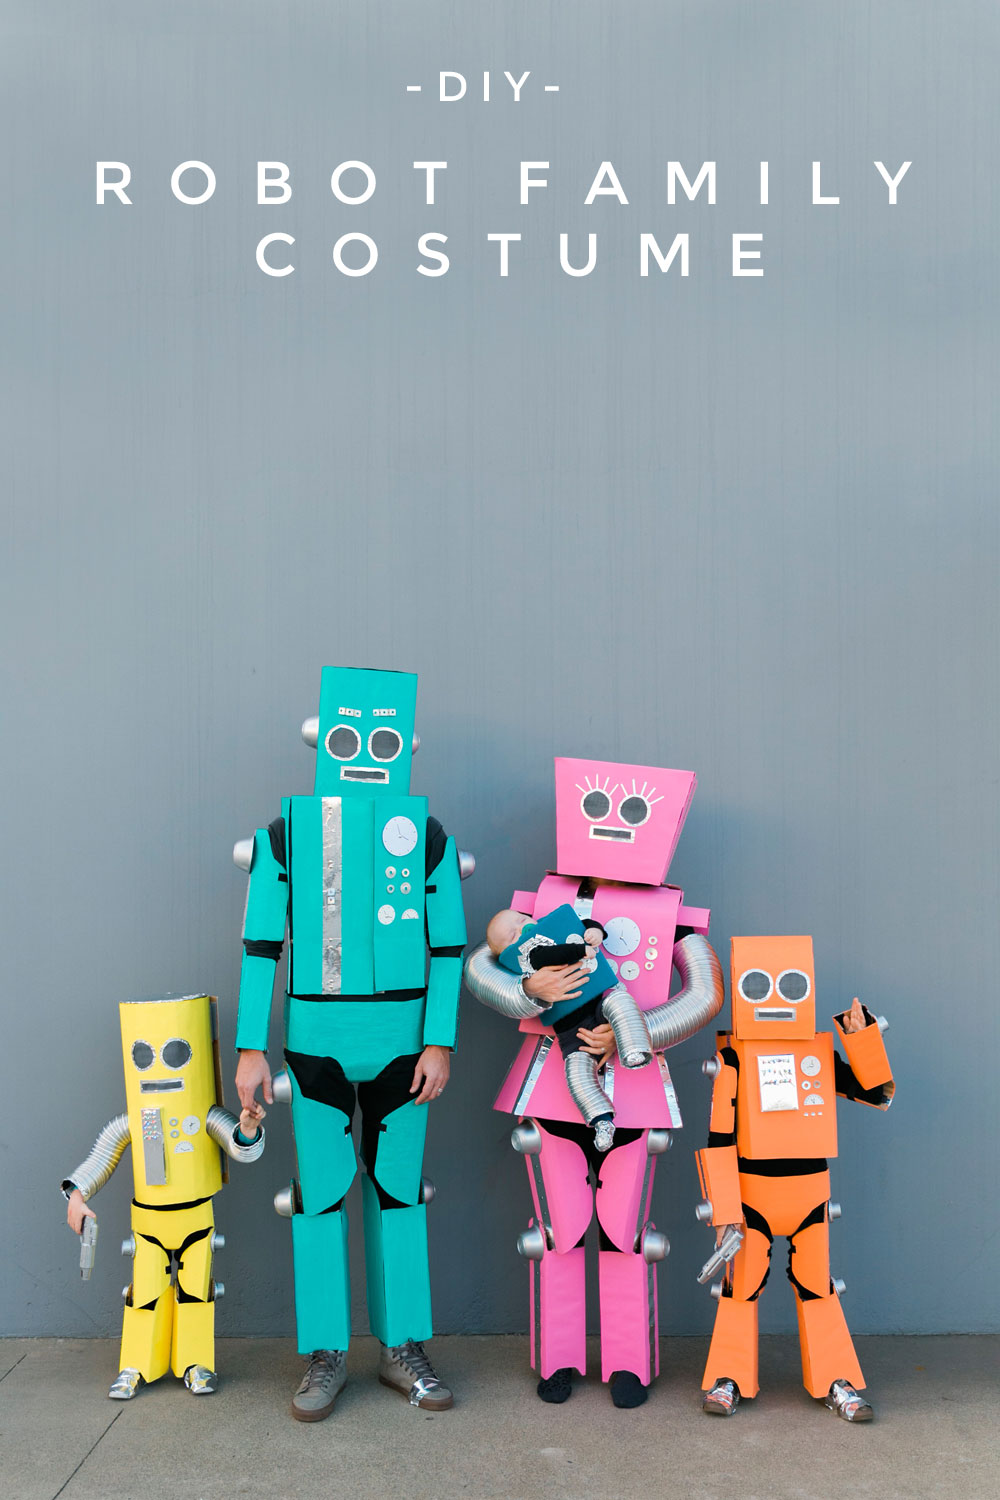


You’re so talented with costumes, they look amazing!
https://www.makeandmess.com/
Awe thanks Michelle!! ha ha we love Halloween a little too much
These robots are amazing!
Paige
http://thehappyflammily.com
Thanks Paige!!! ha ha it wasn’t easy but it was so fun to wear on Halloween :)
Great post! Have nice day ! :) 4a46i
Hi! I’m attempting a robot of my own this year and I was wondering if you where able to or tried to paint over duct tape.
These are great costumes. I’m in awe.
Thanks
Love these robot costumes and hoping to make one for my daughter. How can I keep the tube arms/legs to stay on?
Hey Julie!
Are you talking about the baby bot one? For the baby bot they just stayed on actually ha ha his chubby little legs held them on. For the yellow robot they were glued to the costume which made his arms super stiff ha ha but so cute! Hope that helps?
Hi there –
I’ve never made my own Halloween costume and the family robots are for sure inspiring enough to try it out! You did such an amazing job :)
My son will have just turned 1 this year for Halloween- do you think I should still opt for the foam bot for him?
Hi :)
I think the foam bot might be a good idea? Just incase he falls or trips, it definitely creates a soft and comfortable costume! Good Luck!!! First Halloweens are so much fun!